Looking for easy ways to change up some shirts you already have? Did you know that you can bleach print on shirts? It also makes for a great way to maybe hide a stain on a shirt you already have.
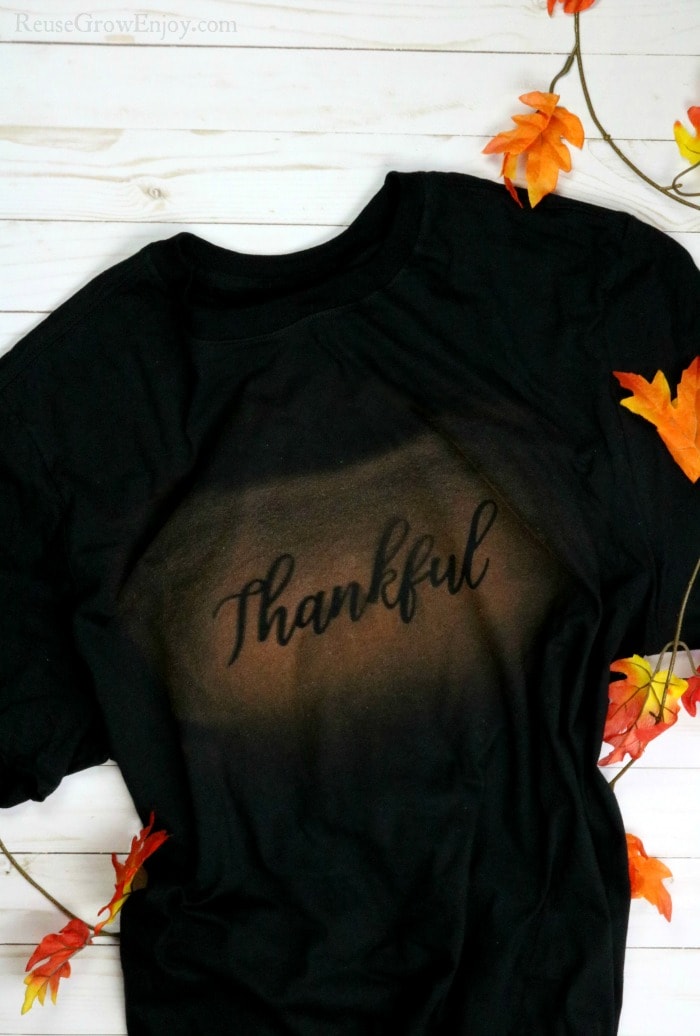
How To Bleach Print A T-Shirt
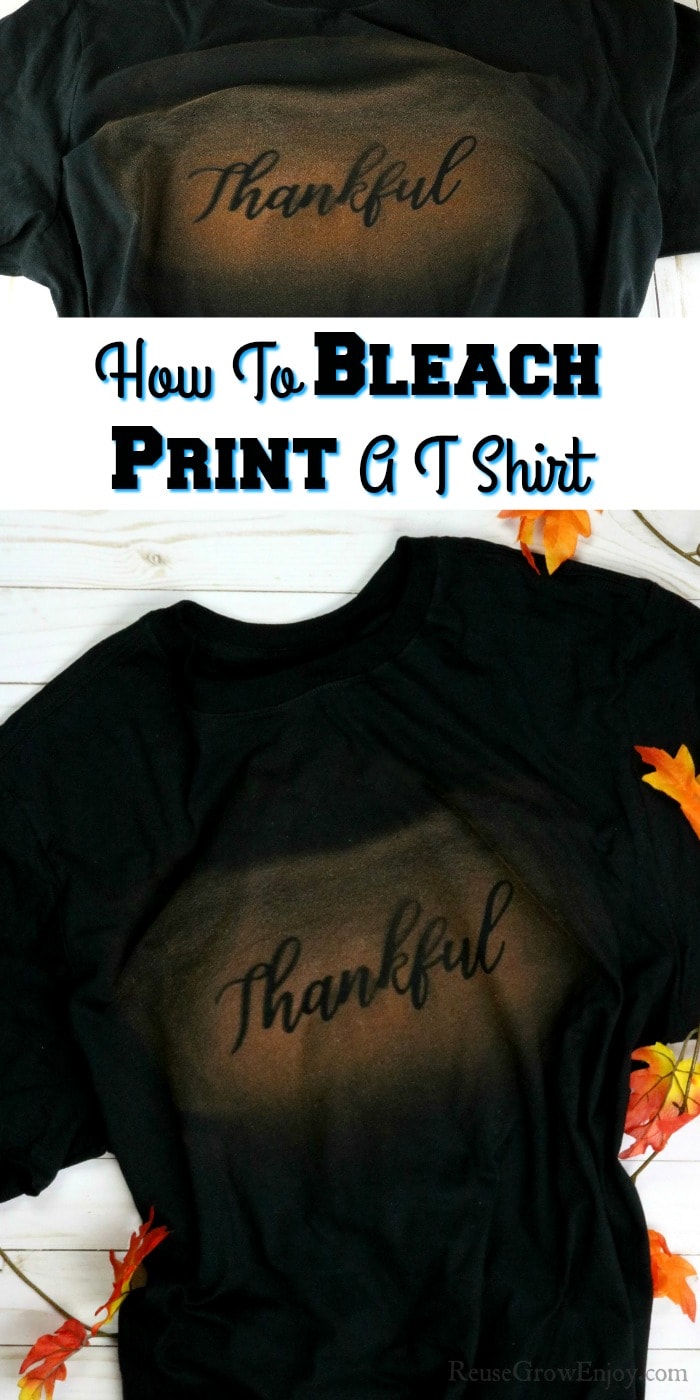
It is really easy to bleach print on a shirt and only takes just a few minutes. I will show you step by step how I made this bleach imprinted thankful t-shirt.
While I show you how to make this thankful tee, you can print just about anything. The two big things to remember is to stick to a darker shirt as the print shows better than light colors.
Also, try and stick to an easy stencil. When you use one with tons of details they do not show up as well.
If you don’t already have all the items to make these at home, all of the items can be found at Dollar Tree.
The thankful word I used is just like this one on Amazon.
After making this craft, here are a few others you may like.
- DIY Farmhouse Style Rag Ball Decor
- Upcycled Box Rope Basket – Cute Farm Style Look For Less!
- Pool Noodle Craft – DIY Decor Pumpkins
- DIY Beehive Craft From Upcycled Flower Pot
- DIY Reused Fabric Wreath
Makes: 1 Shirt
Time: 5 Minutes + Drying Time
Skill: Easy
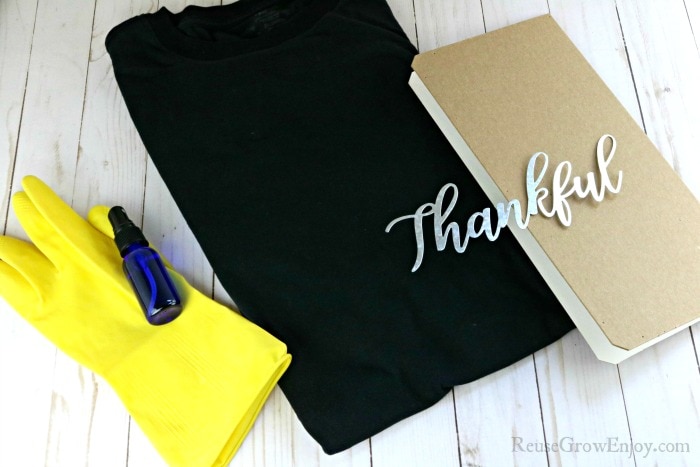
Supplies Needed:
- 1 Dark Color Tee Shirt (this really works best with darker colors)
- 1 Thankful Stencil (or stencil of choice)
- Rubber Gloves
- Spray Bottle (needs to do a light mist)
- Bleach
- Cardboard
How To Make This Tee Shirt:
Start by mixing two parts bleach to 1 part water in your spray bottle and give it a shake.
Next lay the tee shirt flat with the front side facing up. If it is wrinkled you will need to iron it first.
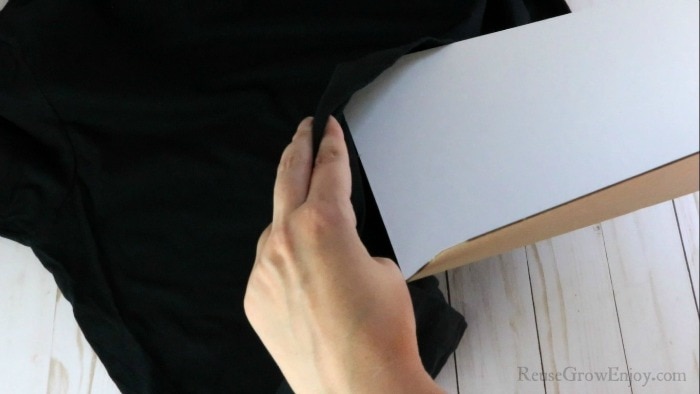
Place the cardboard inside the shirt. Make sure it is under the area you will be spraying as you do not want the bleach to soak to the back of the shirt.
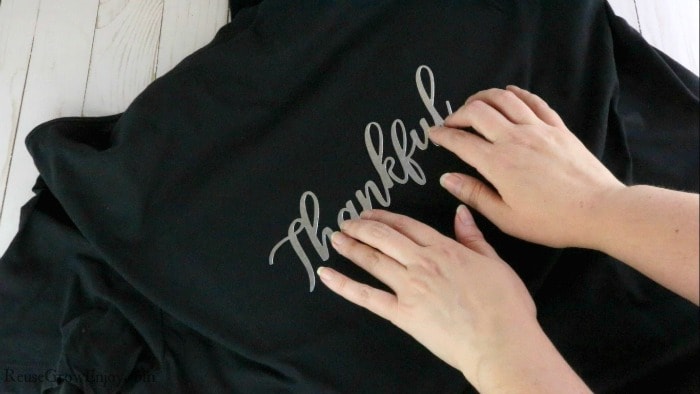
Lay the thankful stencil where you want it to be on the shirt. I did it in the center chest area.
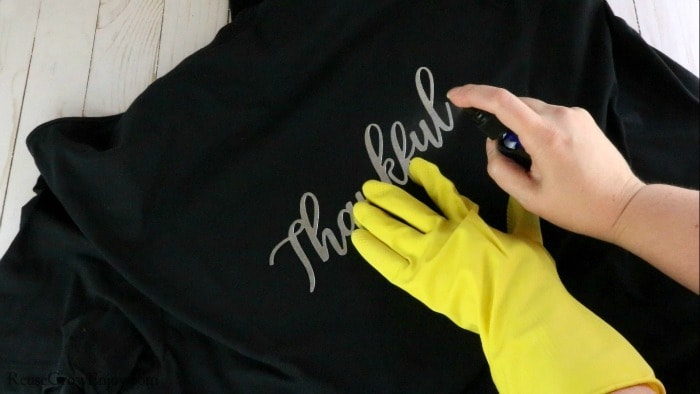
Wearing a rubber glove, hold the wording in place, and then spray the bleach mixture all around it. You may need to move your arm slightly so that you get everything covered.
You just need to spray it enough so that it is slightly wet but not soaked through.
Carefully remove the wording so that you do not drip any bleach on any other part of the shirt. Allow the shirt to dry before moving or removing the cardboard.
When the shirt is dry it is done! For the first wash after bleaching, I would wash it by itself.
Note: If you want the color around the wording even lighter, you can respray after drying. Just be sure to get the wording lined up before you spray it again.


Leave a Reply