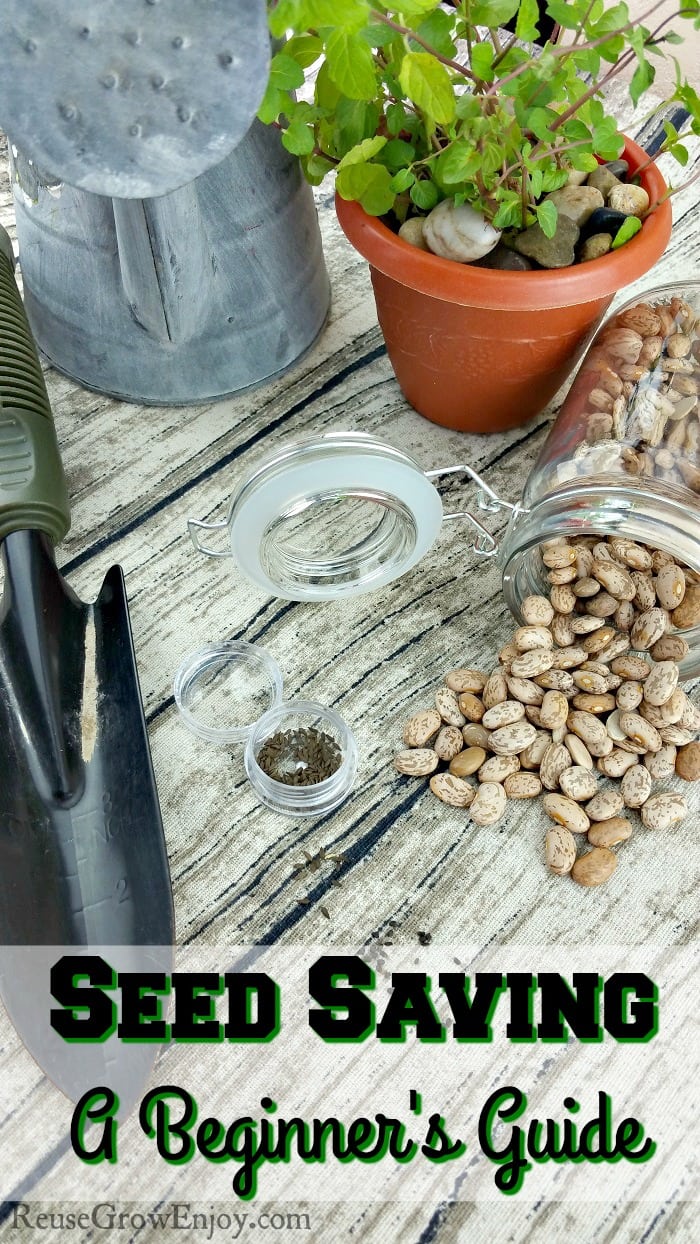
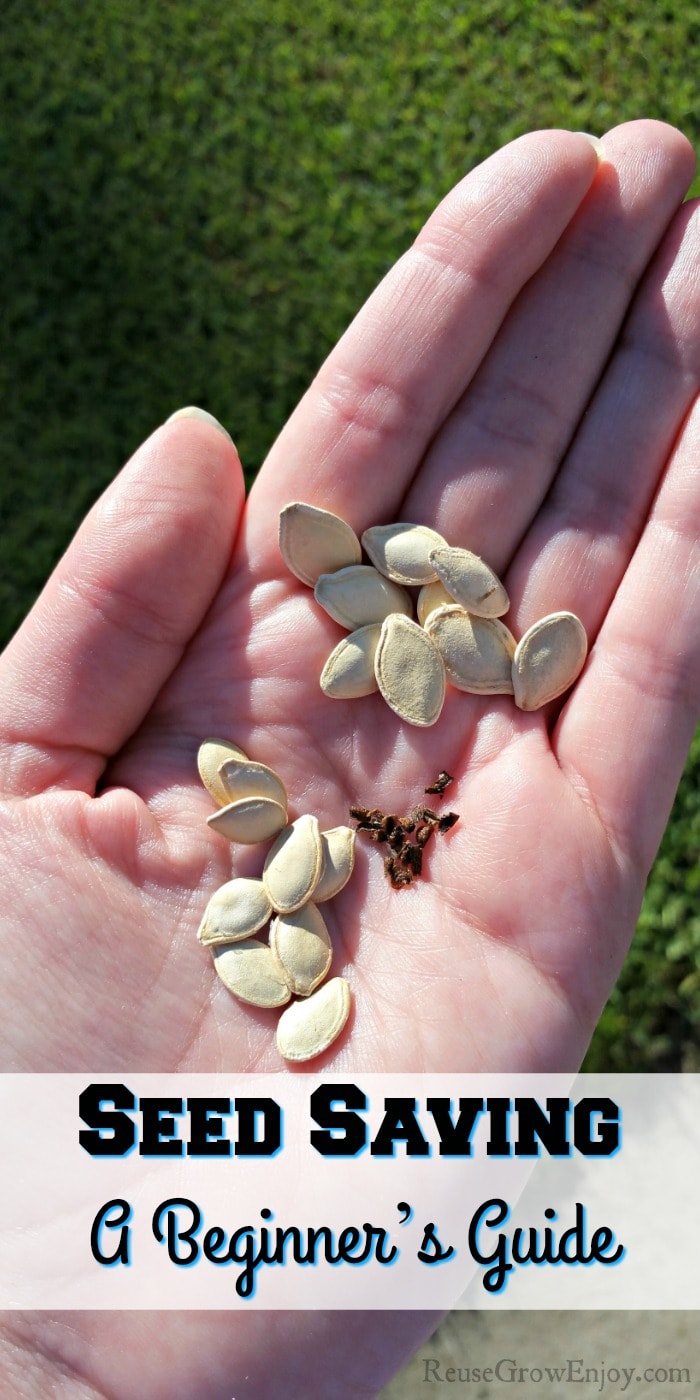
Sick of buying seeds year after year? When you learn a few tips and tricks on seed saving you will be a pro in no time at all. Buy your seeds one time and be done.

Seed Saving – A Beginner’s Guide
Wouldn’t it be wonderful if you only had to buy your seeds once and then they would just pop up and grow each spring, just think of the money you could save!
Unfortunately, it’s not that easy, but with a few tips, you can start seed saving from some of your favorite plants with a little effort.
Just think, generations from now you may be gone, and your great-grandchildren may still be seed saving and growing tomatoes and peppers that you started planting well before them.
If you’re planning on taking up seed saving, there are a few things you need to know right off.
Must-Know Info About Seeds:
1.) Seeds are NOT created equal. You can not save hybrid seeds and expect to produce the same crop the next year. So the first rule of seed saving is no hybrids.
Only seeds from open-pollinated or heirloom plants will reproduce each year. “Open pollinated” generally means that the seeds that will “breed true” producing plants and produce like their parents.
When you buy seeds, the package should tell you if they are open-pollinated or hybrid.
2.) As you begin seed saving, it is wise to stick with one variety of plant in each group to avoid cross-pollination by insects or the wind. I can’t help but laugh when I say this because I was explaining this once to a friend who wanted to start seed saving and his reply was; “But I want to grow more things in my garden besides just green peppers.”
By a variety of plant we are simply talking one kind of green pepper, one kind of green bean, one type of corn of any crop of which you plan to save the seeds.
After you gain some seed saving experience, it is possible to grow and save seeds from several varieties at the same time, but my advice for beginners is to stick with a single type at first. Some plants, however, do not cross-pollinate as easy as others.
While any seeds that are true can be saved some are easier to work with than others, so for the beginner, I would suggest starting with; Bean, Lettuce, Pea, Pepper, and Tomatoes.
These vegetables will give the beginning seed saver the best chance of success. These produce seeds in the same season they are planted and are mainly self-pollinating, lessening the concern over cross-pollination.
How To Save Different Seeds:
Beans:
Beans are perfect for beginners because they have self-pollinating flowers, meaning pollination takes place before the flower opens. While cross-pollination by insects can be possible, it is rare.
For seed saving beans, pull the entire plant after you have harvested what you plan to eat (leaving a few on the plant). Hang the plants in a cool, dry location by their roots and let dry until brown and seeds rattle inside pod when shaken.
Open pods by hand and remove any large chaff (plant parts). You can use a fan to winnow (blow away) small remaining particles.
Let the beans finish drying on a plate in a warm, dry area out of direct sunlight. Over the years, I have found it best to dry seeds on a glass or ceramic plate rather than paper plates or towels. Some people do use paper plates but I have found the seeds tend to stick more.
You can also dry your seeds on a seed drying basket/rack. I spread the seeds out evenly and mix them around once or twice a day to make sure they dry evenly and don’t clump.
I have heard some people say they use a food dehydrator to dry out their seeds, but I personally have never tried this.
Storing Bean Seeds:
The beans are ready to store once they are completely dry and can no longer be dented with your fingernail. Store dried beans in a cool, dry place in plastic bottles or small jars with tight-fitting lids.
If you do not have any bottles or jars, that can be bought on Amazon. Before closing the top, add a package of silica gel. (You can get these FREE if you save ones that come in vitamin bottles, etc… ask your friends to save them for you or buy them on Amazon)
If you don’t wish to use silica gel packs to help resist moisture buildup, you can use either a little-powdered milk or some rice at the bottom of the jar to absorb moisture.
If you decide to use rice, don’t toss it out the next year when you plant, dry it out in the oven or food dehydrator and reuse it again the next year.
Before storing be sure to write the date and type on the container. Most seeds will keep about two years under the right conditions.
I keep my seeds in my refrigerator BUT DO NOT put in the freezer.
Lettuce:
Lettuce doesn’t go to seed until it bolts. Bolting takes place when the plant sends up a flower stock that grows to be quite tall. Once the plants bolt you will have to wait several weeks before the seeds have ripened and are ready to harvest.
Plants will bolt when the weather turns hot and you stop picking from the plant. Once the plants bolt they tend to become bitter and you may no longer enjoy their taste.
Allowing a single plant to go to seed should provide you with more than enough seeds for planting the next year.
Lettuce flowers are small yellow flowers that remind me of dandelions, not only in the way they look but also because when the seeds ripen they make fuzzy, fluff much in the same way dandelions do.
As the lettuce goes to seed and the flowering tops fill out, the heaviness causes them to become prone to falling over and breaking the stem, to keep this from happening stake and tie your stalks.
Once the flowers have gone to seed, fluffed out and start to dry, cut the entire top off the plant and allow it to dry hanging upside down in a paper bag.
The seeds are greenish color and flatter before they mature. Mature seeds are a little plumper and are dry and brittle. You will want to harvest your seeds after they have matured but before they start shedding, once they start to drop you can lose almost all your seeds in just one windy day.
Much of what you collect will be fluff and chaff. You will need to separate this from the seeds just as you did for the beans, only be extra careful when winnowing not to blow too hard or much of your seed harvest will be lost.
It is not necessary to remove all the chaff from the seeds, just do the best you can.
When the chaff is removed, label your seeds and store them just as you did your beans. I’m told lettuce seeds will keep for up to five years however the longest I have kept them is three.
Peas:
Seed saving doesn’t get much easier than peas! First, when it comes time for your peas to be picked and are ready to eat, pick out a few of your best plants and mark them by tieing a loose string or ribbon around the plant.
The red ribbon is my favorite as red signals any would-be pickers to STOP, don’t pick from this plant. Make sure the plants you set aside for seed harvest are strong, healthy plants with nice full pods.
When saving seeds, remember the seeds you save will grow up and produce the quality of produce their parents did.
Let the peas on the plants you have marked mature right on the vine. They will be ready for seed harvest 3-4 weeks after they have passed the eating stage. Mature pods will be brittle, and the dried peas inside will rattle when shaken.
Once the seeds are dry, open the pods, and remove the seeds. Toss out any seeds that have insects inside or that are damaged or discolored.
Then simply label and store just as you did with the beans and lettuce. If you’re concerned about rain damage, you can always pull up the mature plants. Hang them upside down in a dry, airy place until thoroughly dry and ready for seed harvest.
Store just as you did with your other seeds for up to 2 years.
Peppers:
Saving pepper seeds is super easy. Let the peppers become fully mature. By fully mature I mean just past the stage where you would usually eat them.
Fully ripe peppers are in full color, green bell peppers will turn red when they are in full color. Once the skin starts to wrinkle a little, cut the pepper open and remove the seeds inside.
Spread the seeds out evenly turning every few days to ensure they dry evenly. When the seeds are fully dry, label and store up to two years as you did for other seeds.
Drying time takes about two weeks. Dry seeds will hard and will not dent you press on them with your fingernail.
Tomatoes:
Once the-the fruit is fully ripe, remove the seeds along with the gel around them. Place the seeds in a glass of water and swirl a couple of times each day.
Make sure to place the glass someplace out of direct sunlight. Also where the smell nor the fruit flies will be a problem.
Within a week, the mixture will ferment, and the useable seeds will sink to the bottom. Once this happens, pour off the liquid and gently rinse the seeds. Spread harvested seeds out on a plate and allow them to dry.
Once dry save in a labeled container just as you did your other seeds and save them for up to two years.
Congrats for deciding to start seed saving, you will be saving heirloom varieties of plants for the generations to come.
Not only will seed saving, save you money. But you are also now well on your way to developing plants that are better adapted to the soil and climate where you live!
You may also want to check out these other posts.
- Hydroponic Gardening 101
- Raised Garden vs Ground Garden
- What To Compost
- Health Benefits of Gardening
- 7 Places To Find FREE Gardening Plants


Leave a Reply