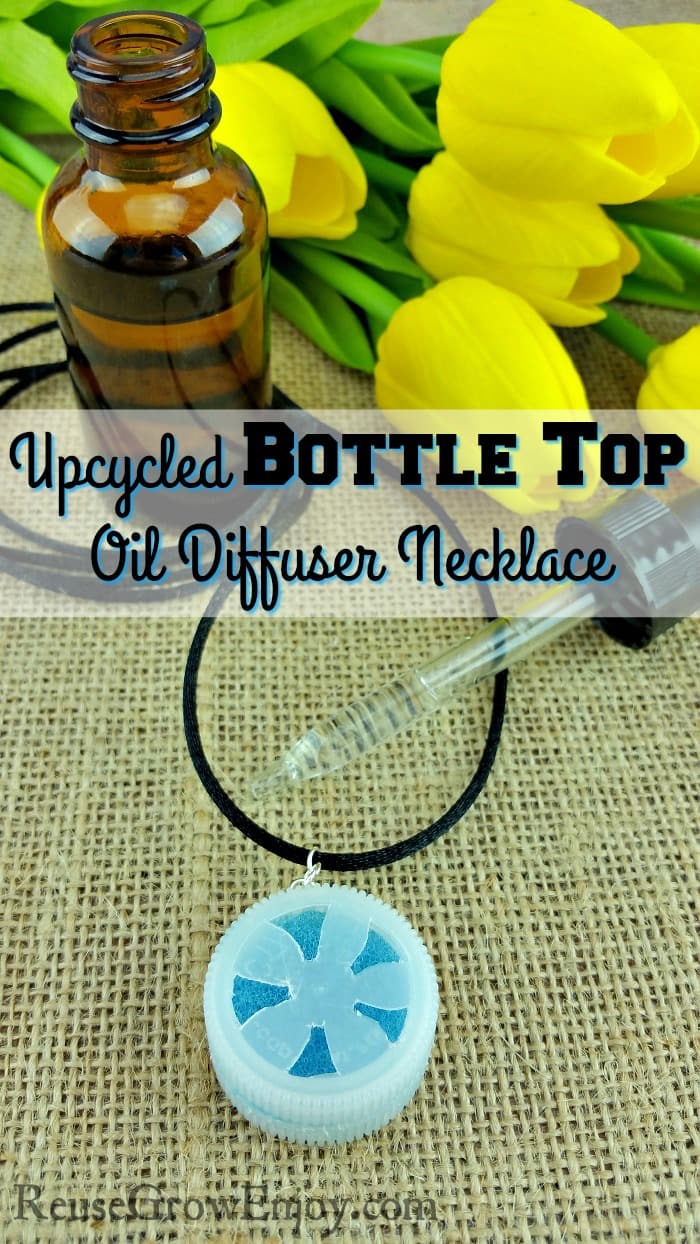
Upcycled Bottle Top Oil Diffuser Necklace
Are you someone that uses essential oils? Do you diffuse them throughout the day? It is easy to do so when you are at home, but what about when you are on the go? Many have found that using an oil diffuser necklace really helps. It is a great way to treat your headache, allergies, anxiety or whatever it is that you need your oils for that all while on the go.
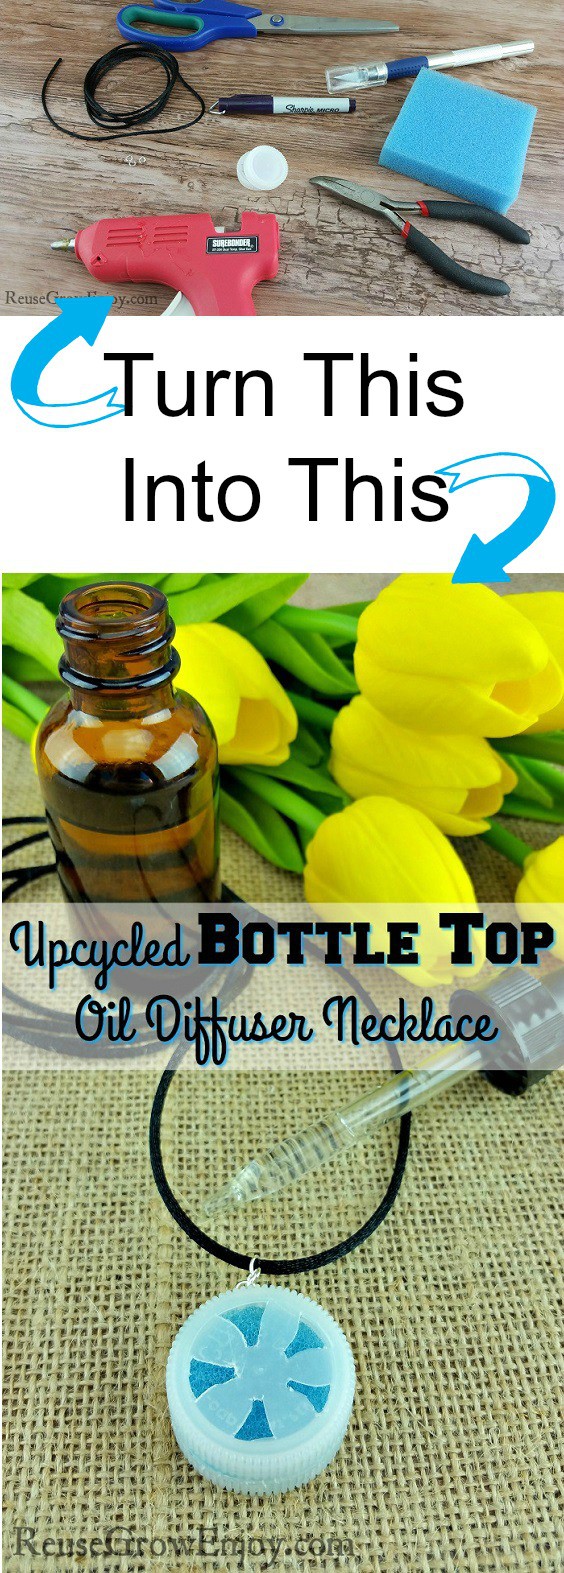
Many places like Amazon now sell an oil diffuser necklace, but what about making your own? Or better yet, making it from something that normally just gets tossed in the trash? Well, I have step by step directions below to make your own upcycled bottle top oil diffuser necklace!
Keep in mind that you can make your necklace with your own pattern, necklace cord or chain and color sponge that you want. Feel free to make it so that it fits you and your style.
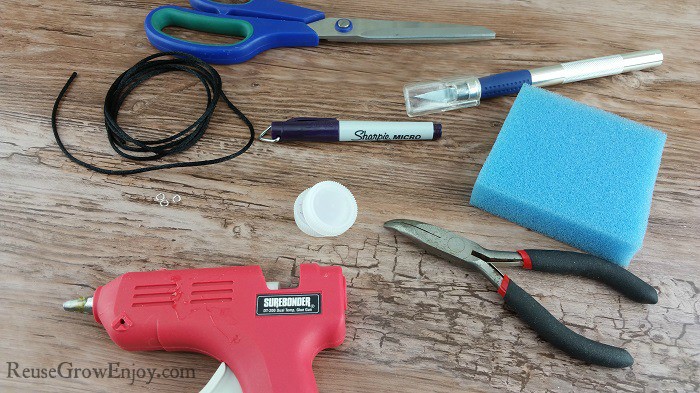
Supplies:
- 2 Plastic Bottle Tops (I used water bottle tops from 16 oz bottles)
- X-ACTO Knife
- 3 Jewelry Jump Rings
- Fabric Cord or Necklace (it needs to be long enough to hang around neck and tie together)
- Scissors
- Sponge
- Hot Glue Gun
- Fine Point Permanent Marker
- Pliers
Oil Diffuser Necklace Directions:
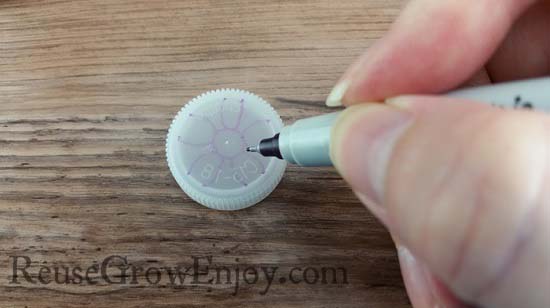
To start off, the first thing you want to do is take your marker and draw the pattern you want on the flat side of one of the tops. On mine, I did a small circle in the middle with 5 small letter C around that circle so that it looks like a flower.
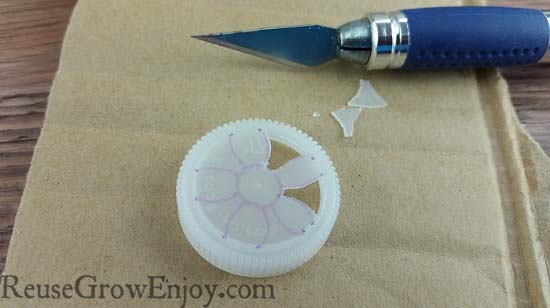
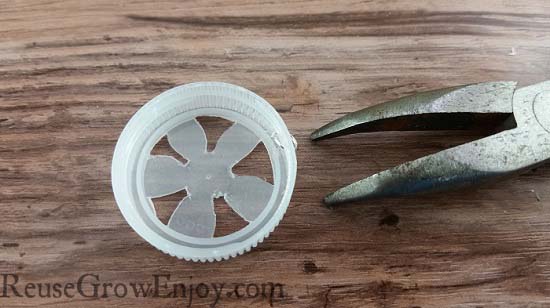
Then using the knife, remove the areas in-between each of the C and be sure that the middle circle stays intact.
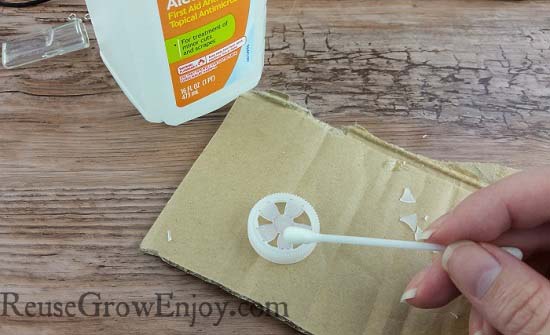
After you have all of your areas removed, you can either leave the marker marks there or remove them like I did. I used a cotton swab and some alcohol and it will come right off.
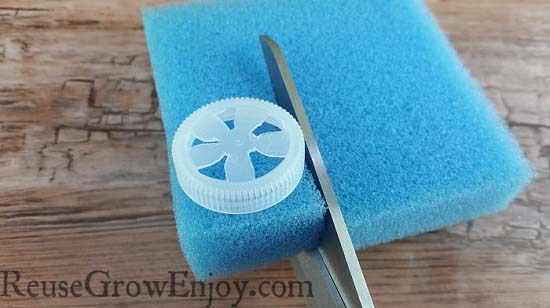
Place one of the tops on the corner of a sponge. Cut a square that is about the same width of the top.
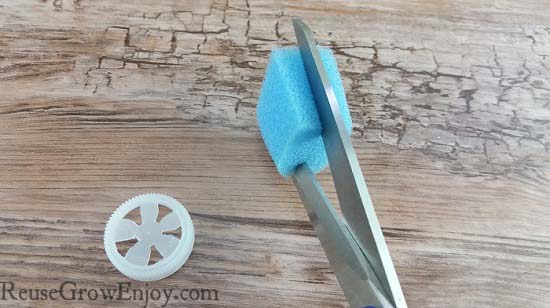
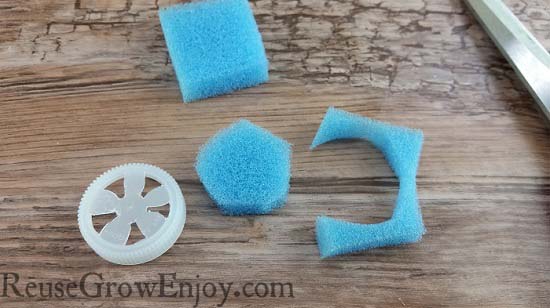
Now use your scissors to cut that small square in half by its thickness. We have to do this because it is to think and will push the tops apart.
Take one of the halves and cut it into a circle. Just be sure not to cut it to small. You want it to be just slightly smaller the tops.
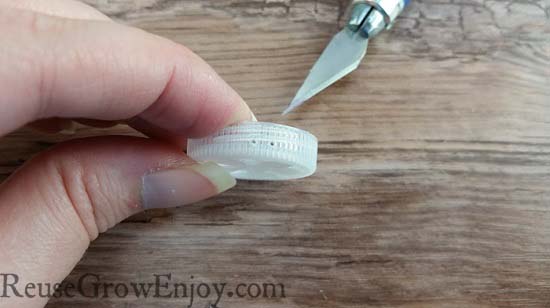
Next, use the tip of your knife and put two small holes in the side of the carved top. Be sure they are pretty close together.
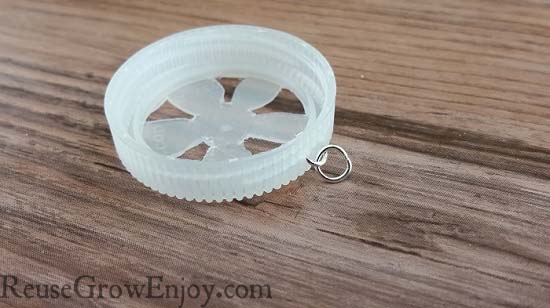
Now open one of the jump rings using your pliers. Put the open ring through the two holes you made and then pinch them closed.
On the outside of that ring, put another ring through that one and pinch it closed.
Glue Together:
Using the hot glue gun, run a bead of glue around the inside of the top that is not carved. Then place the circle sponge piece into that top so that it is glued in place.
Now, run a bead of glue around the side of the sponge. Place the carved top on top of the sponge and hold together until the glue cools. They should now be glued together.
Grab your cord and tie the ends together.
Then open your last jump ring and hook it through the ring on the top and clamp it around the cord. You now have a new upcycled bottle top oil diffuser necklace!
Add The Oil:
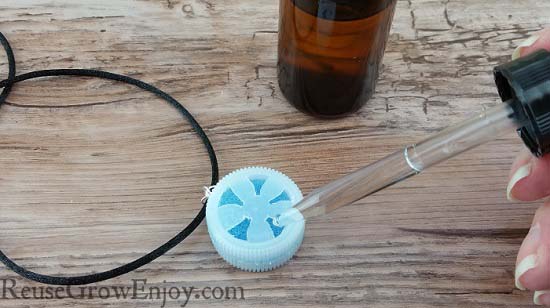
The last thing you need to do is put a few drops of your favorite oils on the sponge. Hang it around your neck and you are ready to go.
If you like this upcycled craft, here are a few others you may want to check out.
- Upcycled Jar Canister
- Upcycled Tomato Basket Into Jewelry Holder
- Cork Craft – DIY Wine Cork Paper Clip Keychain
- DIY Upcycled Twine Vase
- DIY Sweater Box
- Repurposed Utensil Jewelry Tree, A DIY How To
- Bib Overalls Reused Into Bag




Leave a Reply