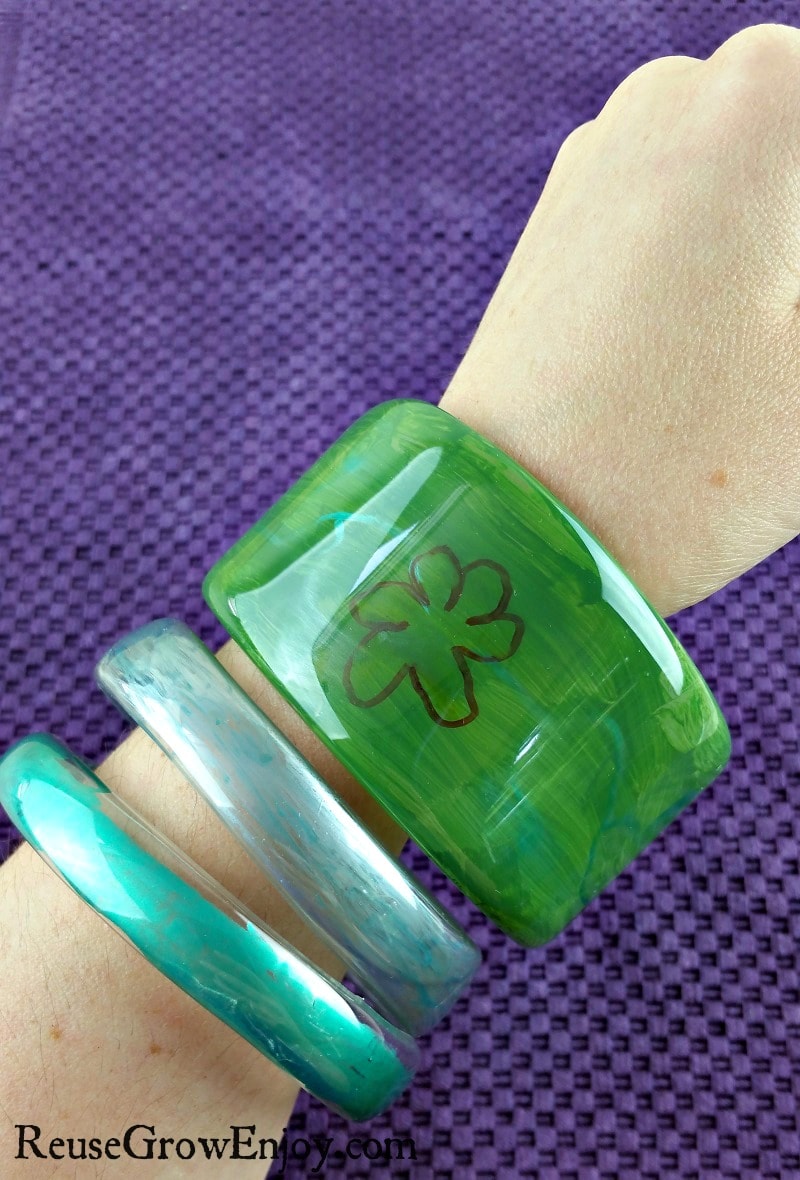
DIY Plastic Bottle Bangle Bracelets
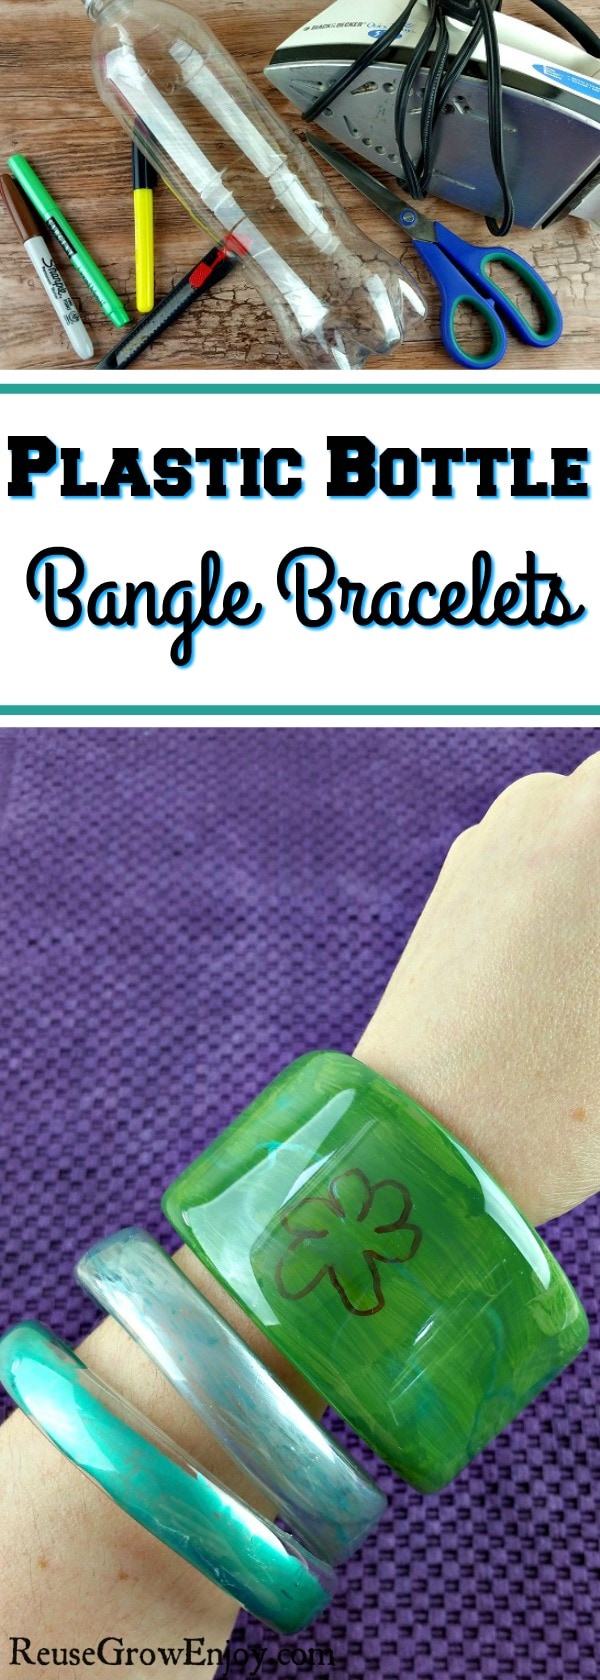
There is a never ending supply of plastic bottles. That is why it is a great idea to find ways you can reuse them and not simply toss them in the trash. Below I am going to show you how to make these DIY plastic bottle bangle bracelets.
The first thing you want to do is gather some plastic bottles. I used one-liter bottles to make mine. You can use other sizes too. It just depends on how large you want the bangle bracelets to be and how big the wrist is that it will be going on.
You can use clear or colored plastic. For mine, I used clear and then added some color with markers and paint. Another great way to add color is by mixing school glue and food coloring to use as paint. You can see that being used as paint in my post How To Color Glass So That It Looks Tinted.
After you have collected your bottles, you want to remove all labels and the glue from them. If you are not sure how to get all that glue off, check out my tip for Natural Glue Remover. You will also want to give them a good wash out. After you have done that, we can get started.
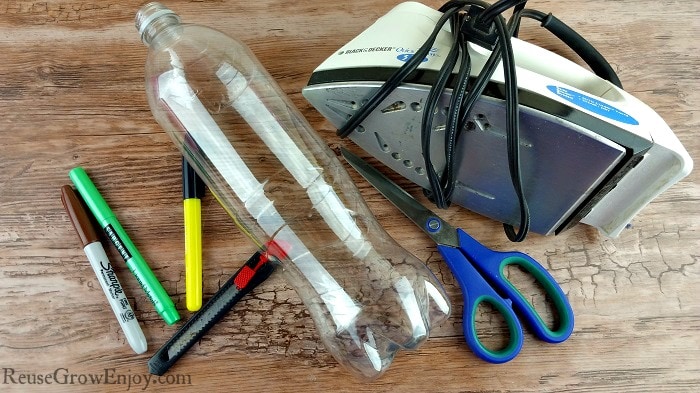
Plastic Bottle Bangle Bracelets Supplies:
- Plastic Bottles With Labels and Glue Removed (1-liter bottles work best, you get about 3 bracelets from a bottle)
- Scissors
- Utility Knife
- Iron
- Permanent Markes or Nail Polish (school glue with food coloring will also work.)
Directions:
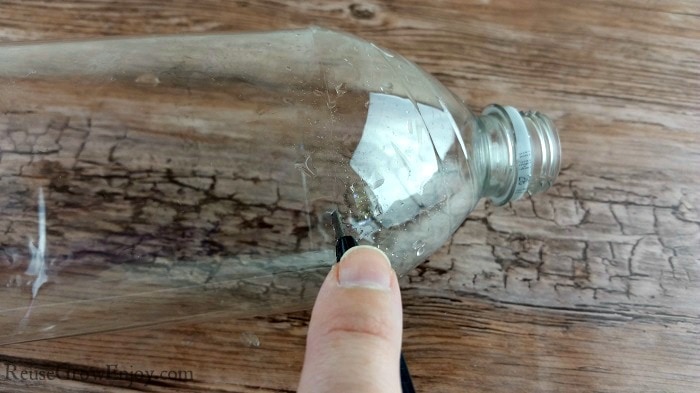
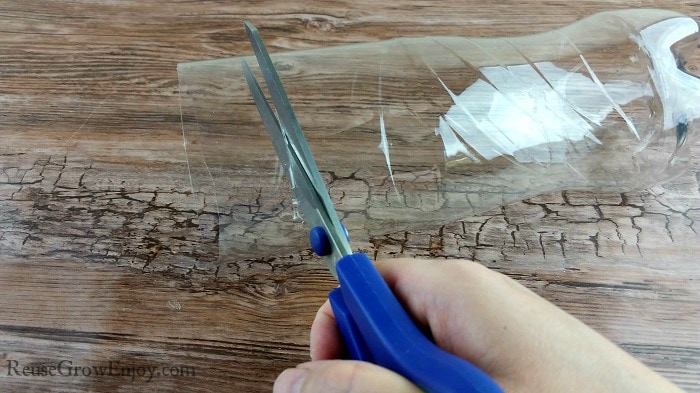
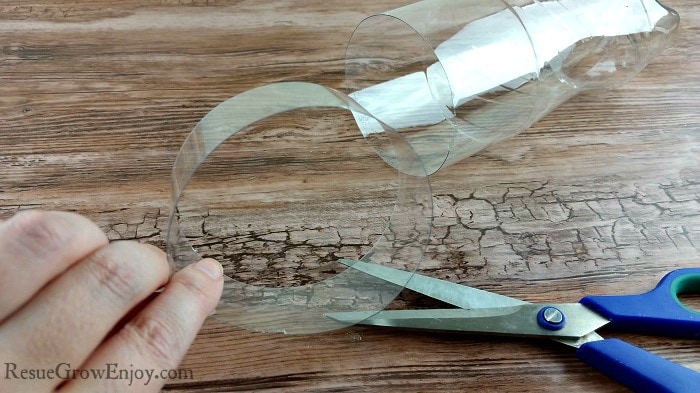
After you have your bottle with label and glue removed, we need to cut it. You can do this by placing a small slit in the plastic just as the bottle widens. Then use the scissors to cut all the way around. Do the same thing an inch or so down. That will give you one bangle piece.
Now, depending on how wide you want your bangle bracelets to be will depend on how wide you cut it. Remember they will shrink slightly when you melt them. I did mine in a few different widths.
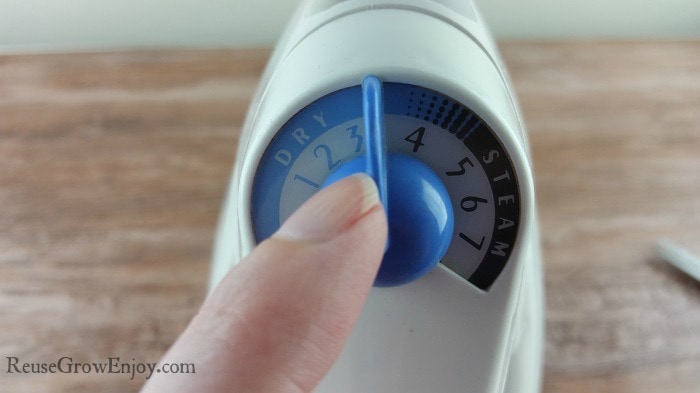
Next, turn your iron on to no steam. You want to put it on number 3-4. After it is hot, very carefully swirl the edge of the piece of plastic you just cut onto the iron. Be sure not to hold it still for too long. After just a few seconds you will see that edge curling in and you can stop.
Flip it over and do the other edge.
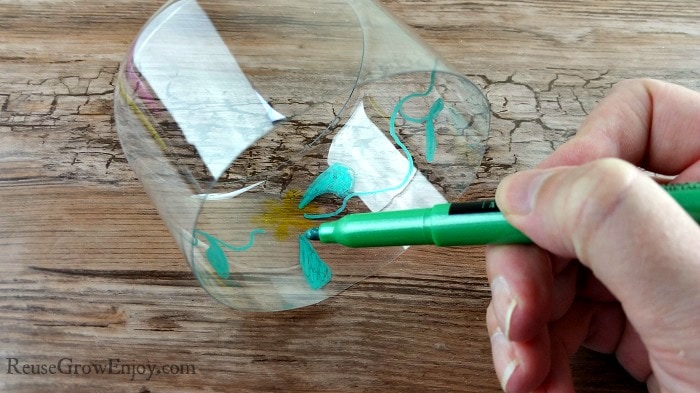
Now comes time to make it pretty. On the inside of the bangle bracelets, use your markers, nail polish or glue paint to add color and designs. Then allow to fully dry.
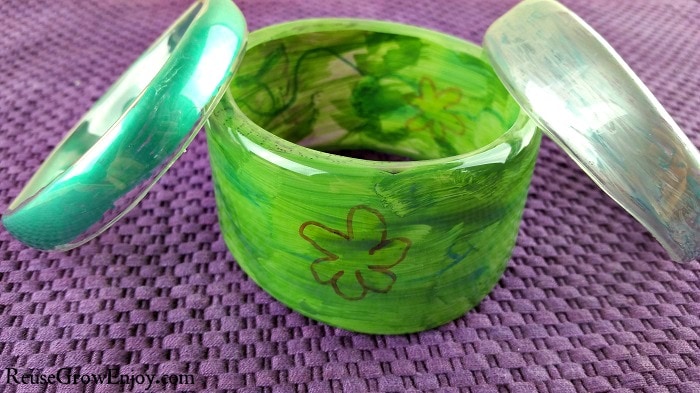
That is it! You know have some super cute new bracelets to wear.
If you liked this plastic bottle craft, here are some others to check out.
- Plastic Bottle Fish Craft
- DIY Plastic Bottle Leaf Napkin Ring – With Video
- Kids Outside Activity: Plastic Bottle Bowling
- Upcycled Bottle Top Oil Diffuser Necklace
- DIY Bird Feeder


Sandra b. says
This is a very great idea,doing this with my granddaughters thanks
Reuse Grow Enjoy says
You are so welcome. I am sure they will have fun doing it!
Valorie says
I think this would work for making purse handles too.