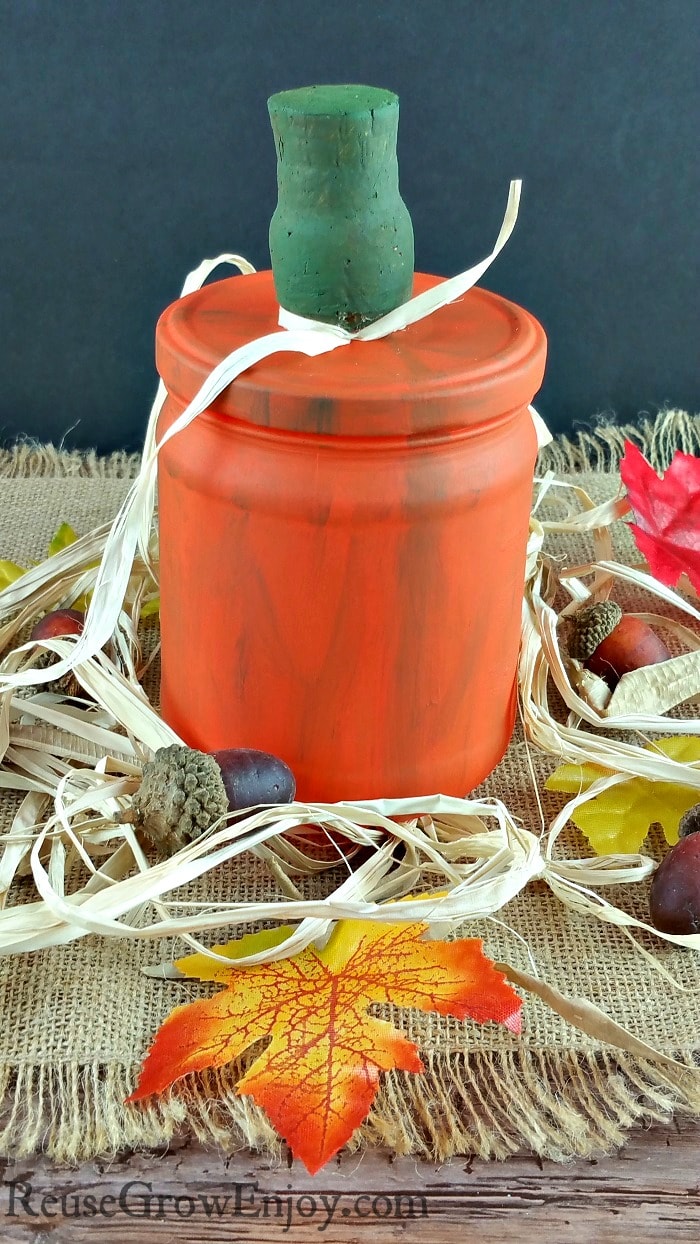
DIY Glass Pumpkin Craft
Made From Upcycled Supplies
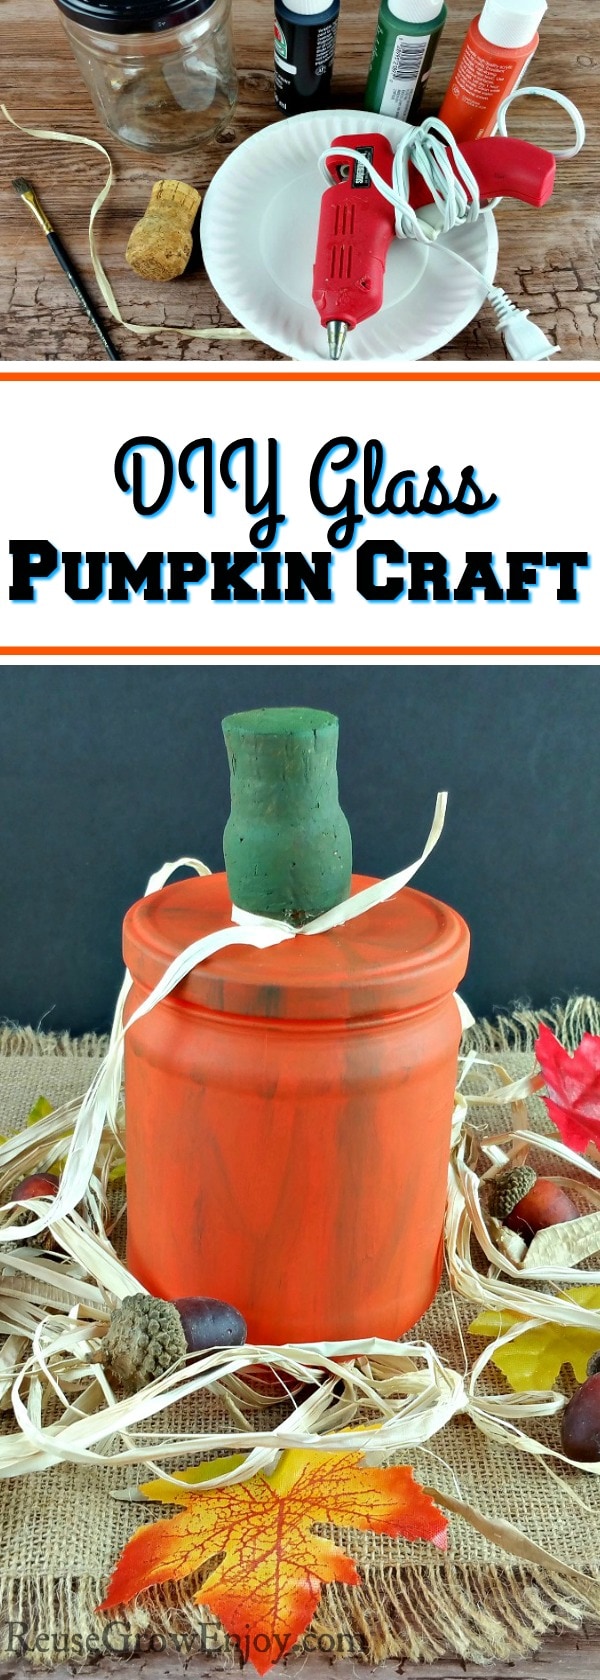
Who is ready to add a fall look to the house? If you are looking for new ideas to bring the fall indoors this year, I have a craft for you to try. It is a DIY glass pumpkin craft that is made from upcycled supplies.
Chances are, most of you already have most the supplies you need to make this craft. One of the best things about upcycled crafts is not only are they cheap to make, you keep trash out of the landfill. So it is a win win!
Let’s get started!
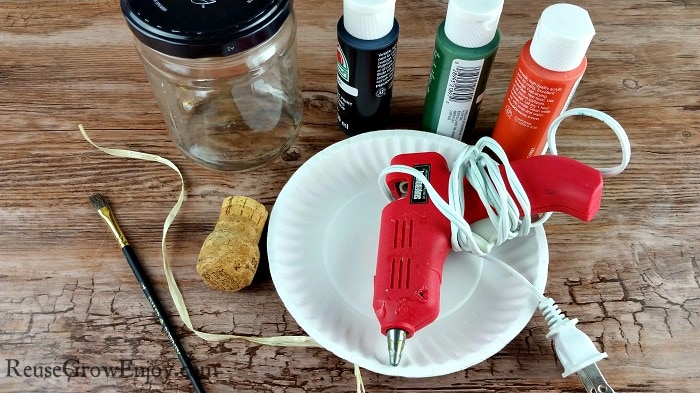
Glass Pumpkin Craft Supplies:
- Hot Glue Gun & 1 Glue Stick
- Craft Paint Brush
- Cork
- Orange Craft Paint
- Black Craft Paint
- Green Craft Paint
- Glass Jar With Lid – Washed and Label Removed
- Piece Of Twine Or Raffia
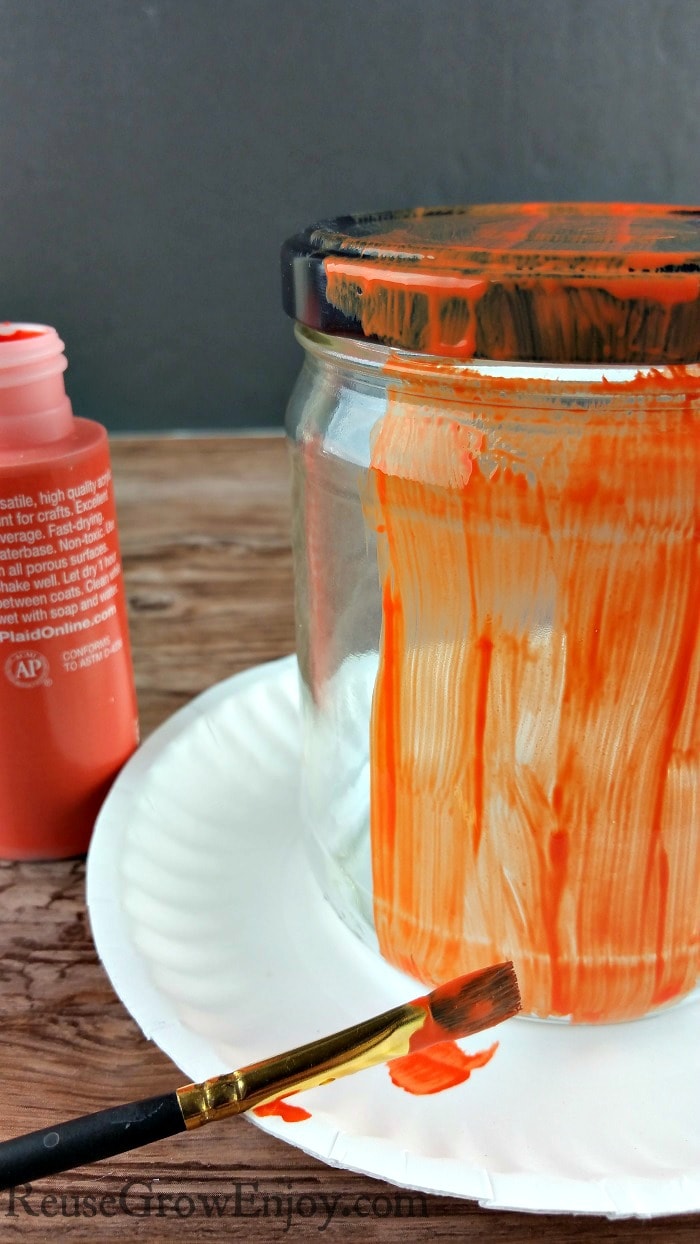
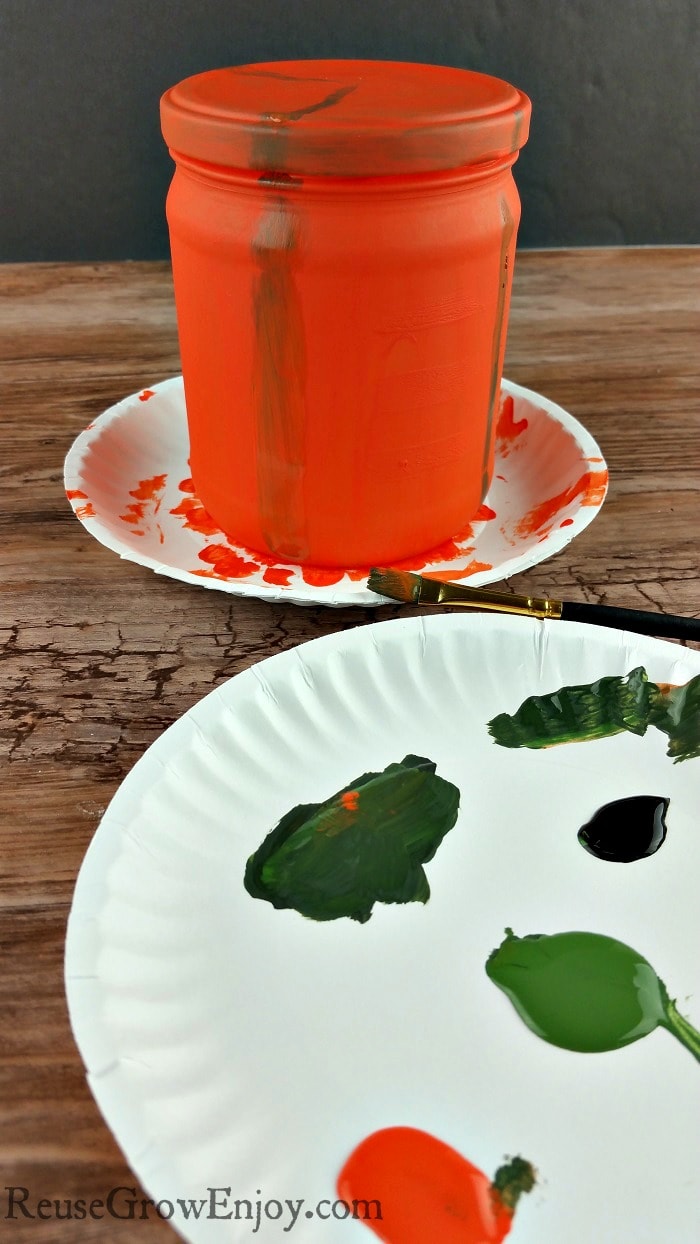
The first thing you need to do is paint your jar and lid orange. Be sure to get all of it with a nice even coat. Then allow to dry.
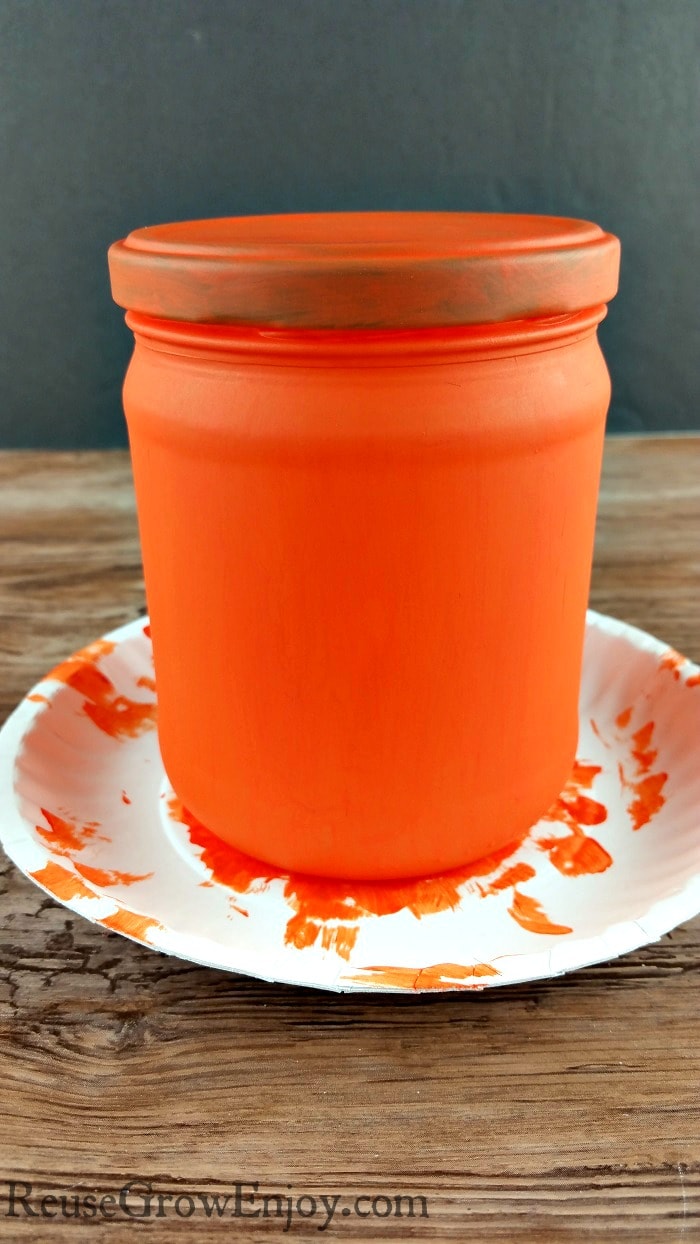
After it is totally dry, go over it with another coat of orange. Then allow that one to dry.
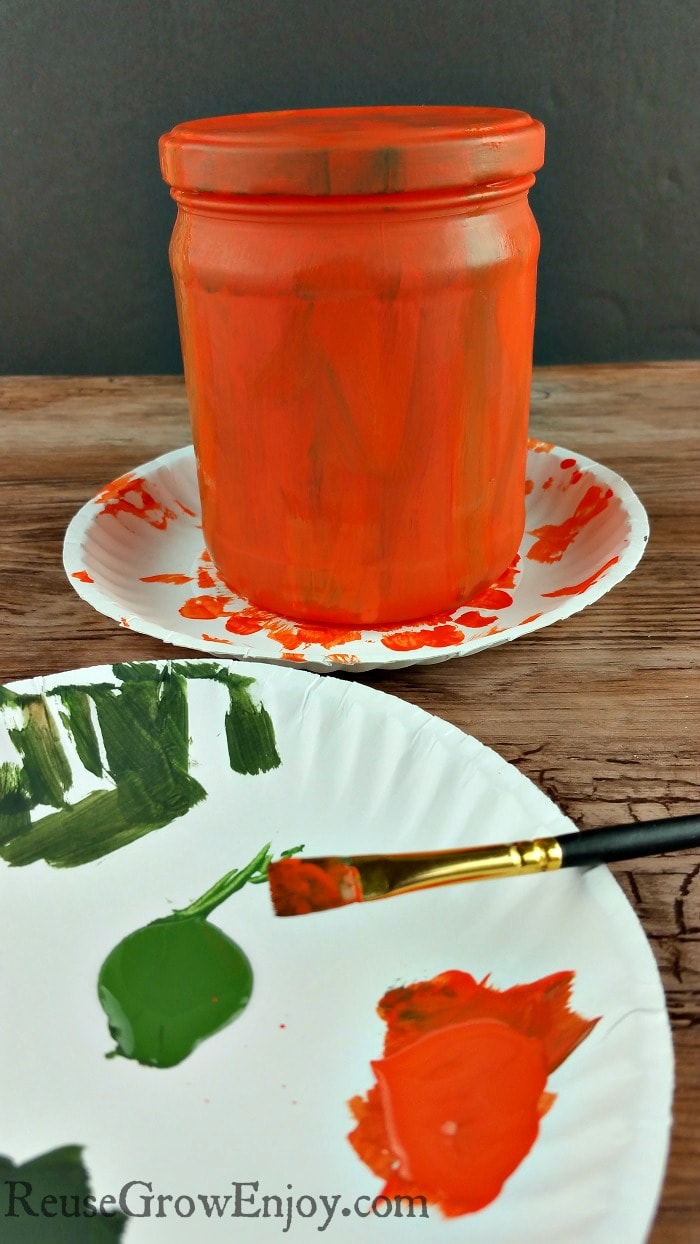
Next, blend a little green, black and orange on a container or plate til you have a color you are happy with. Then apply a few dark lines down the sides of the jar and across the top of the lid. You can fan out from the lines to lighten them slightly.
Then using the same color or even lighter add some light brush stroke marks around the jar. If you get any areas darker than you like, you can let it dry and then go back over that area with a very light coat of orange or even mix a little more orange with it when it is wet.
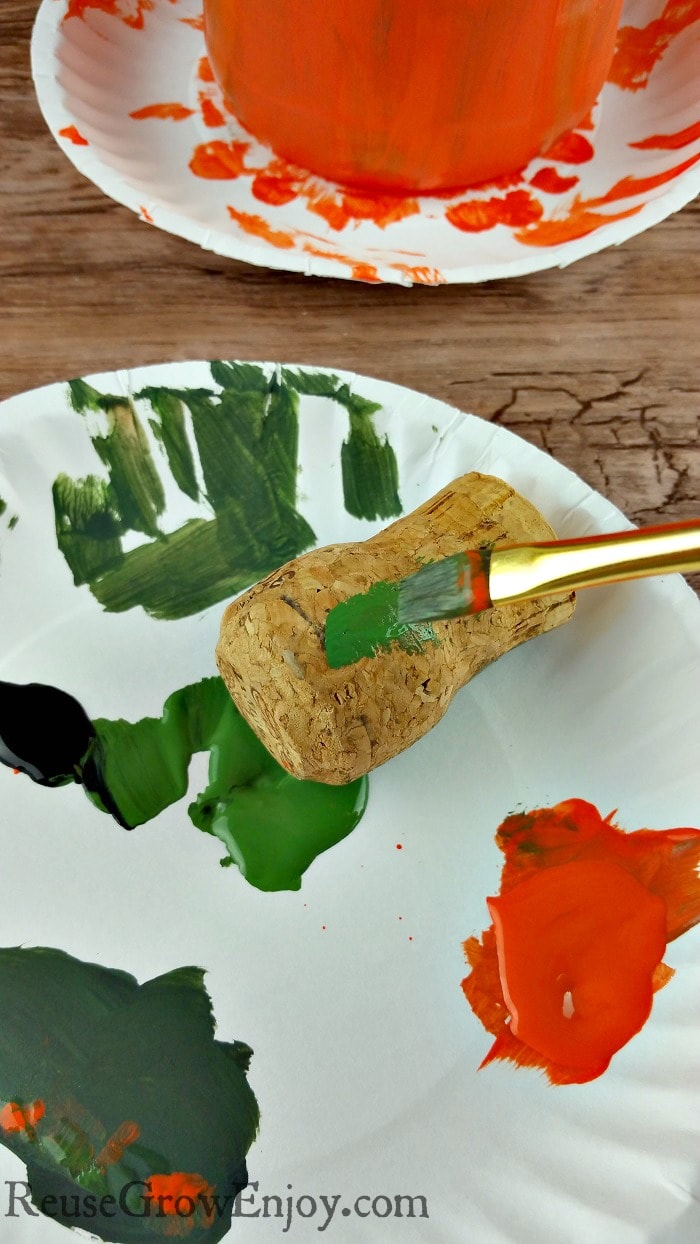
Now you need to paint your cork green. Set aside and let totally dry before adding it to your glass pumpkin.
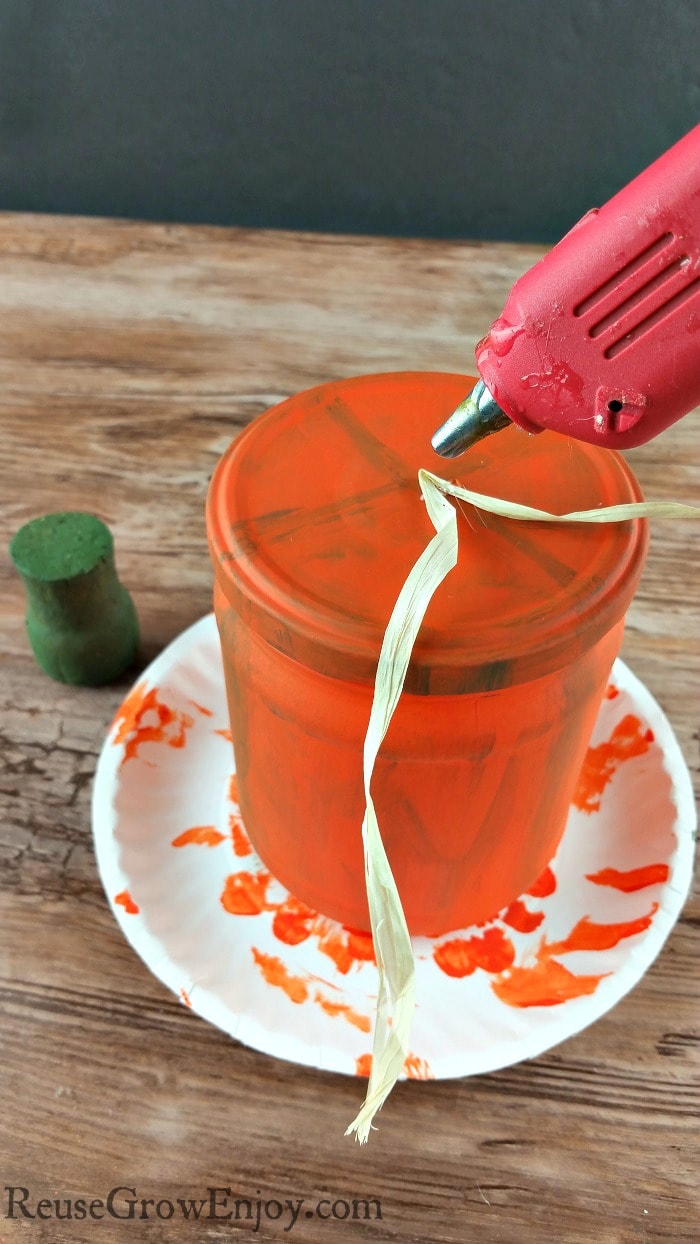
After the cork and the jar are dry, it is time to glue things together. Simply add a dot of hot glue to the top center of the lid and place the twine there. Then add more glue on top of that and place the cork there.
I did not like the small amount of hot glue that was showing after gluing the cork, so I wrapped the twine around the cork and it covered it.
Now you have a cute fall glass pumpkin to display!
If you liked this upcycled craft, here are a few others to check out.
- DIY Baseball Wreath – Upcycled From Old Balls
- DIY Cotton Stem – Farmhouse Style Decor
- Pumpkin Craft Upcycled Mason Jar Lid
- DIY Fall Wreath
- DIY Pillow – Throw Pillow DIY
- Plastic Bottle Leaf Napkin Ring – With Video


Leave a Reply