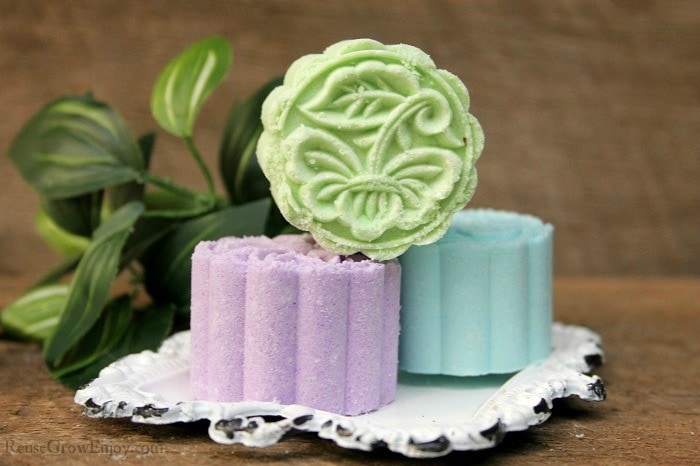
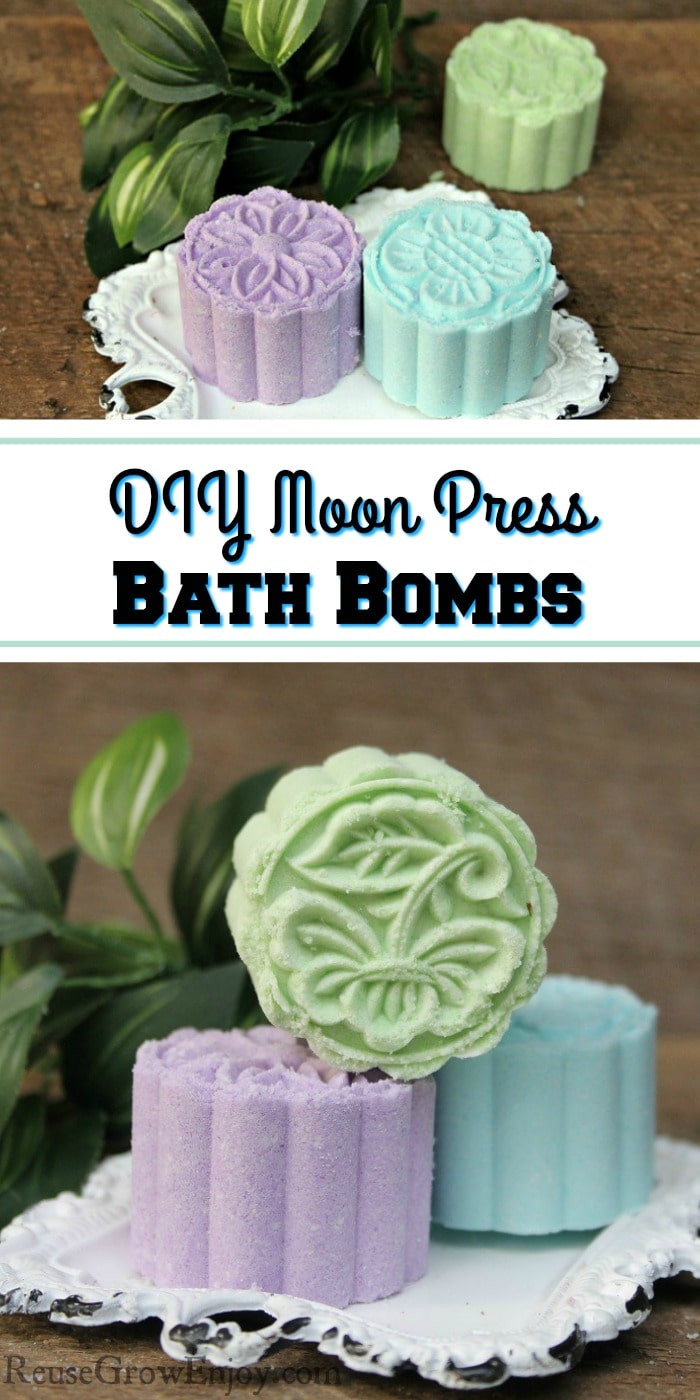
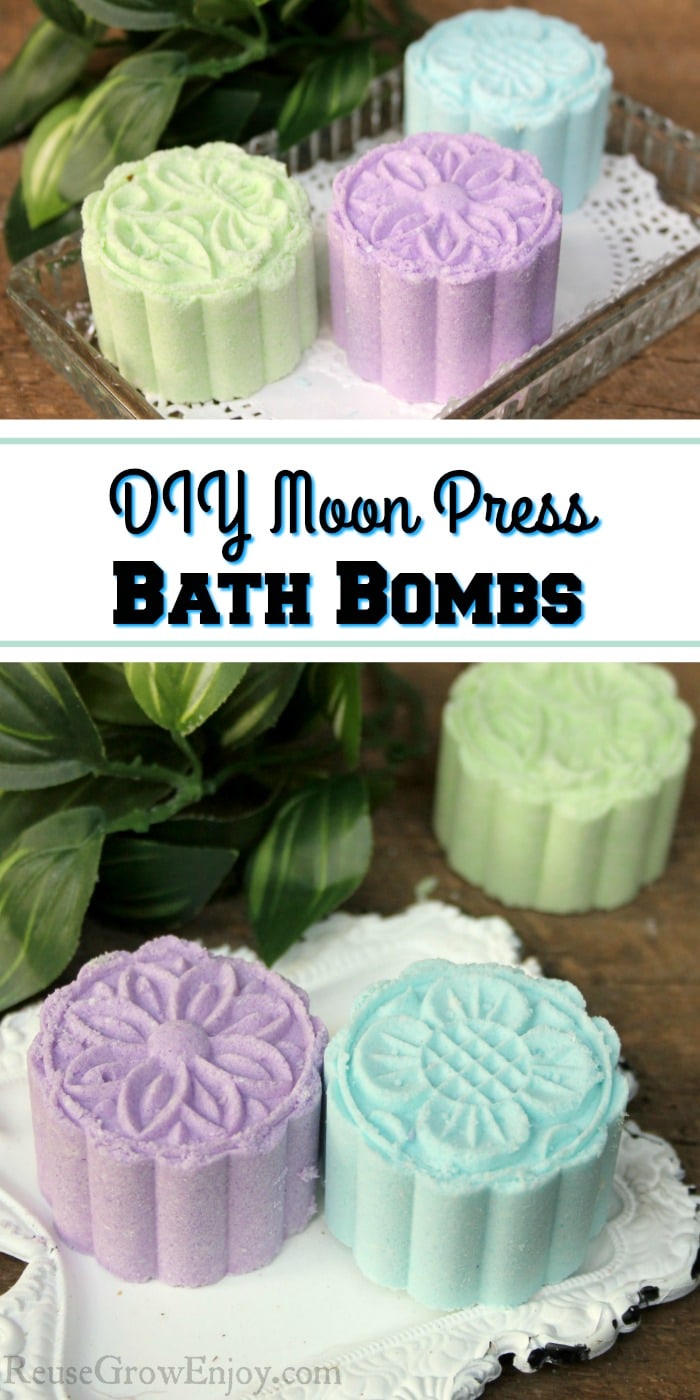
Need to relax in in a hot bath? Pop a bath bomb in the water and let the day soak away. Learn how to make these pretty DIY moon press bath bombs with essential oils.
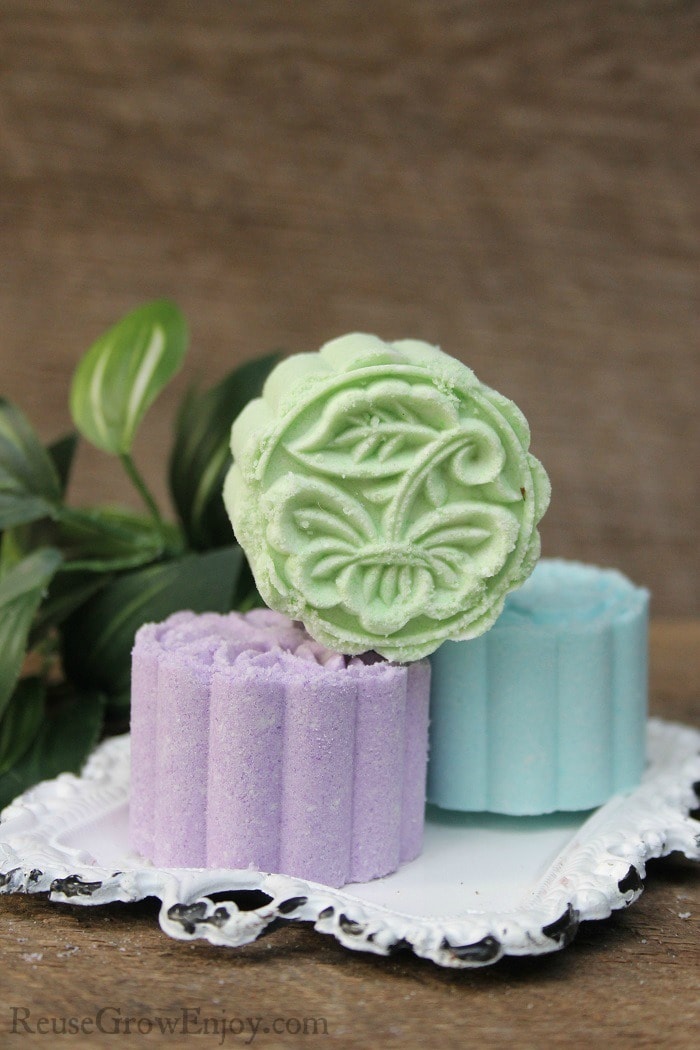
DIY Moon Press Bath Bombs With Essential Oils
You can buy pre-made bath bombs at the store or online, they are pretty easy to make right at home too. Below you will find all the details on how to make these moon press bath bombs with essential oils.
These work really well to treat yourself to a nice relaxing bath. They also make for a really nice gift idea when added to a spa basket or something like that.
Do I Have To Use A Moon Press Mold?
No. If you do not have a moon press mold but do have some other type mold such as a normal bath bomb mold, you can use those in its place. Silicone soap molds also work well too.
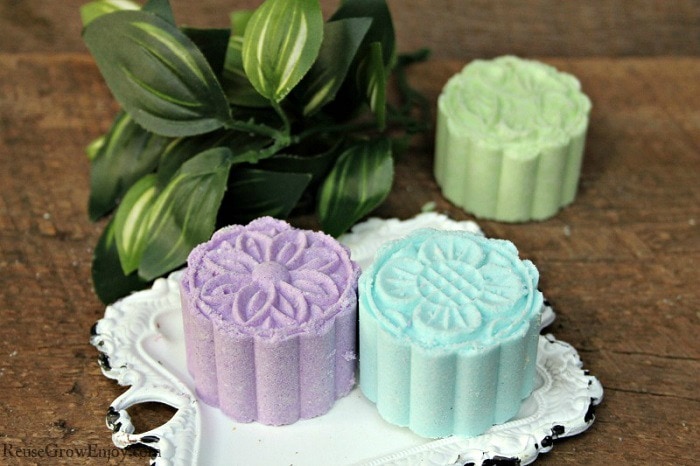
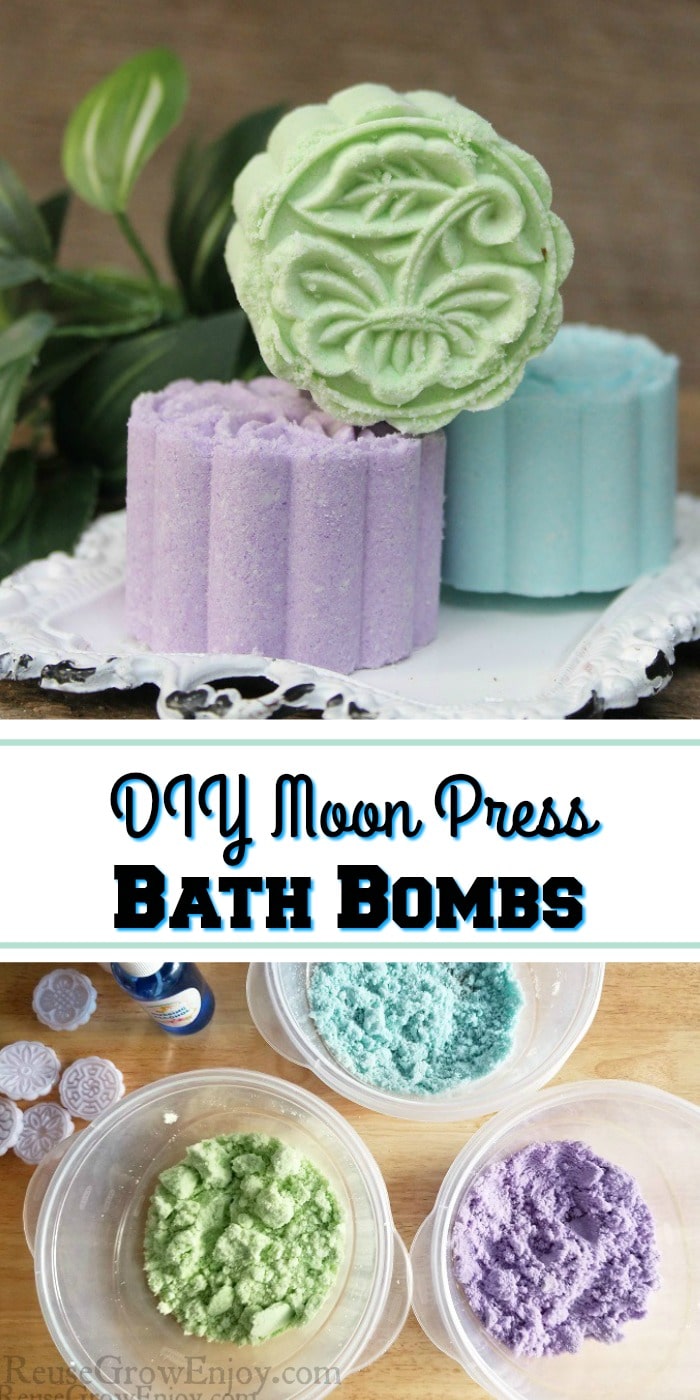
The reason we choose to use a moon press mold for these is they just turn out so pretty. You get a really detailed bomb and it packs nice and hard.
How Do You Store?
You will need to store them in an airtight container or plastic bag. If moister gets to them can start to break apart. A few options that work well is a glass jar with a latch top (like this one). Or if you are gifting a few at a time, you can wrap them in cellophane bags.
Supplies Needed:
- 1/2 Cup Cornstarch
- 1 Cup Baking Soda
- 1/2 Cup Epsom Salt
- 1/2 Cup Citric Acid
- 2 1/2 Tbsp Fractionated Coconut Oil
- 2 Tsp Rubbing Alcohol (or water)
- Favorite Essential Oil (used Chamomile, Bergamot, Eucalyptus different oil for each color)
- Mica coloring (optional) or you could also use natural options like these here.
- Baking sheet, large tray or plate
- Spray bottle of rubbing alcohol
- 3 Smaller Mixing Bowls
- 1 Large Mixing Bowl
- Moon Press mold
- Parchment or wax paper
How To Make Moon Press Bath Bombs With Essential Oils:
In the large bowl, add the dry ingredients together excluding the coloring that comes later if you choose to use it.
Next, in a smaller bowl mix the coconut oil and 2 tsp or alcohol together and mix well.
Now slowly add in the liquid mixture to the dry mixture. Just add small amounts at a time. This is very important. If you add to fast it will set off the citric acid and it will start to fizz and you will not have that fuzziness in the bath bombs when you add them to the bath.
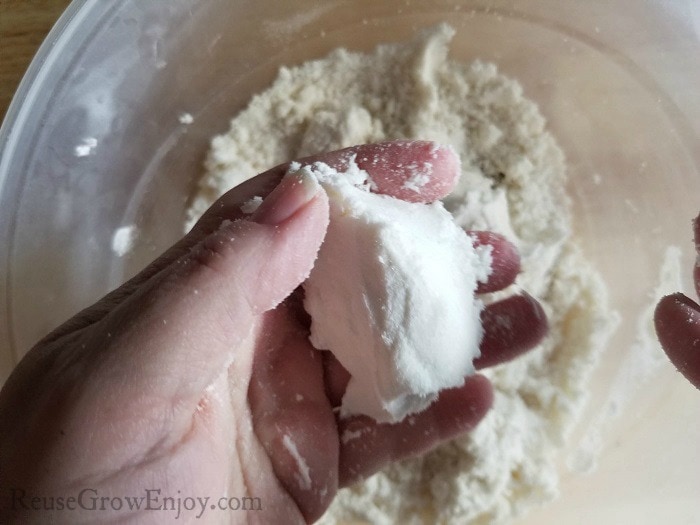
Whisk or stir until it is fully mixed together. You will know when the mixture is right if you can press the mixture together in your hands.
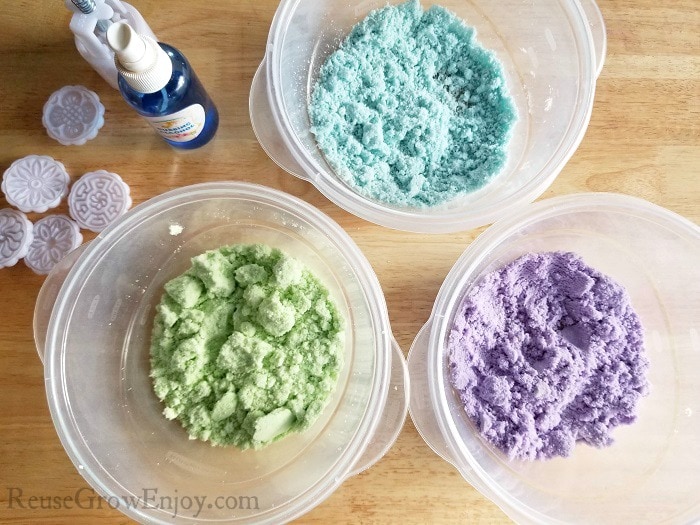
Now if you are coloring or adding different oils separate the mixture evenly into three bowls. If not coloring and doing them all with the same essential oil you can skip this step.
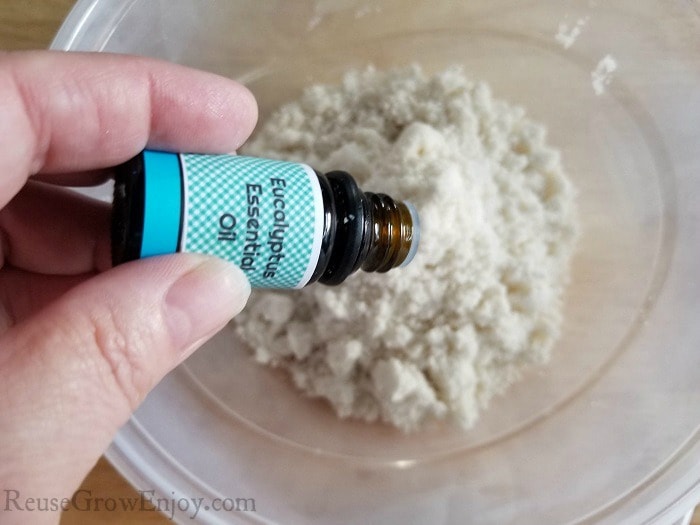
Add a few drops of essential oil to each bowl. This again needs to be done slowly with a drop or two at a time and mix it in. You only need to add about 6-7 drops to each one.
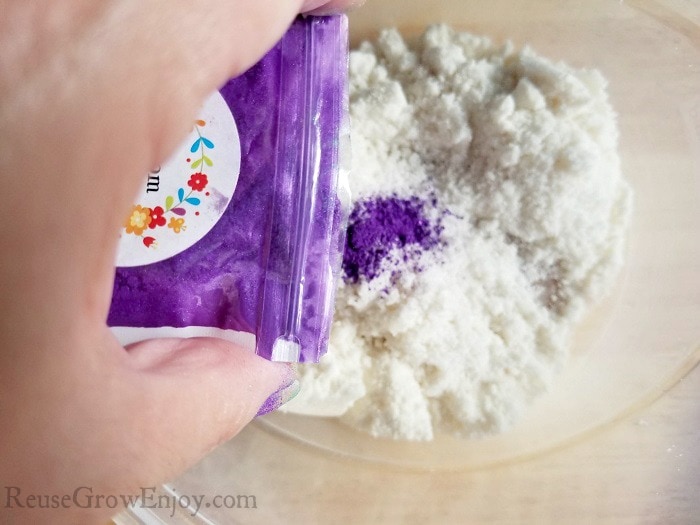
Mix in the coloring to each bowl. Using a whisk, fork or hands, mix the coloring thoroughly into mixture until you have achieved the color you want.
Pressing The Bath Bombs:
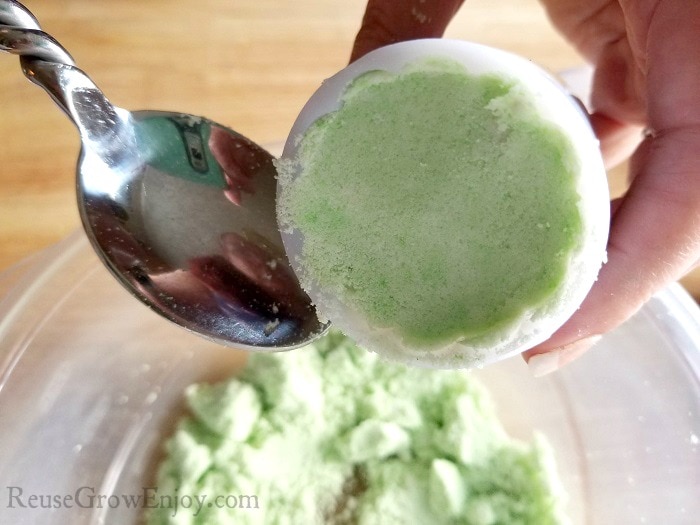
Start packing your moon press mold with one of the color mixtures. Make sure to pack in very well. Press firmly with a spoon to make sure there are no gaps.
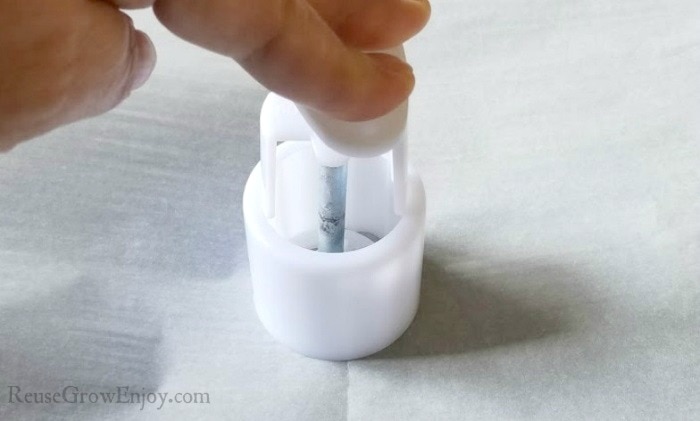
Press the moon press down firmly once or twice to further pack in the mixture. Hold your moon press about 1/2 inch above the tray or plate and carefully push down on the handle of the press.
While pressing on the handle, you want to slowly lift the press up to release the bath bomb.
If for some reason you are not happy with how it comes out, you can put back into the mixture and try again. It may take a few practice tries before you get the hang of it.
As you are making your bath bombs, your mixture may start to dry out. If that happens and it probably will, just add a spray or two of the rubbing alcohol on to the mix and give it another stir.
After you are finished, you need to allow your bath bombs to dry overnight or 6-8 hours. Store in an airtight container or wrap tightly in plastic.
When you are ready to enjoy, drop one in your bath water and let the fizzy smell go to work!
Looking for other DIY projects to do? Here are a few to check out.
- DIY After Sun Relief Cubes
- DIY Tinted Natural Lip Gloss
- Peppermint Coffee Sugar Scrub For Lips
- DIY Cold Processed Coffee Soap
- DIY Natural Foundation Powder
- Green Tea Sugar Scrub
- DIY Dry Shampoo For Blondes


Leave a Reply