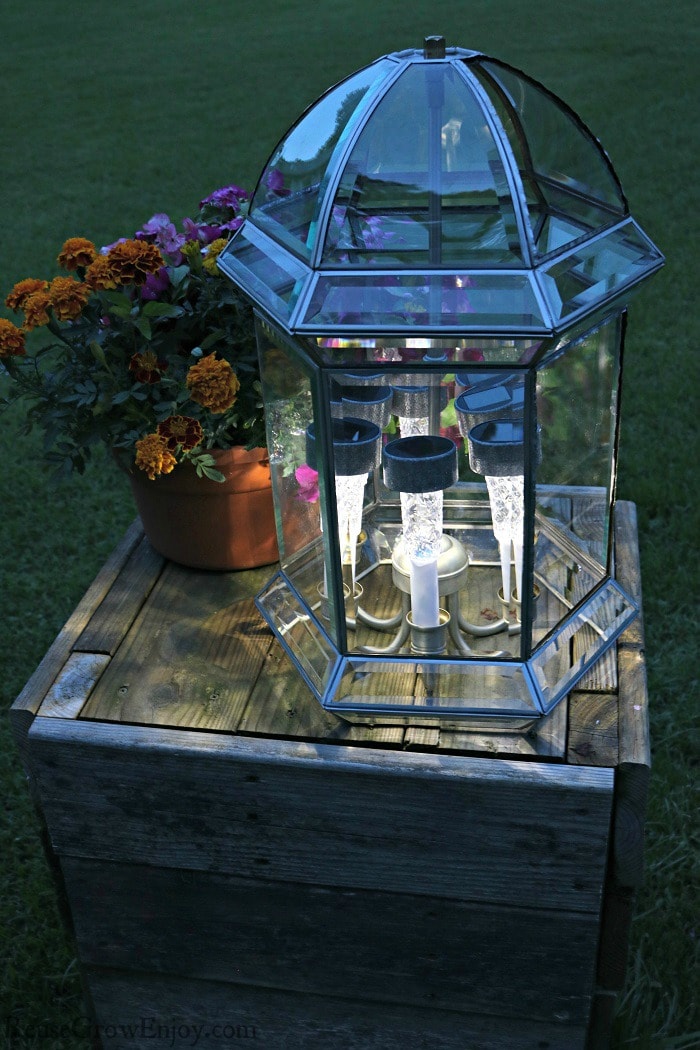
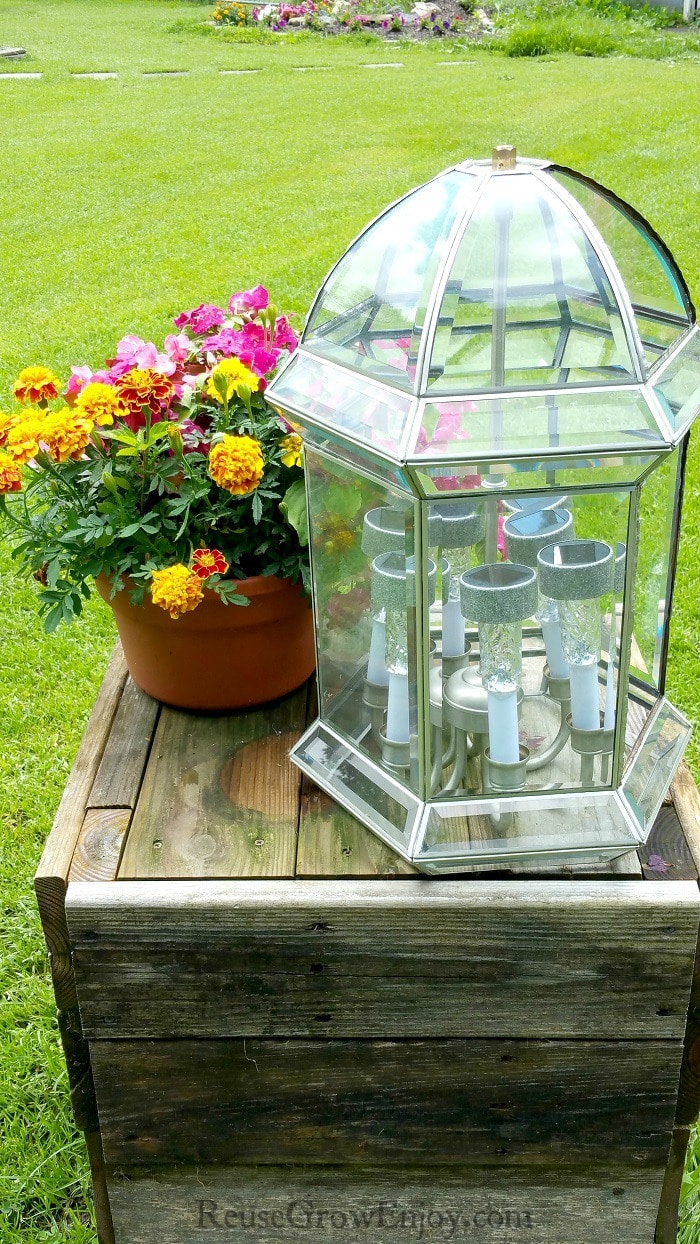
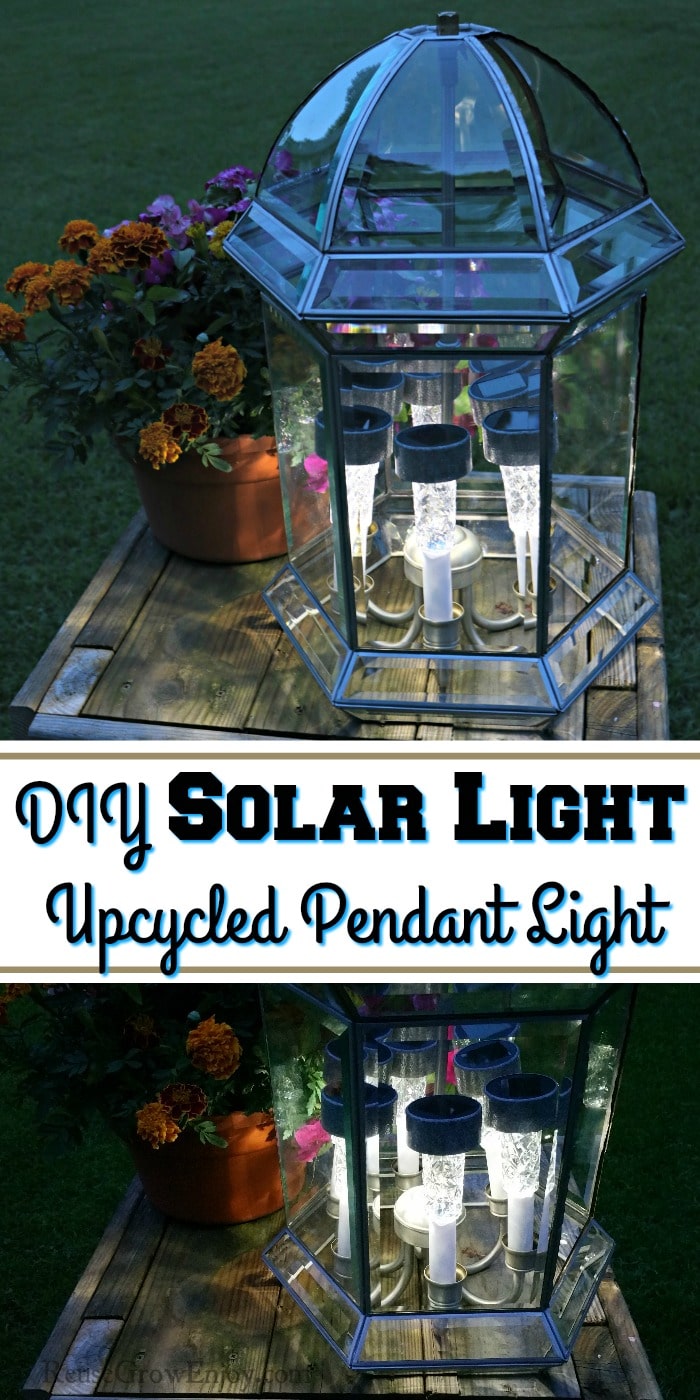
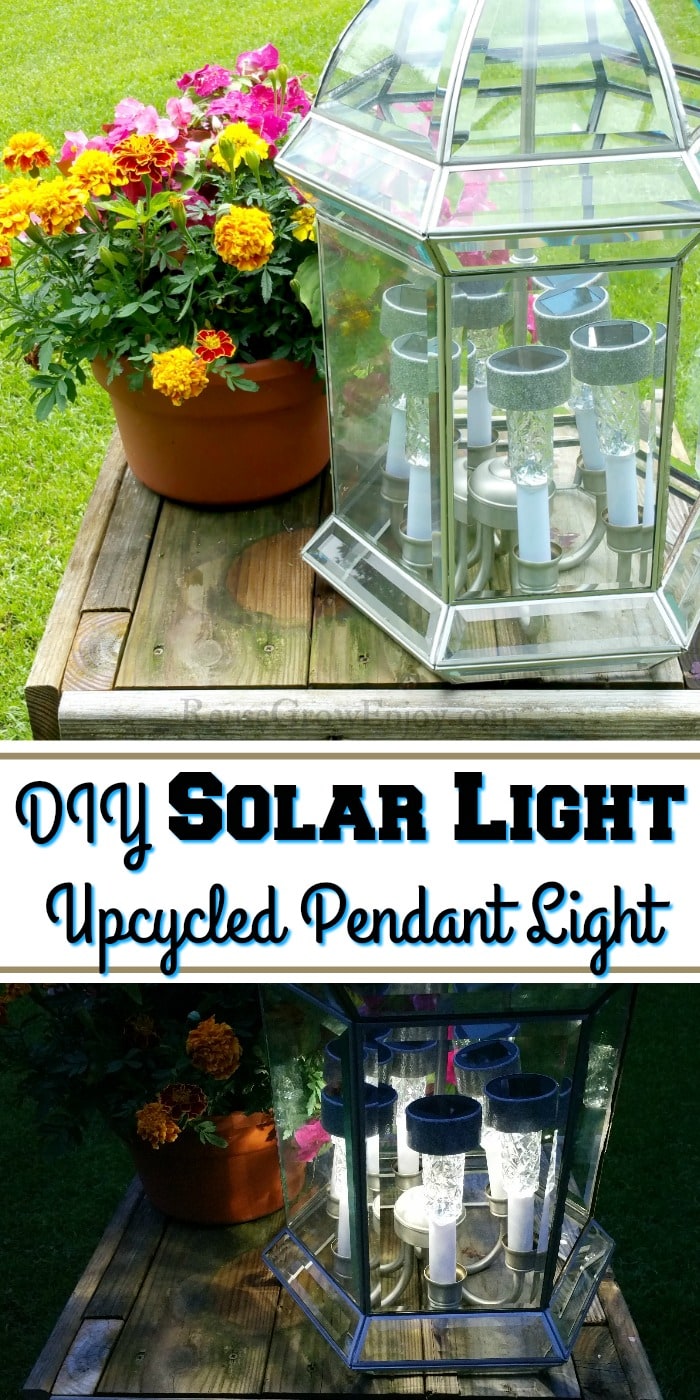
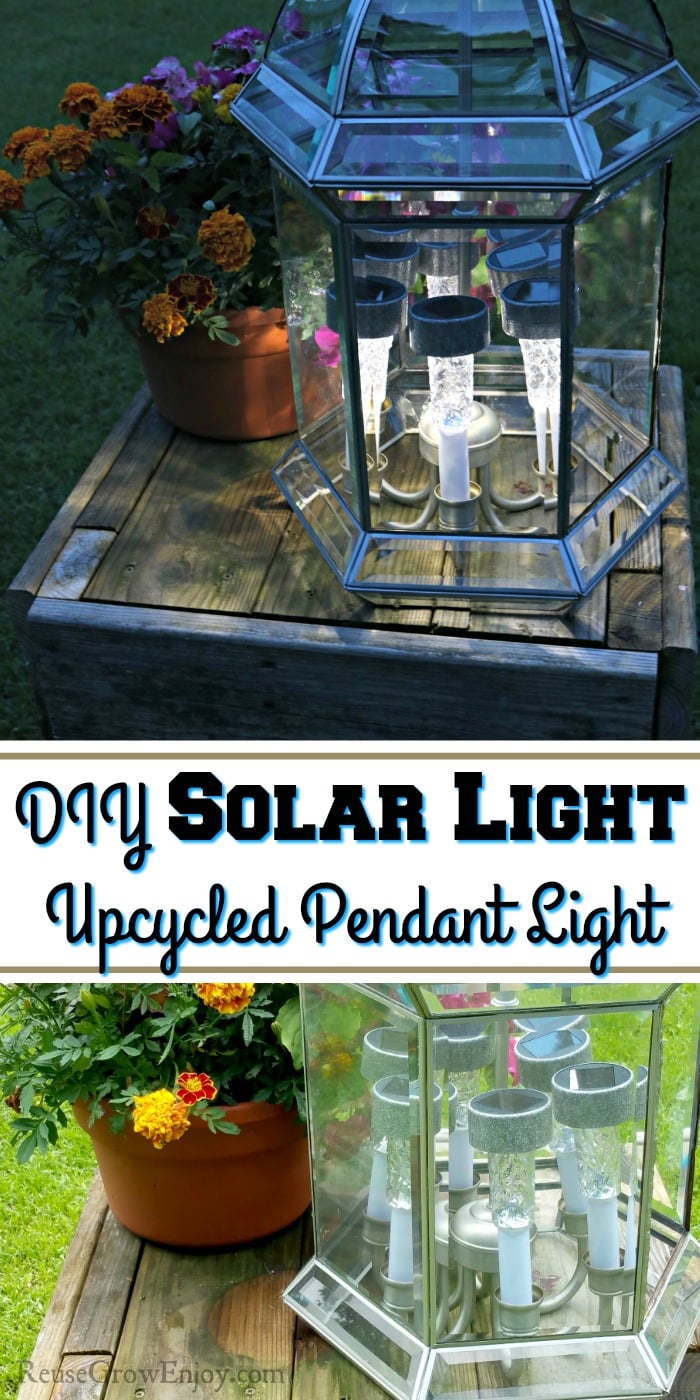
Could you use a patio lamp but don’t want to run wiring? This DIY project will do the trick. Learn how to upcycle a pendant light to a solar light with little to no skills!
DIY Solar Light Patio Lamp
From Upcycled Pendant Light
Having some lighting outdoors to enjoy those lovely nights outside is always nice. But not everyone has the skills to wire them in or the money to hire someone to do it. Learning how to make your own DIY solar light patio lamp can solve both those issues.
You may already have an old pendant light kicking around in the garage or attic from a home update. But if you don’t you can find them at yard sales, thrift stores or salvage yards and craigslist for cheap. You can sometimes even find them on eBay too.
Just keep in mind when you are on the lookout for a light, you want one where the lights are pointing upwards. The ones that point down, will not work for this project.
That is because the solar light panel needs to be able to charge from the sun.
If you can’t find a pendant light that will work, this could also be made by upcycling an old lamp!
The solar lights have really come down in price these days and are available just about everywhere. I got mine all at Dollar Tree for just $1 per light. So I spend just $6 on the lighting to make this patio lamp.
If you don’t have any stores near you or don’t have time to make a trip to the store, you can get a pretty nice deal on some lights here.
Supplies Needed:
The items needed could change slightly depending on what type of light or lamp you use. I am showing you what I used to make the one pictured here. So it should give you a pretty good idea of what you will need for yours.
- 1 Light For Each Lightbulb Space (I needed 6 for my light)
- Pendant Light With Lights Pointing Up (could also use a lamp if you want)
- Flat Screwdriver
- Needle Nose Pliers
- Regular Pliers
- e6000 Adhesive
- Wire Cutters
- Adjustable Wrench
Before we get into how to make this light, here are a few other ideas you may want to check out after this project.
- Wood Pallet DIY Raised Planter Box
- Upcycled Crib Garden Trellis For Climbing Plants
- Upcycled Hand Stamped Can Top Garden Markers
- Simple Garden Upcycling Ideas
- Ways To Reuse Everyday Items
- DIY Pallet Wall Project
How To Make Solar Light Patio Lamp:
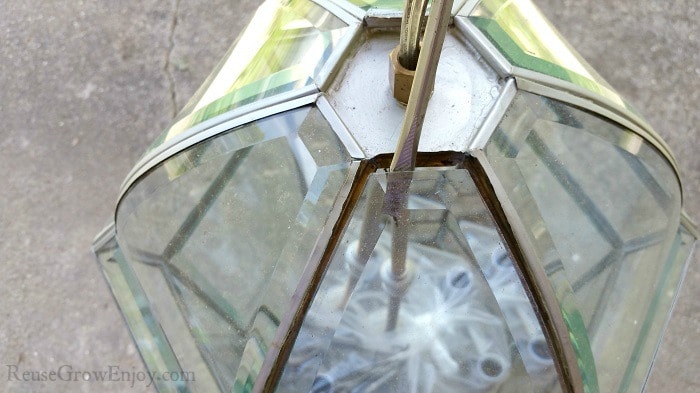
Depending on the light you are using you may be able to skip a few steps. I am using one that is encased with glass panels.
So I need to remove a few because the sun will make it overheat the solar panels if there is no way for the heat to vent.
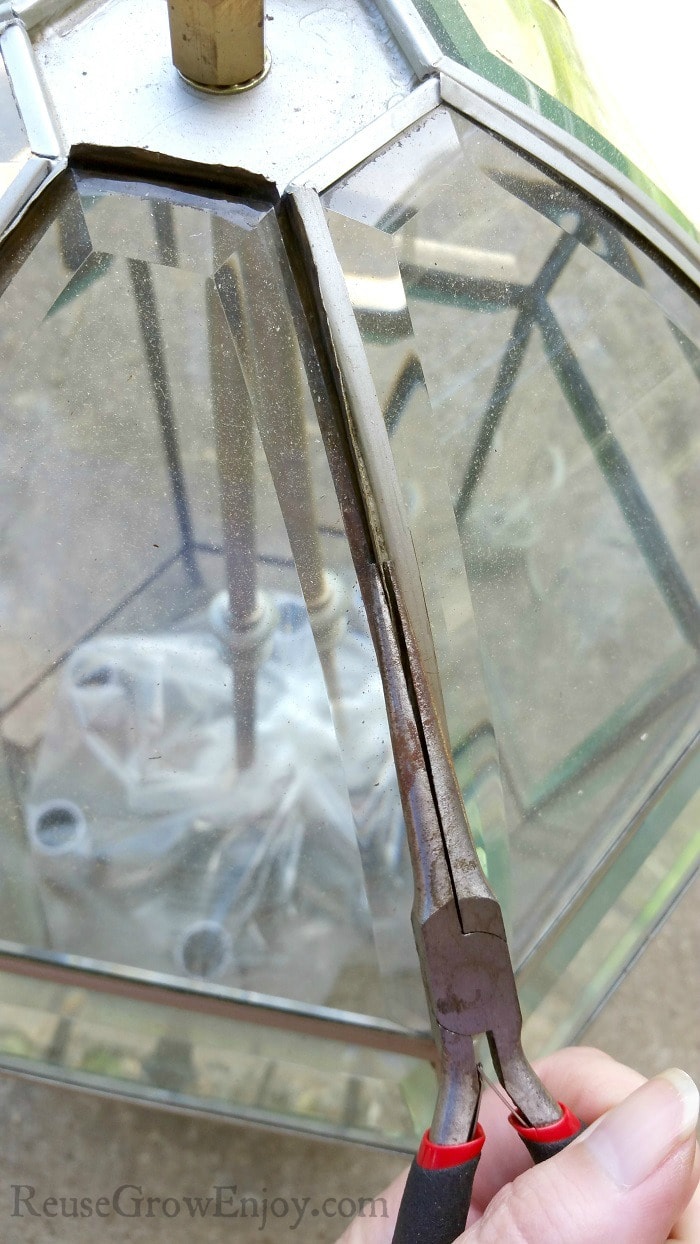
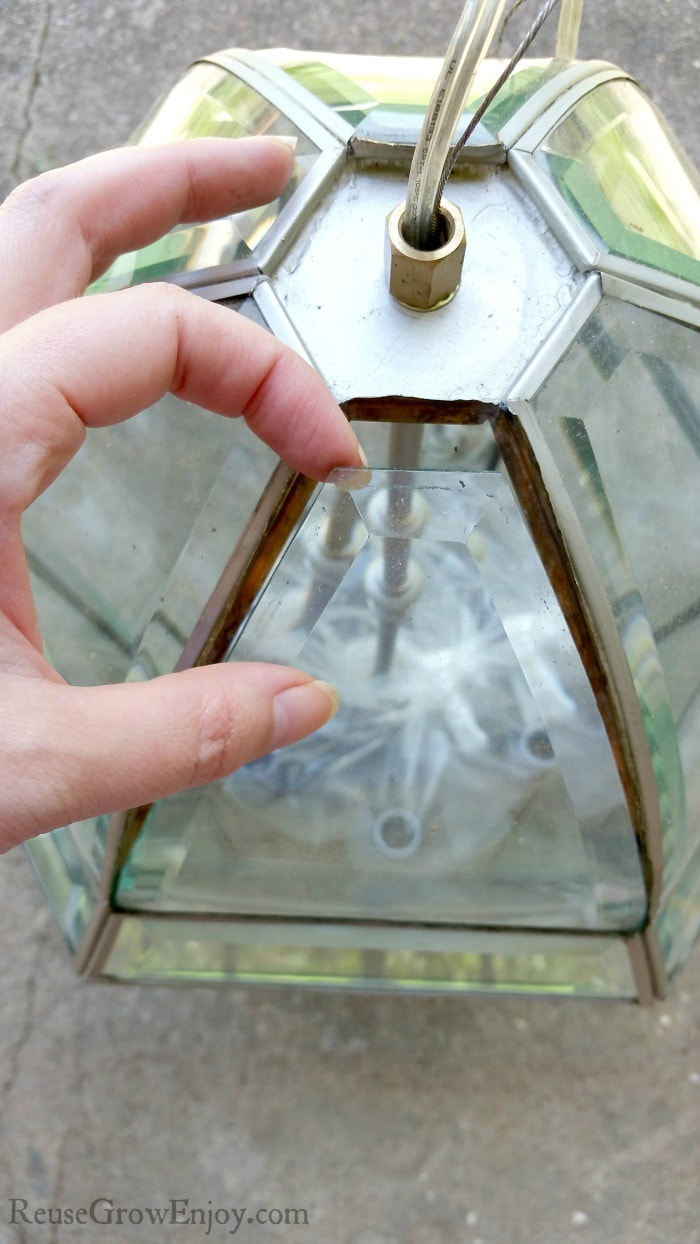
To remove the glass, I started with a flat screwdriver and slowly worked it under the metal holding the glass. I just did a light rocking/prying motion to raise the metal up.
You do need to be very careful doing this. If you apply too much presser prying it up it can crack the glass. While that would still remove the glass we need to take out, it will make a huge mess.
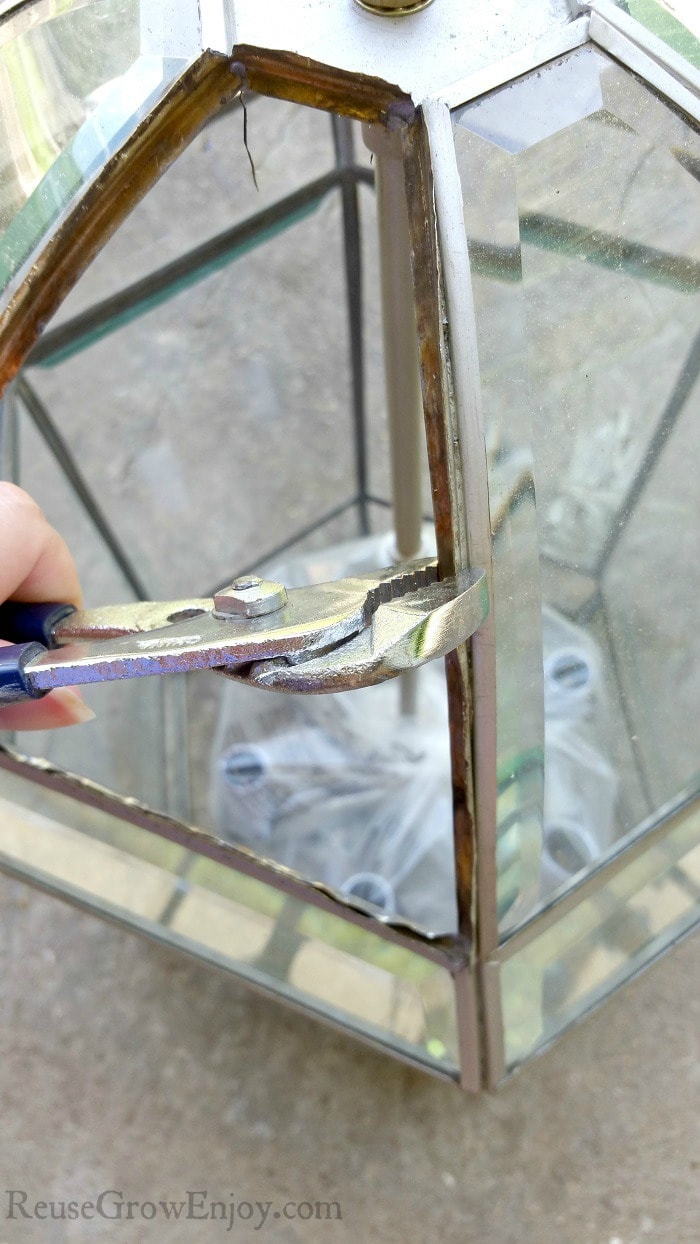
After you have the metal lifted lightly, you can get the needle nose pliers under it and bend the metal back. Repeat until you have the sides and top and bottom done.
Then use the screwdriver again to pop the glass up so you can grab with your fingers to remove.
After you have the glass out, you can use the pliers to bend all the metal back down so that it is not sticking up.
I removed two panels of glass at the top across from each other. As well as one side panel for a little extra heat release.
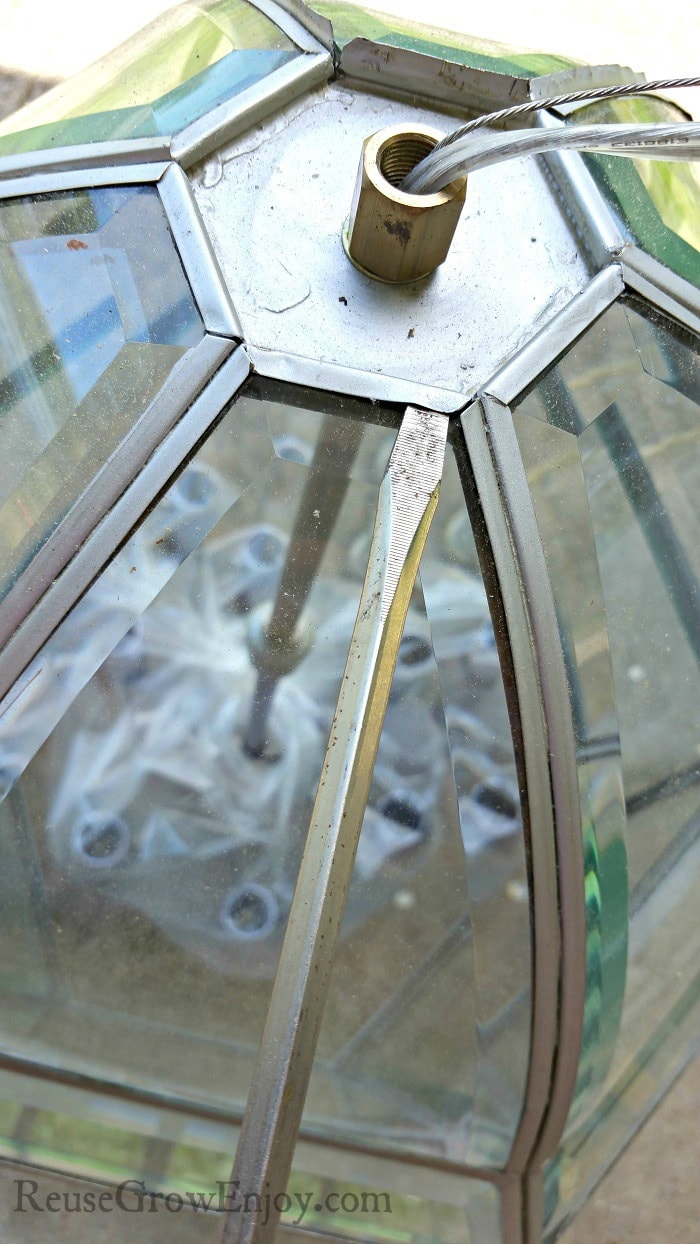
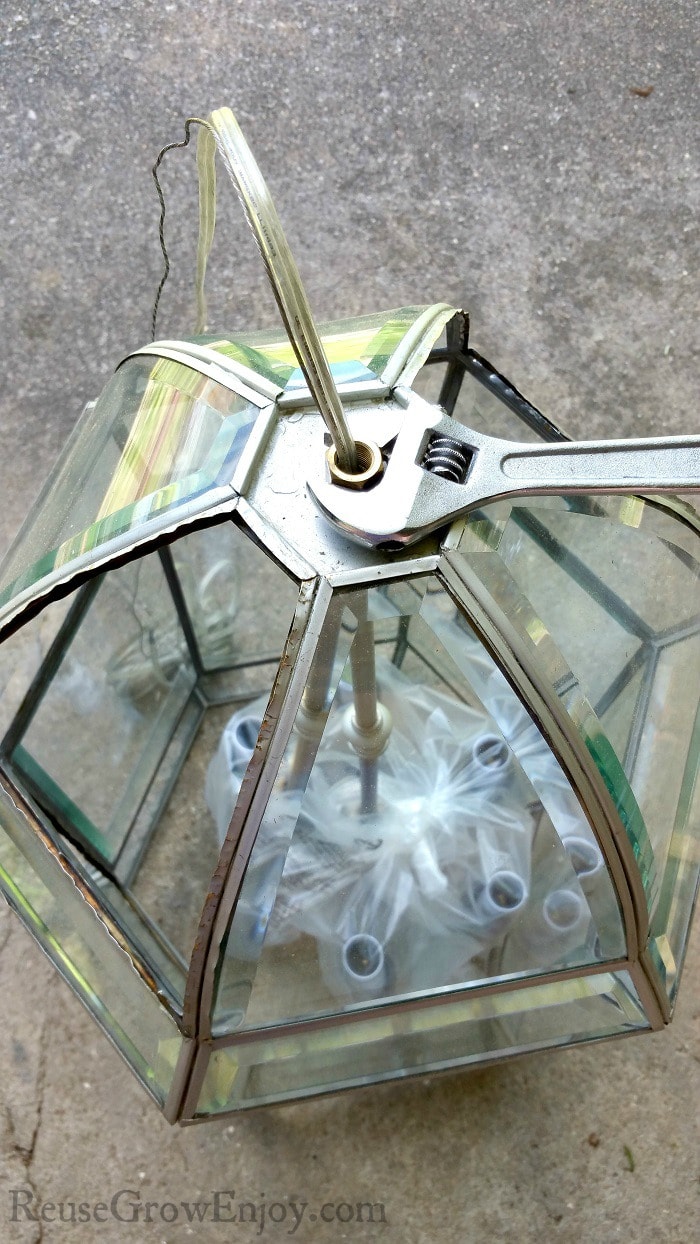
Then using your wrench, remove the nut from the top of the light. This is so we can pull the light area out of the shade. Makes it easier to work on.
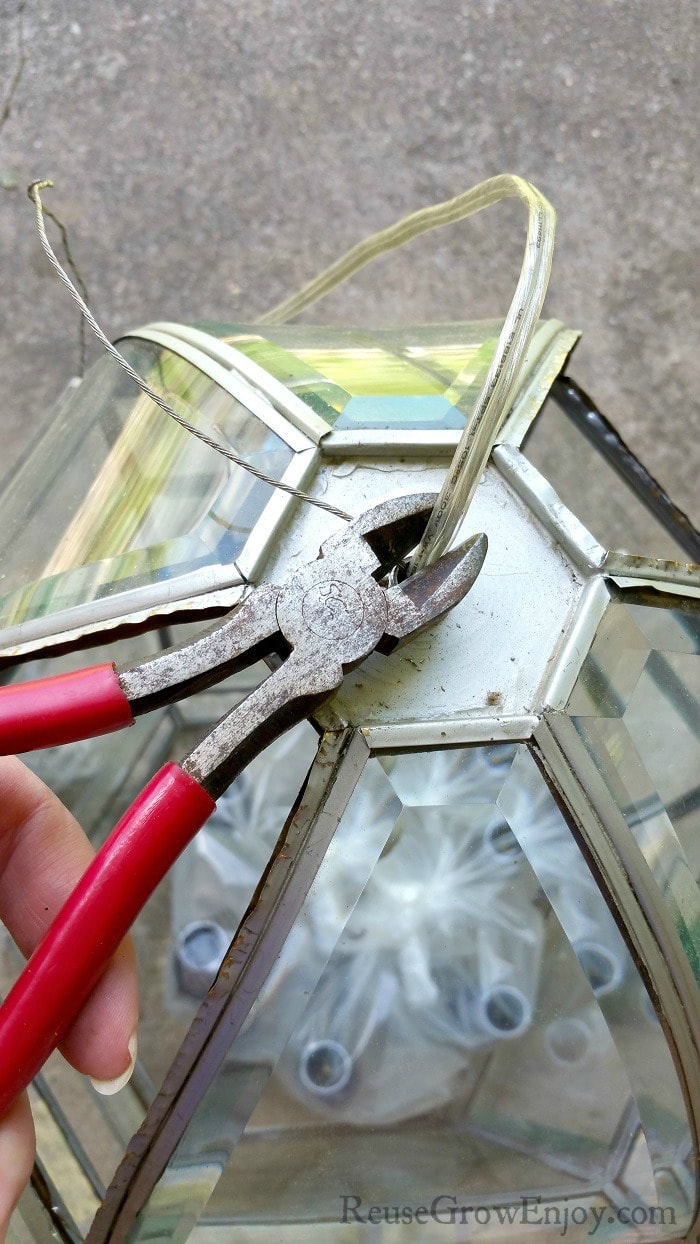
I’m setting mine on a table so don’t need the wires for it to hang. If you will be hanging yours, don’t cut them off. If you don’t need them, use the wire cutters to snip them off at the top.
Removing Old Lights & Replacing With Solar:
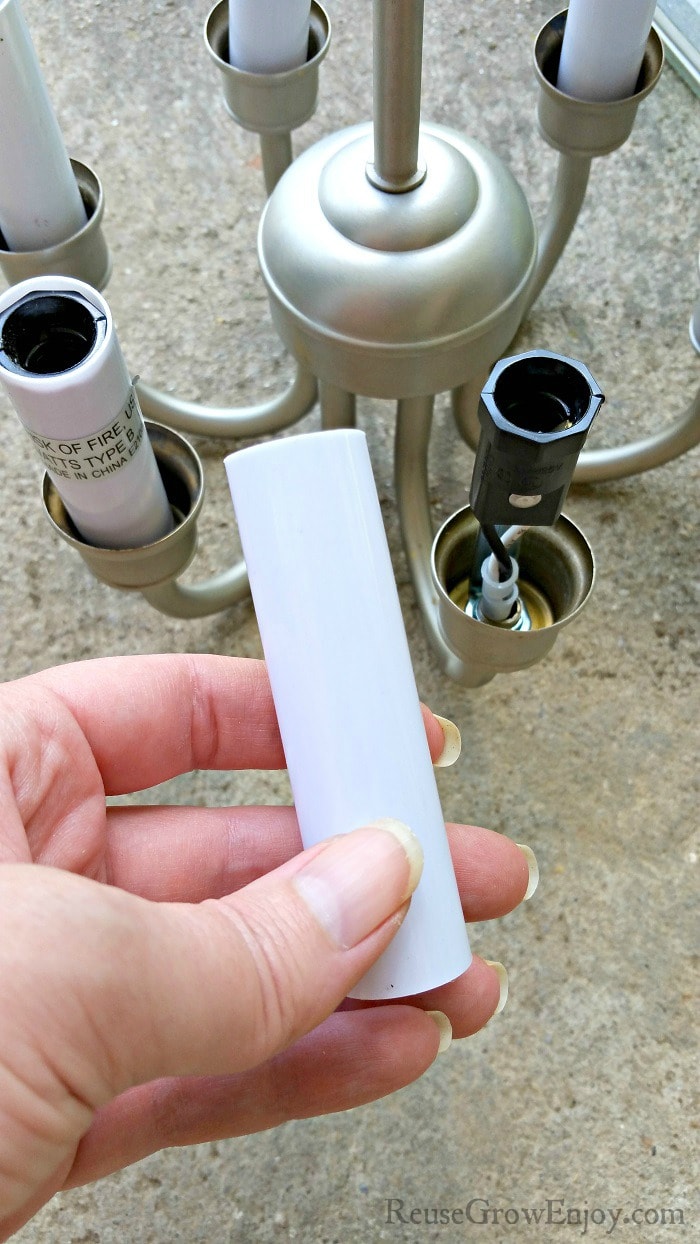
Slide the light shade off. Then you can slide the little white plastic covers off the lights.
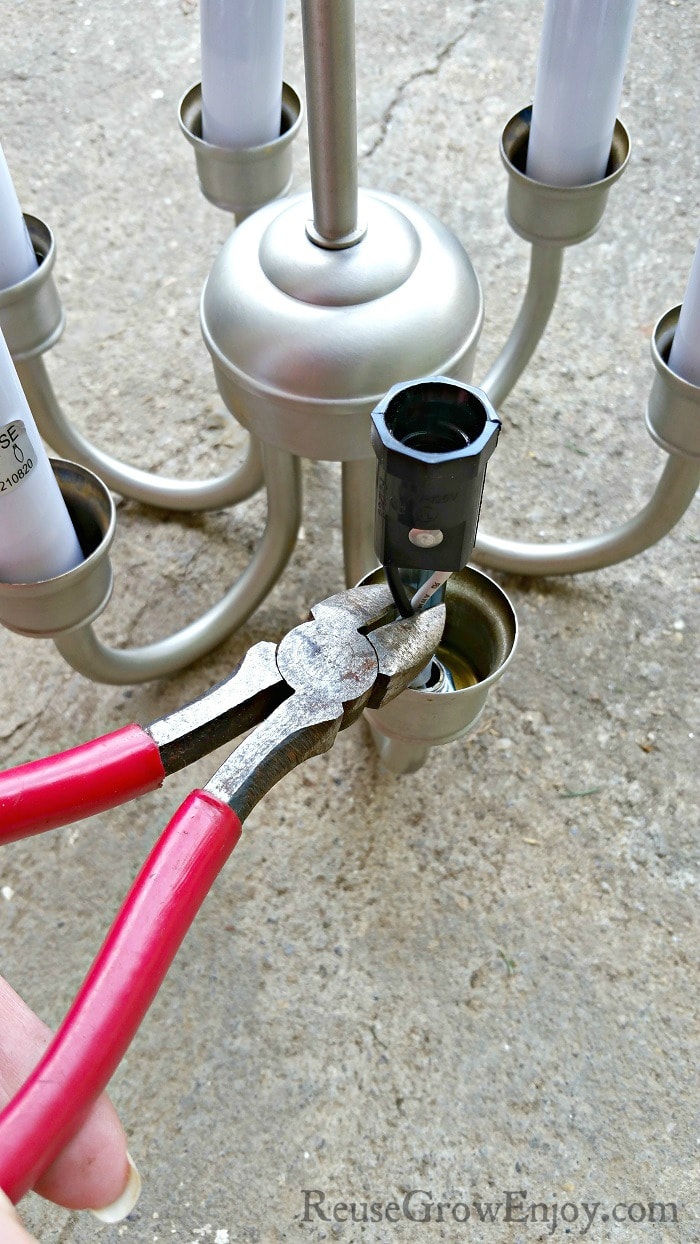
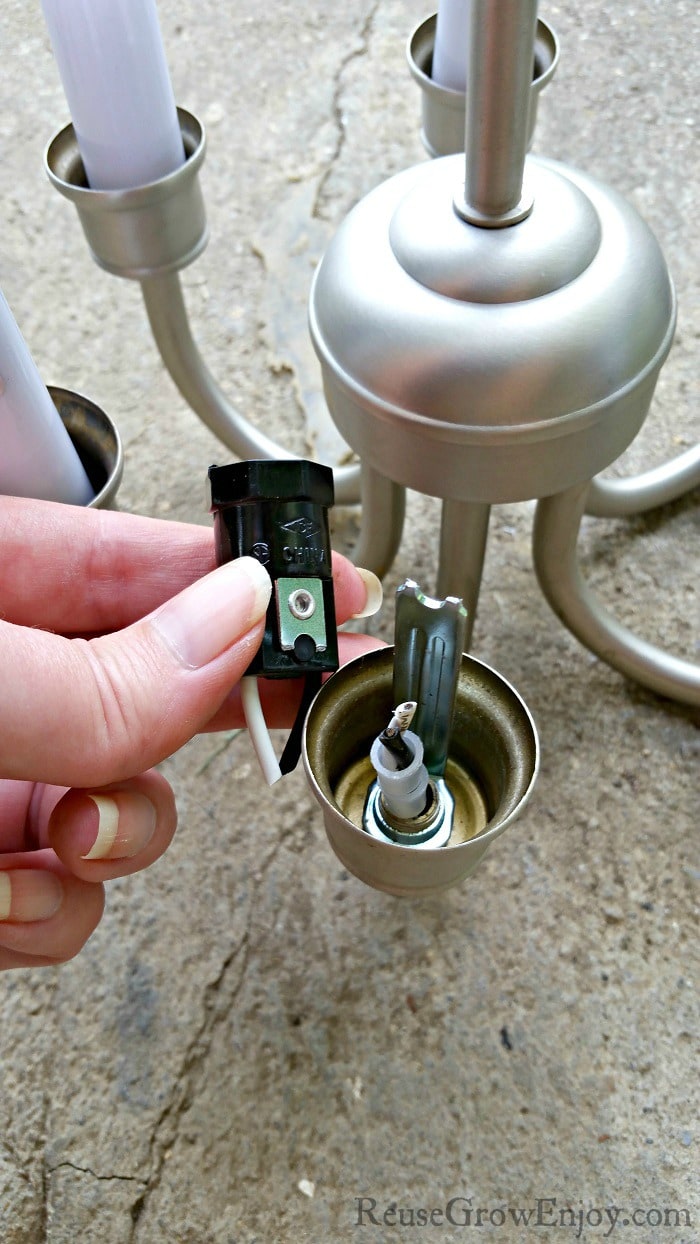
Using the wire cutters snip the wires where it attaches to the light sockets.
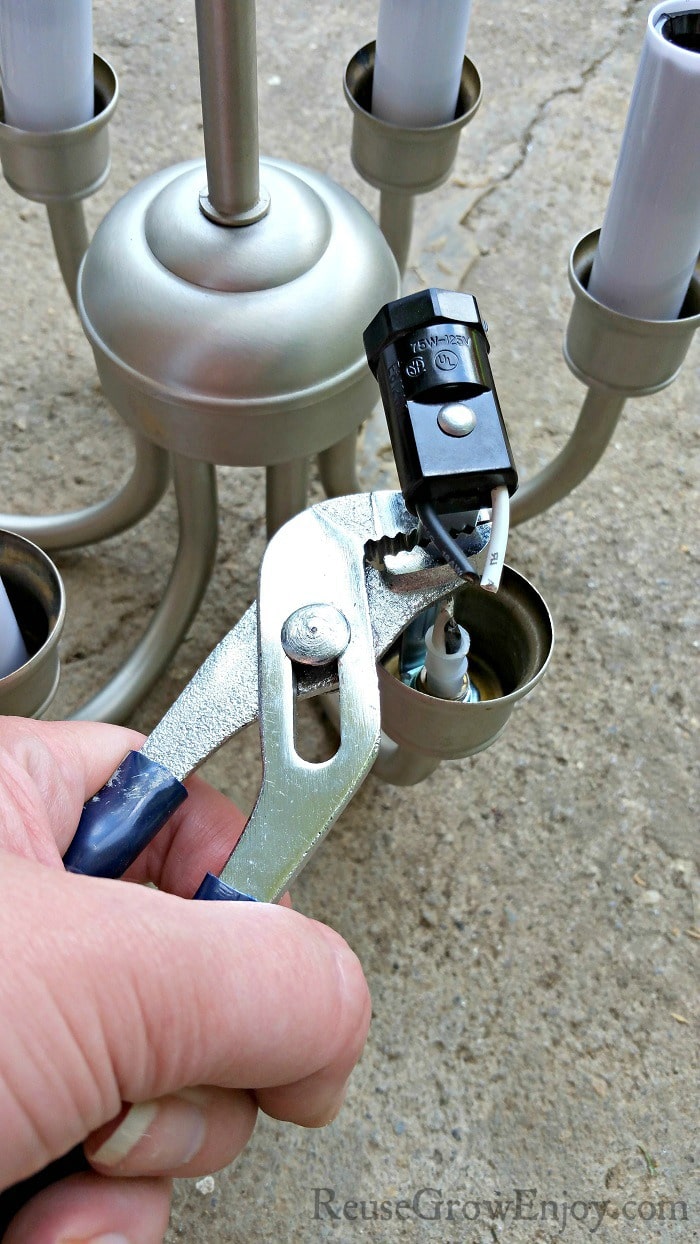
Now hold just below the socket with the pliers and bend it back and forth until the metal brakes and the socket is free.
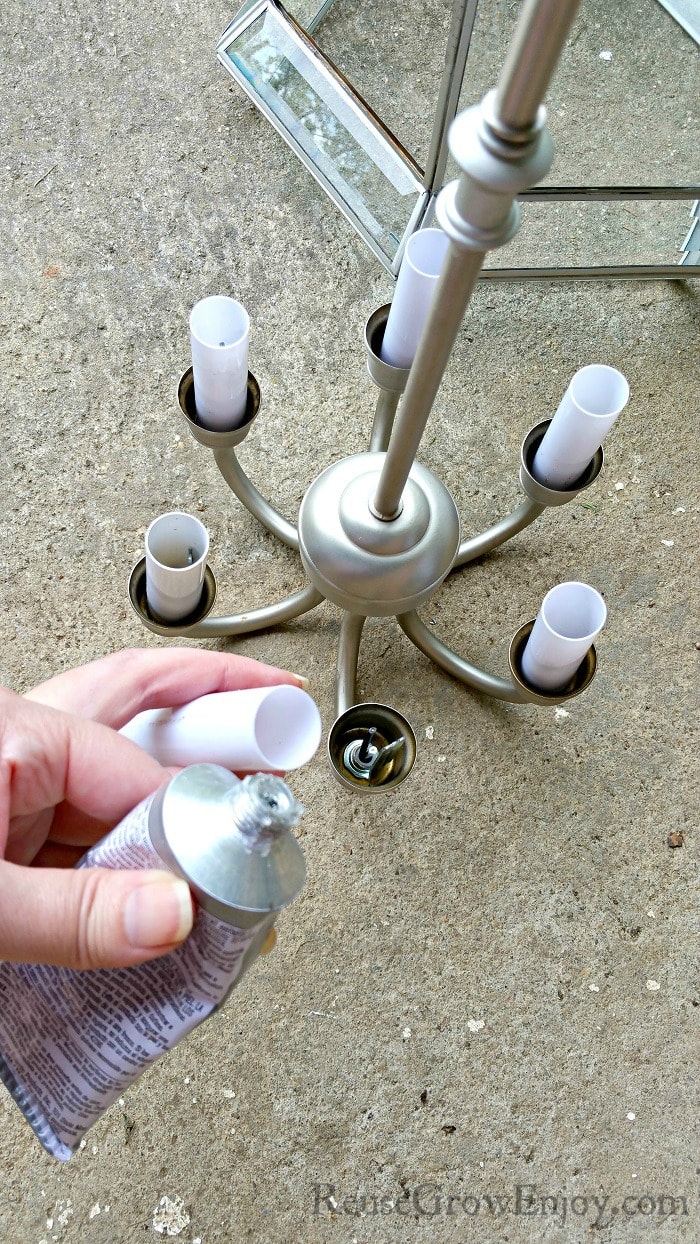
Put a little of your glue at the bottom of the white coverings and then slide them back in place. Allow the glue dry.
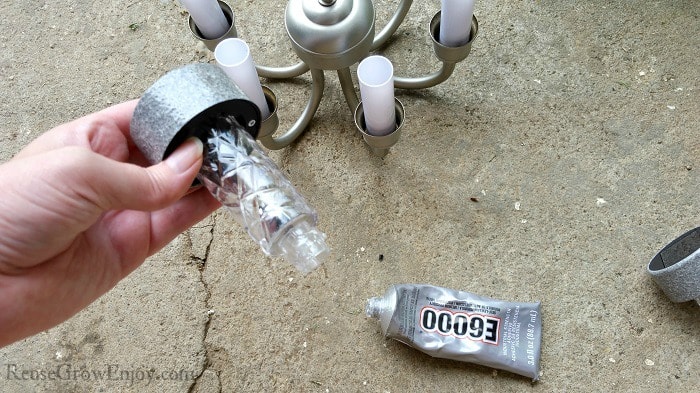
Remove the shafts from the solar lights. Add a little glue around the bottom area where the shaft was. Then place the lights in the white coverings and allow to dry.
Tip: If you are having trouble keeping the lights from leaning while waiting for them to dry, use tape. Painters tape works well as it holds but still easy to remove.
You can simply use a small piece to tape each light to the next to hold straight while drying.
After everything is dry, place the shade back over it and secure it with the nut.
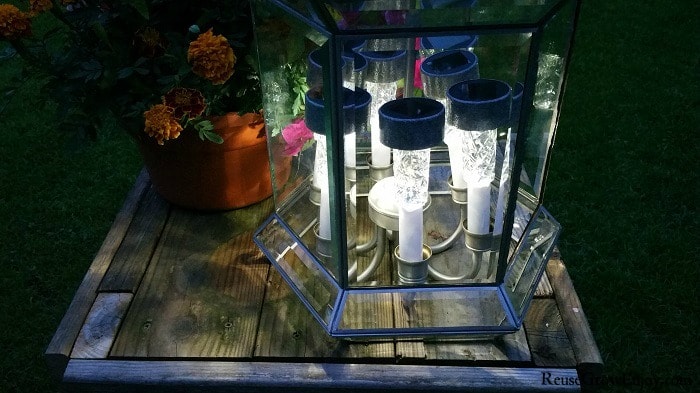
Simply place your new patio light where you want and where the sun will shine on it for at least six hours a day!


Leave a Reply