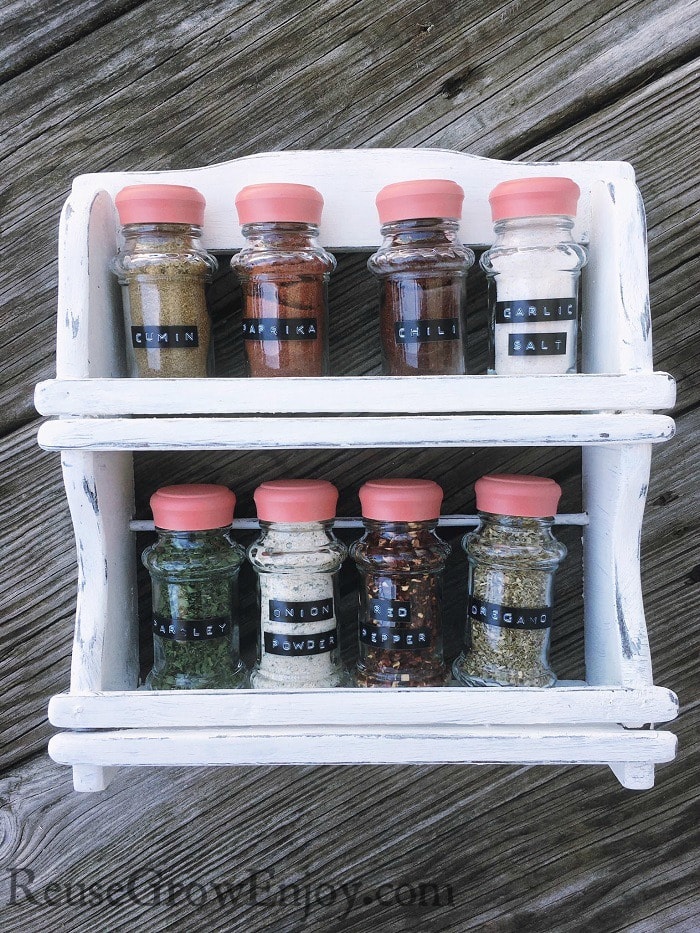
DIY Spice Rack Makeover
Click Here To Repin
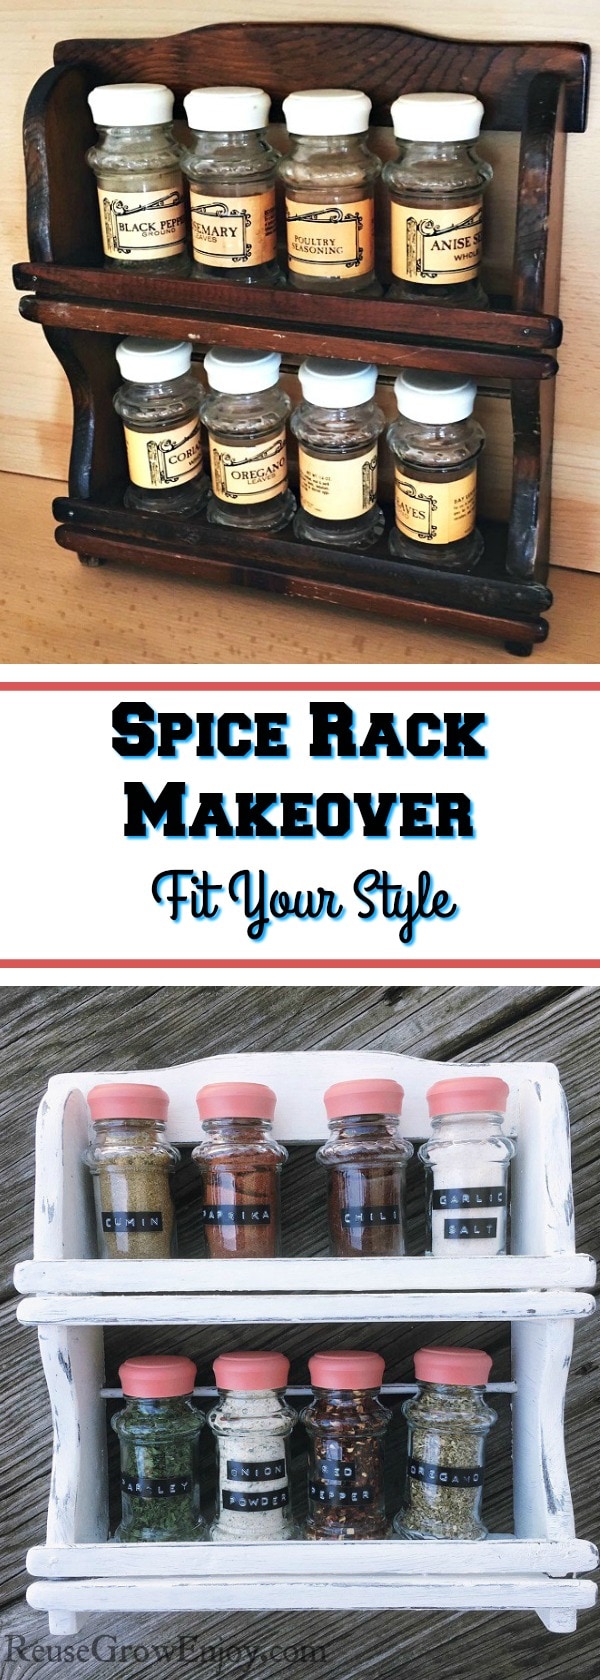
Do you ever get sick of looking at the things you have and want something new? You can get a new “look” without having to pay the price of new. I am going to share with you a DIY spice rack makeover.
You can either work with something you already have on hand and give it a whole new look. Or you can shop a thrift store such as Goodwill. You can normally find a spice rack in there for just a few bucks.
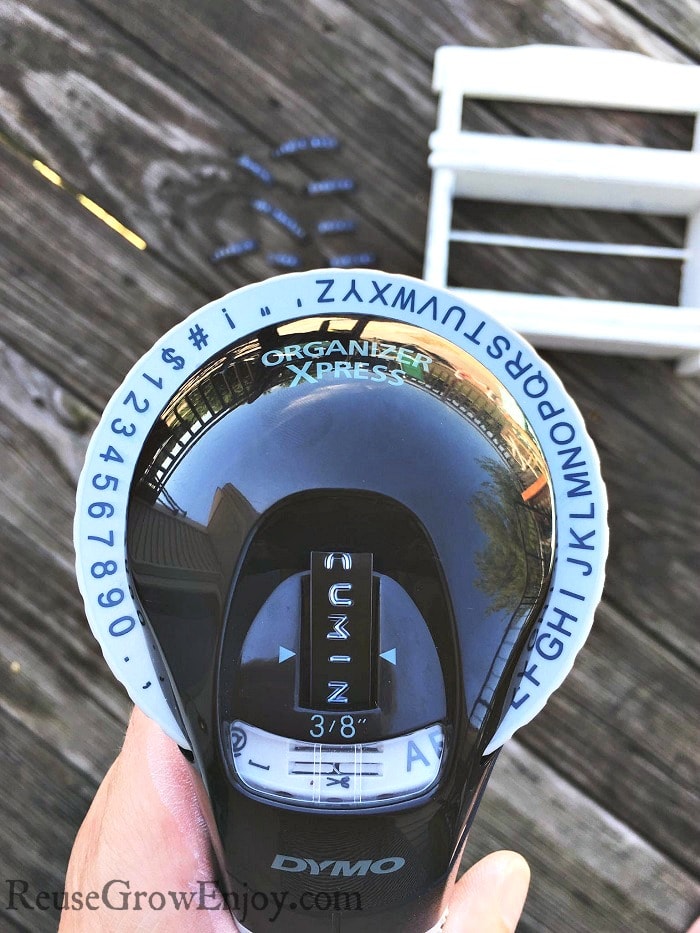
Now while this makeover uses a label maker (this one here) and paint, feel free to change it up and be creative.
Spice Rack Makeover Supplies:
- Label Maker
- Sand Paper
- Chalk Paint (I like the finish of this paint because it is not perfect and smooth)
- Paint Brush
- Spray paint (for the caps)
- Spice Rack With Bottles
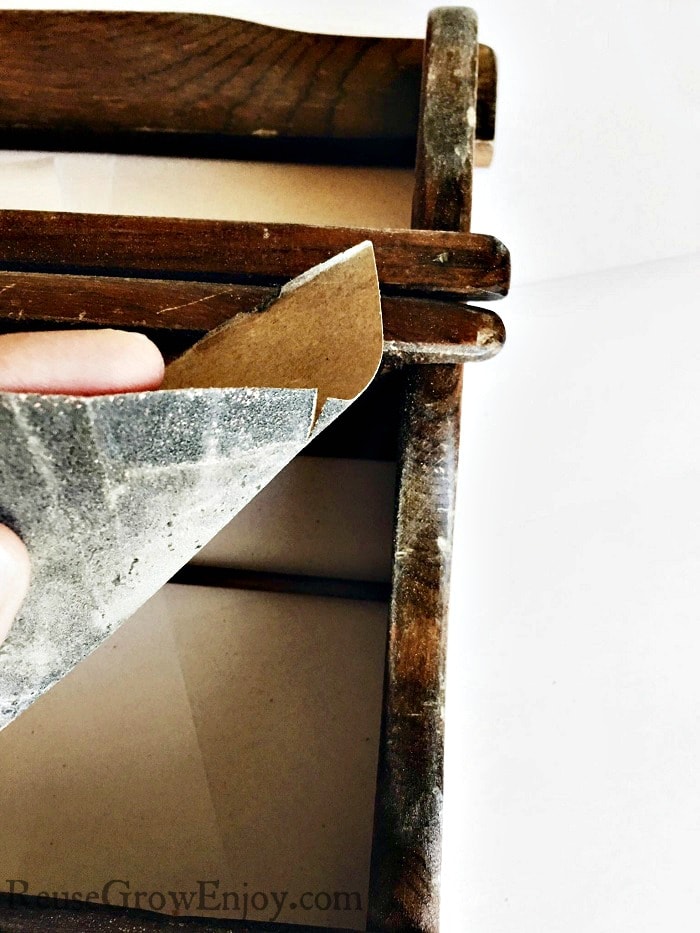
The first thing you want to do is sand the rack a little to make it so the paint would adhere a little better. You don’t necessarily have to do that with chalk paint, but I find it works better.
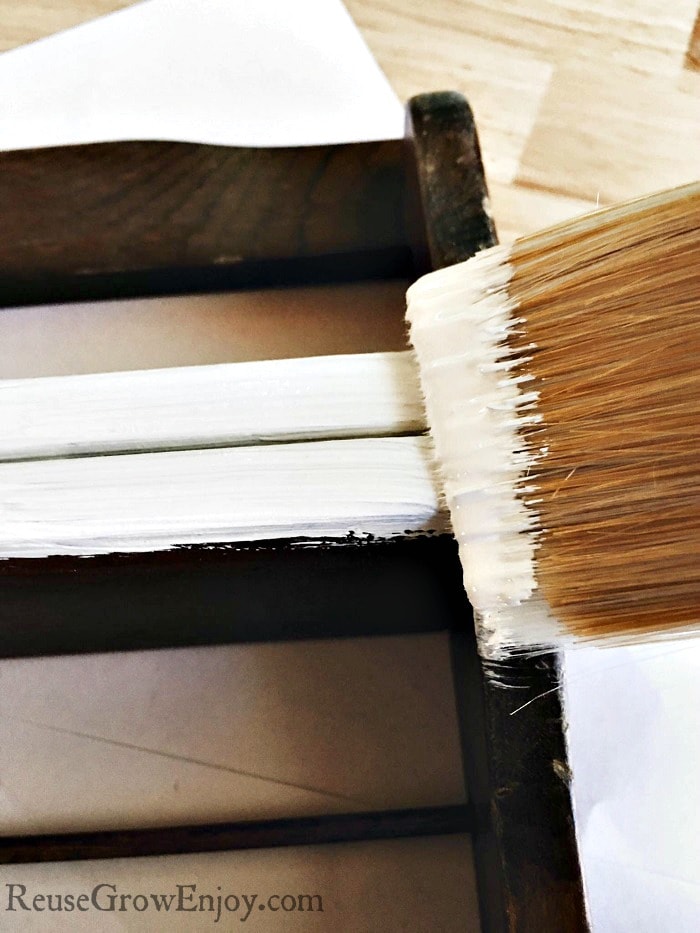
Then using your paint brush apply one coat of the chalk paint to the spice rack. While that was drying you can get the bottles ready.
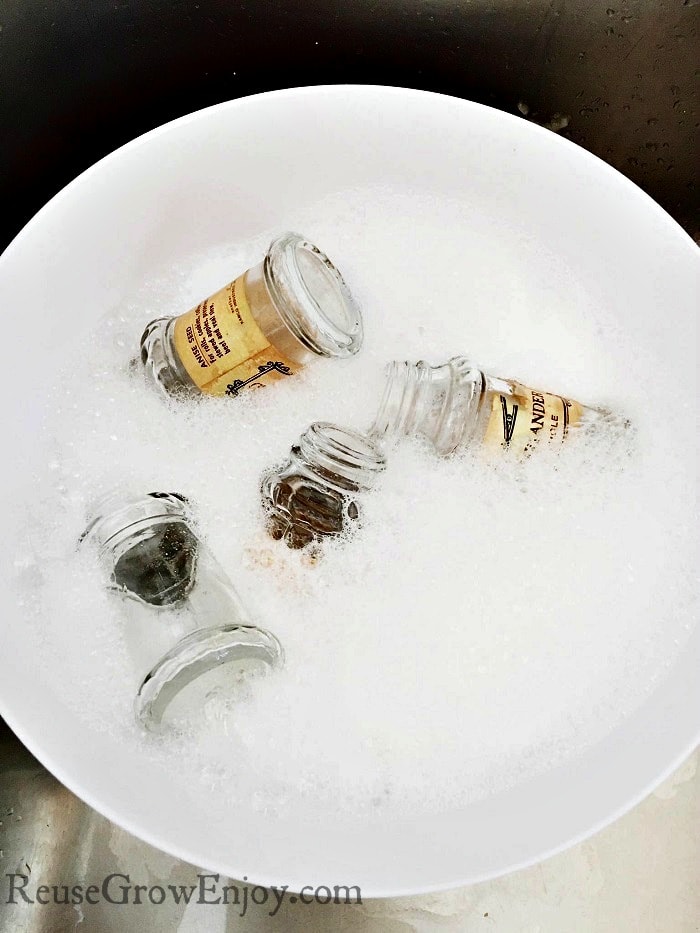
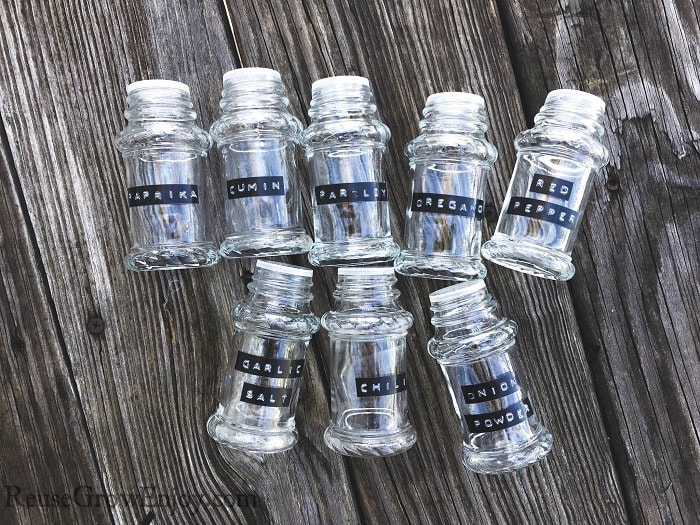
To get the labels off, soak the jars/bottles in warm water with a little vinegar (vinegar is a natural sticker remover) and soap. Allow to sit for a few minutes and then use your hands to rub off the labels.
Next, lay out the dry caps on some newspaper outside. Using the spray paint, give them a nice even coat. You do not need to spray the inside of the caps.
Now go back and make any touch ups to the rack that is needed. Allow it to dry again. Then you can use a little piece of sand paper to give it that aged old look.
Then make a label for each jar with the name of your favorite spices and herbs.
After everything was dry and labeled, you can use a funnel or piece of paper and made a small funnel to pour the spices and herbs into the jars.
You can make yours fit perfectly with any decor and I love the idea of reusing instead of buying something new.
If you liked this DIY, here are a few others to check out.
- DIY Knife Holder Made From Upcycled Books
- DIY Plastic Bottle Bangle Bracelets
- Pallet Upcycle – Pallet Coffee Mug Holder
- DIY Wrench String Art
- DIY Cotton Stem – Farmhouse Style Decor


Leave a Reply