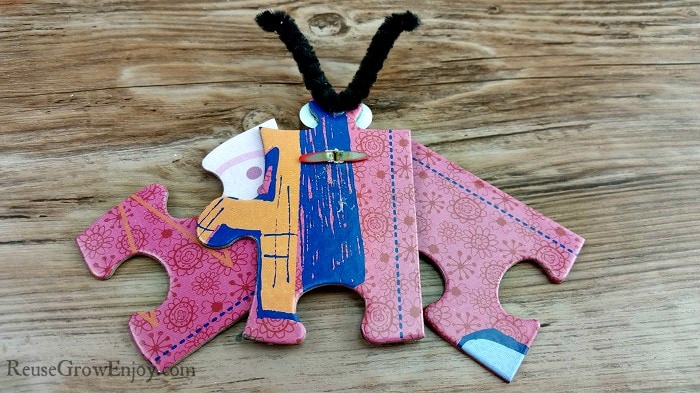
Do your kids love to put together puzzles? But maybe not so great at keeping all the pieces together? No need to toss a puzzle out just because it is missing a few pieces. I am going to show you how to make this adorable Ladybug Puzzle Craft!
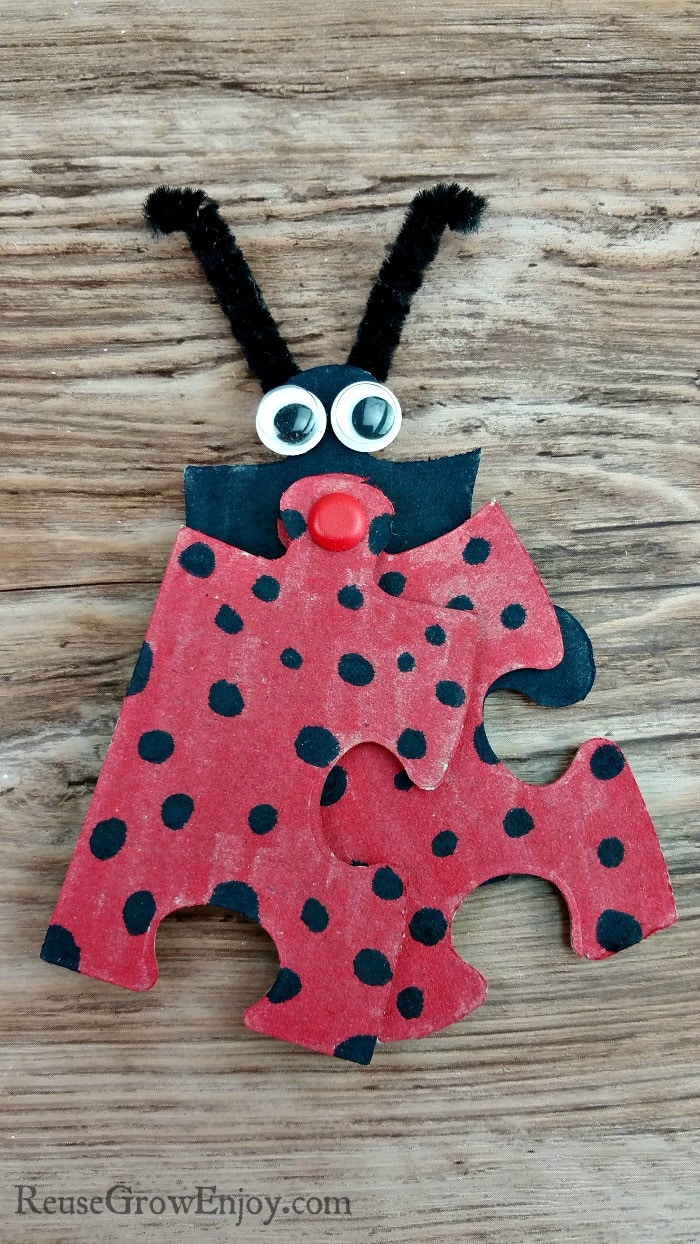
Ladybug Puzzle Craft
While this post will show you step by step how to make this ladybug puzzle craft, you can change it up to make other things too. Think butterflies, bees, dragonfly and so much more.
This is a pretty easy craft that the little kids can even do. However, there are a few steps they may need a little help with. They may need help with putting the hole in the pieces and using the hot glue gun.
If you are not in a hurry to finish them, you could skip the hot glue gun and use school glue. It will just take a little longer to dry before you can play with this ladybug puzzle craft.
This does have small pieces should not be left alone with really small children.
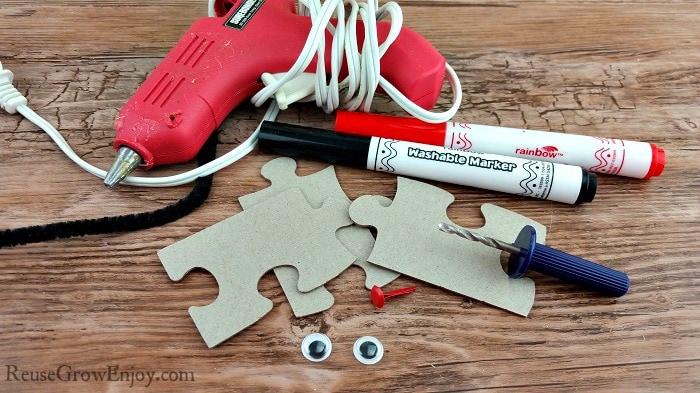
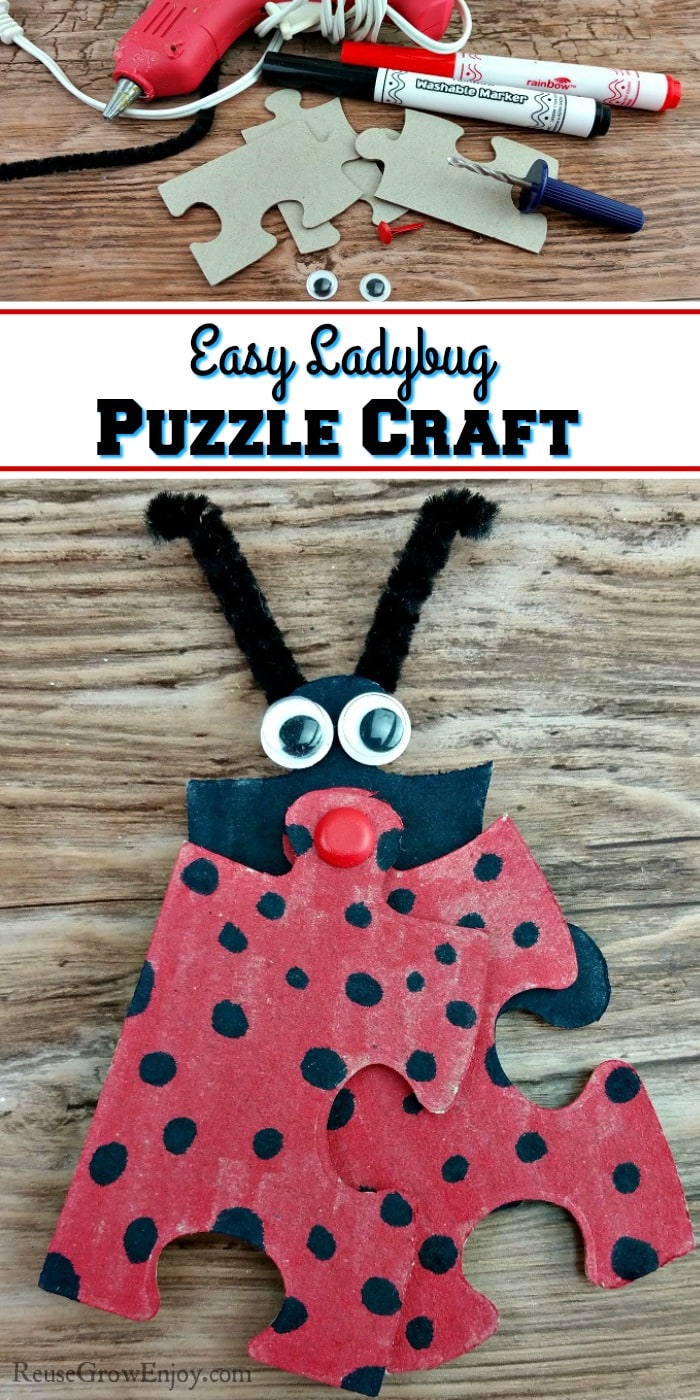
Ladybug Puzzle Craft Supplies:
- 3 Large Puzzle Pieces
- Red Washable Marker
- Black Washable Marker
- 2 Small Googly Eyes
- Hot Glue Gun
- Small Piece Of Black Pipe Cleaner
- 1 Paper Fastener (I used a red one so it matched the project)
- Hand Drill Bit (or something else to make a hole)
Ladybug Puzzle Craft Directions:
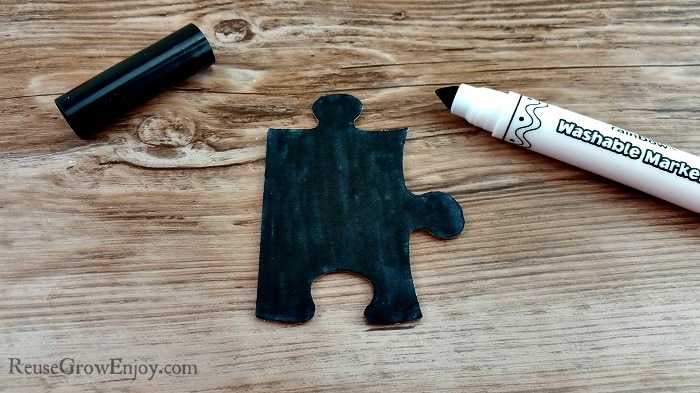
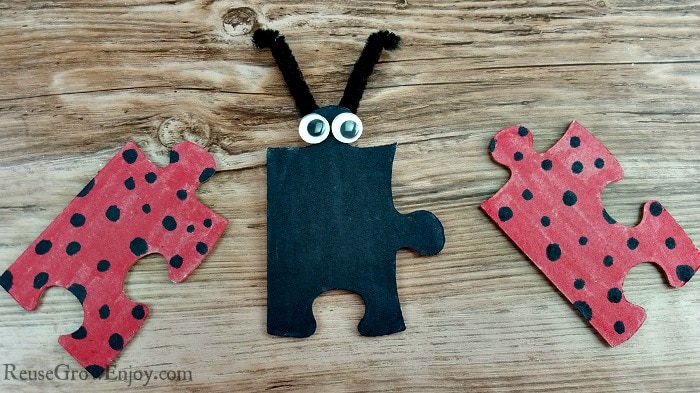
The first thing you need to do is flip the puzzle pieces over to the blank side. Then using the black marker color the longest puzzle piece with a rounded puzzle edge at the top. Make sure you get the whole thing colored in. You only need to color the blank side.
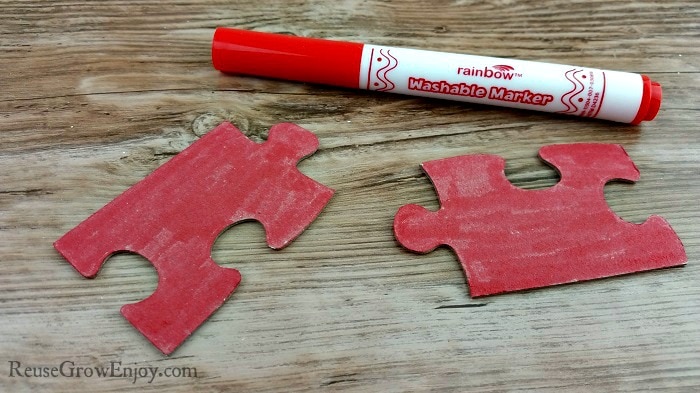
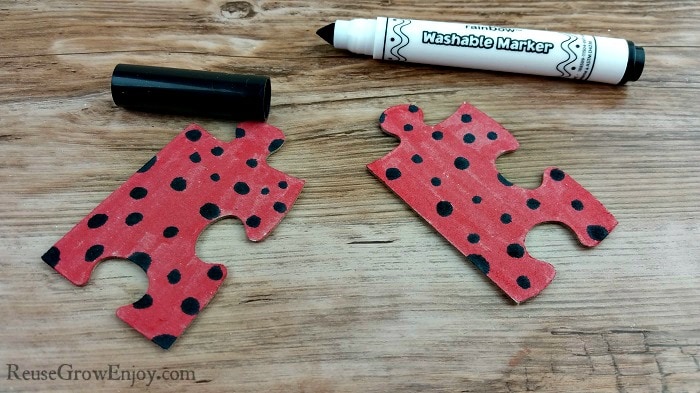
Next, use the red marker to color the other two puzzle pieces. Be sure to fully color them too.
Now, using the black marker again, make black dots on the red puzzle pieces. Try to space them out a little and also mix it up and make some bigger and some smaller.
I also did a few half dots on the edges as well as I liked how it looked.
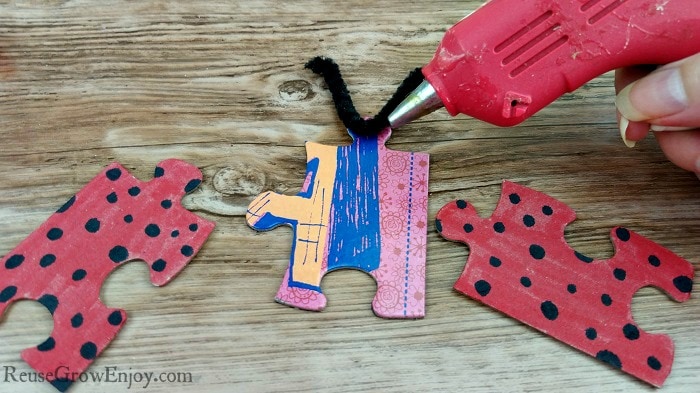
Next, flip the black piece over and hot glue a piece of pipe cleaner in a V shape to the back side of the rounded end of the piece. This will make your antennas.
Now flip that same piece over. Glue the eyes in place on the black side at the same end you did the antenna.
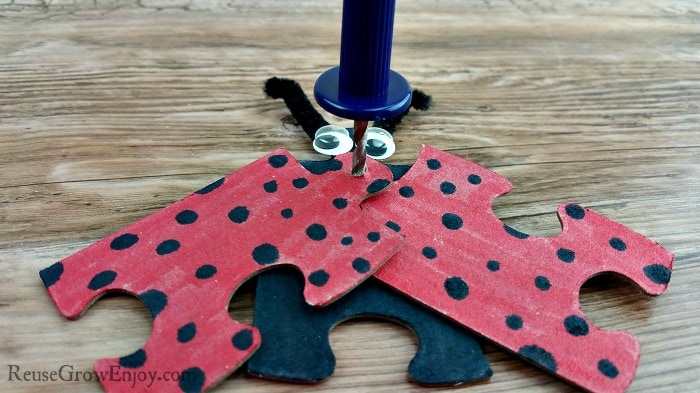
Next, lay the two dotted pieces on top of each other (rounded ends) and lay them on top of the black piece just a little way down under the eyes.
Use your drill or whatever you are using to make a hole through all three puzzle pieces.
After you have made the hole, put your paper fastener through the holes and then fold the end falt on the back side of your ladybug.
That is it, you now have a cute new ladybug puzzle craft to play with! If you are looking for other ladybug craft ideas, be sure to check out this cute Lady Bug Paper Plate Craft.
If you liked this puzzle craft, here are some other kids crafts and puzzle piece ideas.
- K-cup Craft – Apple Made From Reused K-cup
- Fall Craft – Easy Pom Pom Fall Tree
- Easy Kids Craft – Bookworm Craft
- Ladybug Craft With Upcycled Plastic Spoons
- Plastic Spoon Craft Yellow Jacket
- Bird Craft Stick Craft – Save Those Popsicle Sticks
- Plastic Bottle Fish Craft
- Glitter Upcycled Puzzle Piece Earrings


Leave a Reply