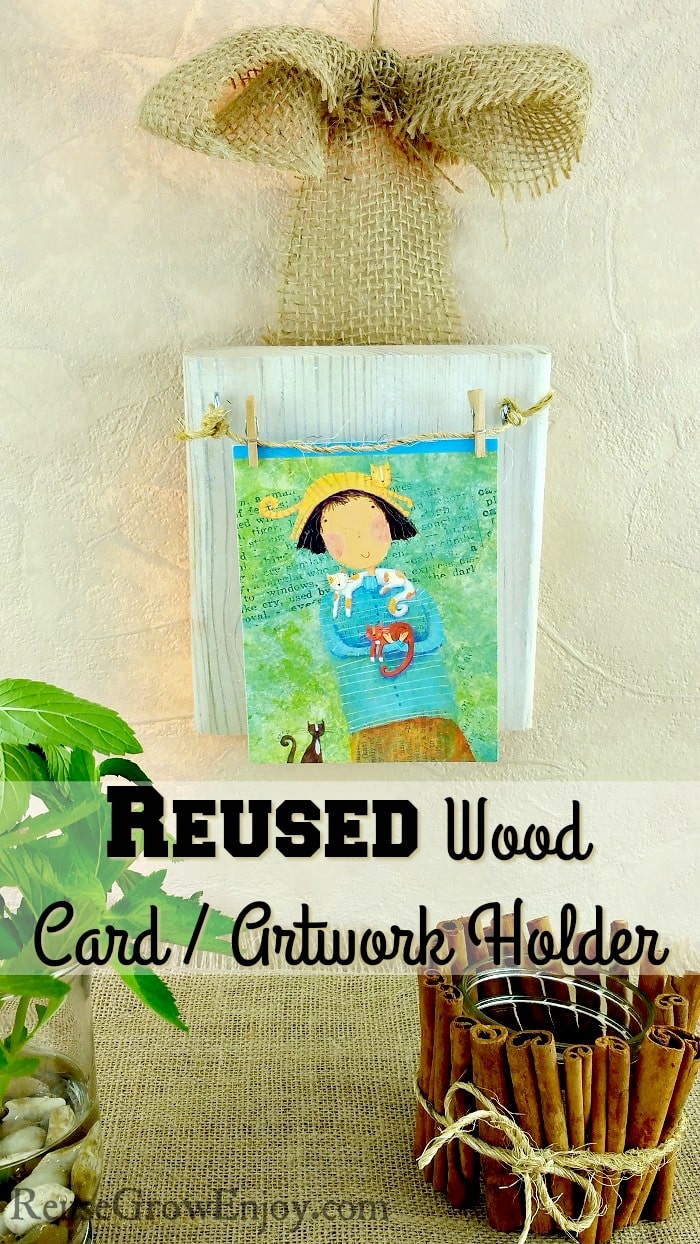
Reused Wood Craft Card / Artwork Holder
Do you have little ones that make lots of artwork all the time? Or do you get cards in the mail? If you are looking for a cute way to display them, I have a fun craft for you. Below you will find directions on how to make a reused wood craft card / artwork holder. Not only does this look super cute on the wall, it is a great way to use cut off pieces of wood left over from your projects!
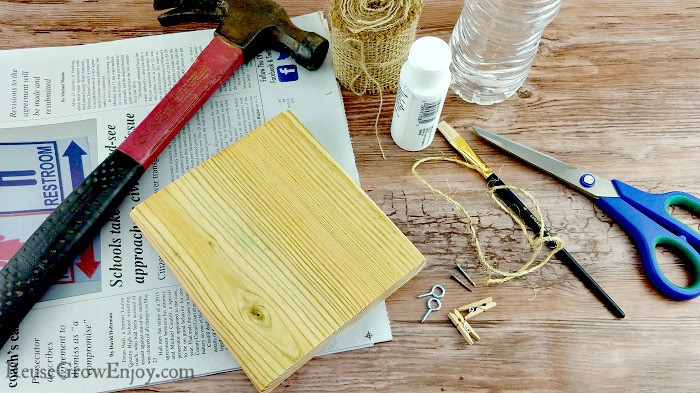
Reuse Wood Craft Supplies:
- 1 Piece Wood (I used a piece left over from a walkway. It is about 4 inches wide and about 6 inches long)
- White Acrylic Paint
- Water
- Paint Brush
- Hammer
- 2 Small Nails
- 2 Small Eye Hooks
- Six Inch Piece Of Twine
- Eighteen Inches Burlap Ribbon (mine is about 3 inches wide)
- Dish To Mix Paint In
- 2 Small Clothespins
- Scissors
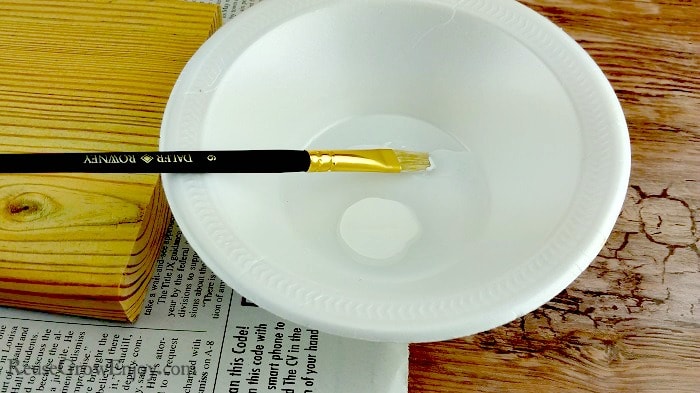
First, you want to start off by putting some of the white paint into a dish. You do not need a lot, I used about a quarter size glob in the bowl for my size piece of reused wood. You can use more or less depending on the size of the piece of wood you are using. Now add a little water to thin it out making sure that you mix it well. You only need a few bottle caps full to get the right thinning.
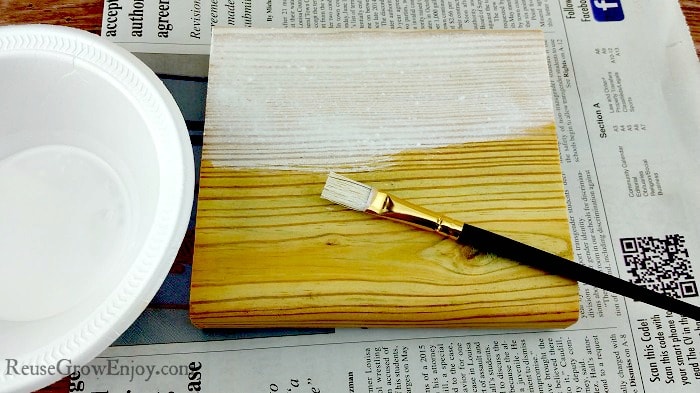
Place the reused wood on a piece of newspaper or something that you do not mind getting paint on. Then using your paint brush, cover the wood in the white wash. Be sure to get all the sides too. I did not cover the back of mine, but you can if you want to, you just will have to wait longer to finish your project. After you have it covered, set it aside and allow to dry. Mine only took about 30 minutes or so to dry enough that I could work with it again. I did have a fan on in the room, so that helped speed up the drying.
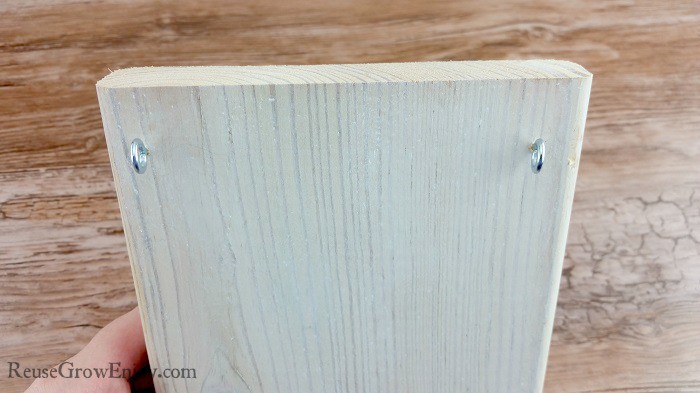
Now that your reused wood is dry, we need to put in the eye hooks. Place them about a 1/4 inch down from the top and about 1/4 inch over from the sides.
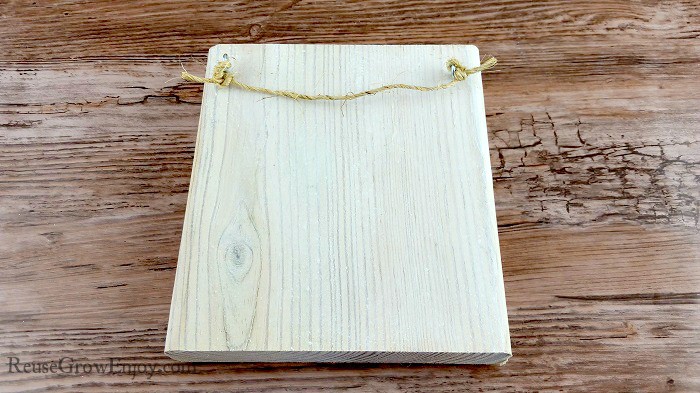
Take a piece of string or twine and tie it to the eye hooks. Be sure to double knot it so that it does not come untied when you hang things from it.
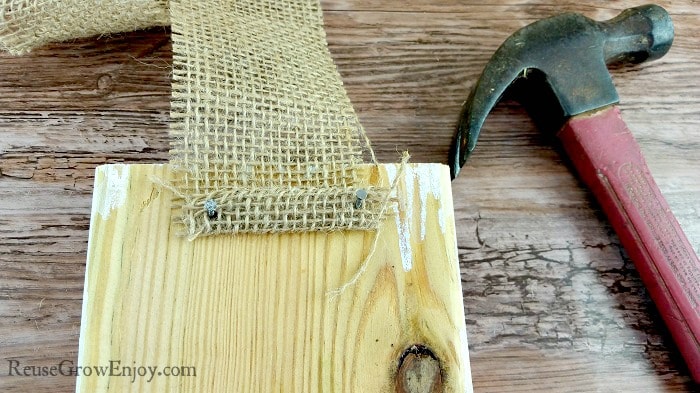
Flip the wood over so that you can tack the burlap ribbon in place. I slightly rolled the end up to help make it more secure. Take your nails and hammer it in place on the sides of the ribbon making sure the ribbon is in the center of the board and about an inch or so down from the top. If you wanted, this step could be done before placing the eye hooks on the front if you are worried about bending them.
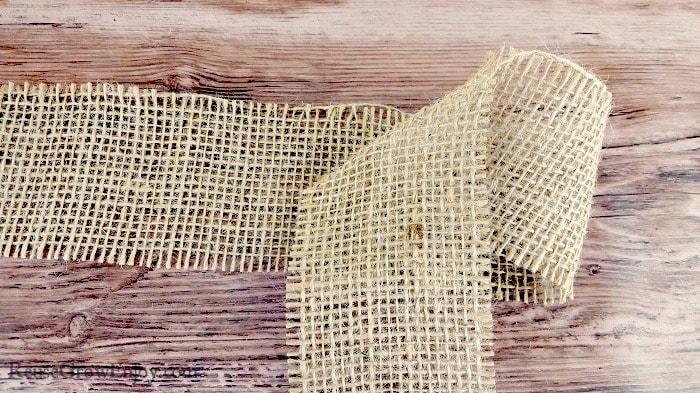
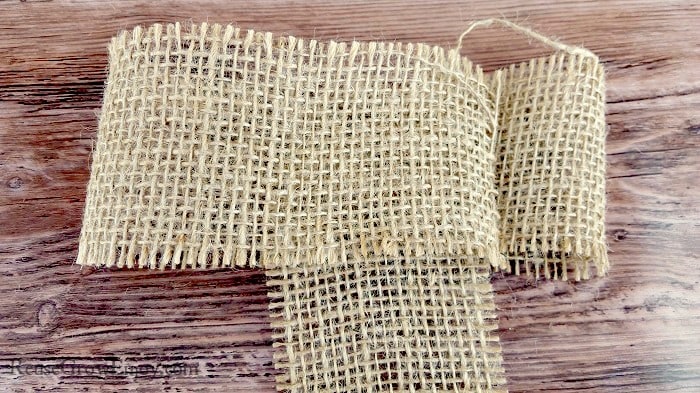
Now flip the wood back over so the white front is facing you. Flatten out the burlap ribbon. About 3 inches from the top of the board, fold the ribbon over to make a loop on one side.
Now bring the remainder of the ribbon over to the center so that it makes another loop on the other side.
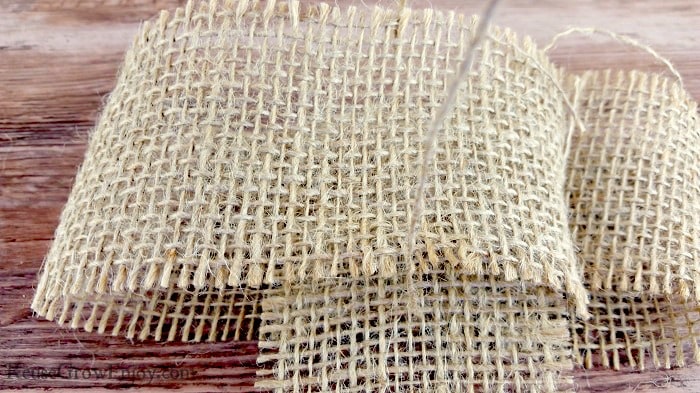
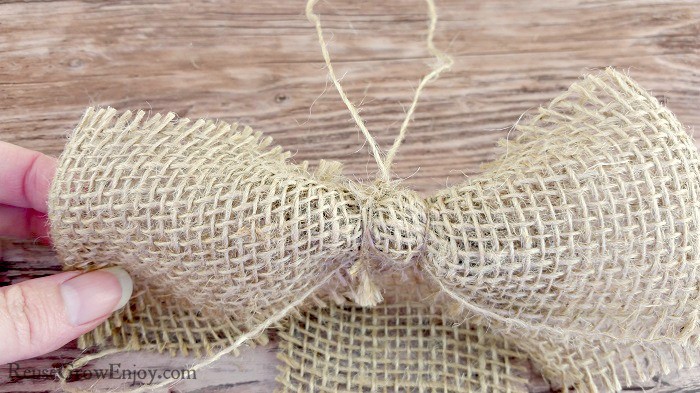
Using a piece of string (I pulled one off the edge of the ribbon and used that so it would blend in) pull it up the the center of the flat ribbon and the other end of the string at the top of the two loops you made. Then time the two ends of the string together and pull tight.
Do the same thing about a half inch over from where you just did the first tie of the strong. You should now have two loops around the bow that look like the picture above. After you have both those tide tight, tie a loop at the end of the two strings. This is to make a little loop to hang the reused wood craft card / artwork holder up on the wall or wherever you wish to hang it.
After you have in hanging on the wall, clip your two clothespins to the string on the front. You can use those pins, to hang the cards, artwork or whatever it is that you wish to display.
That is it, you now have a pretty new way to display your cards or artwork. Best part is, you can change it out when ever you want and do not have to worry about making holes in the wall.
If you liked this reused wood craft, you may want to check out a few of my other craft projects.


Leave a Reply