Sprouting Indoors – Growing Sprouts For Chickens
Do you do sprouting indoors? Some people do for their own health. It is a great way to add extra nutrients to your food in salads and smoothies. But did you know that you can also do this for your chickens?
Sprouting indoors comes in handy especially in the winter. Chickens love greens and they are very healthy for them. They add extra nutrients that are vital for them to be healthy. But when it comes to winter, depending on where you live, it is not easy for them to find it on their own.
That is when growing sprouts indoors comes in handy. They are super easy to do and only take 5 or so days to grow. Then you can either use them yourself or feed them to the chickens with their daily feed.
Growing sprouts does not require any special equipment if you do not have the budget for it. You can do it in any dish that you can poke a few small drain holes in. But if you do not have any extra dishes to use, you can buy sprout trays or drain caps for jars.
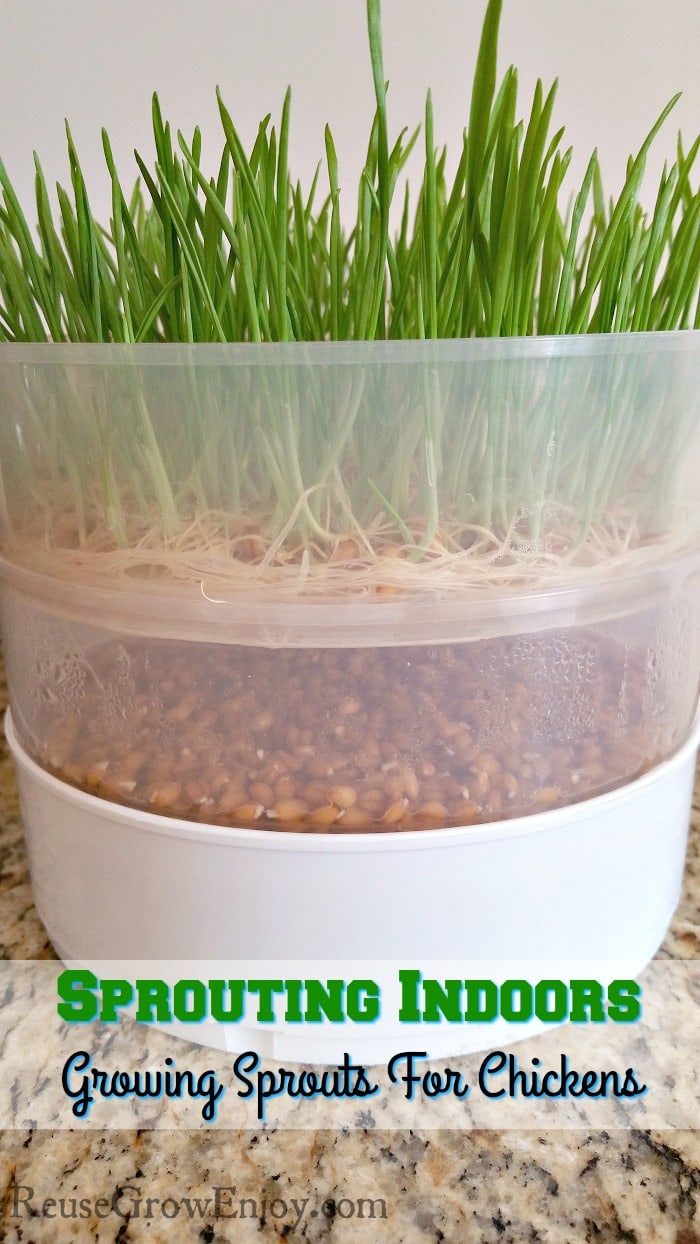
I myself have the sprouting tray found here. I bought it because I love that it is space saving for my counter. So instead of having a bunch of trays or jars all over my counter, it is just one that stacks up on top of each other to save space.
I do think now that I have been doing this for a while, I will be adding the expanded trays in so I can have even more going at the same time.

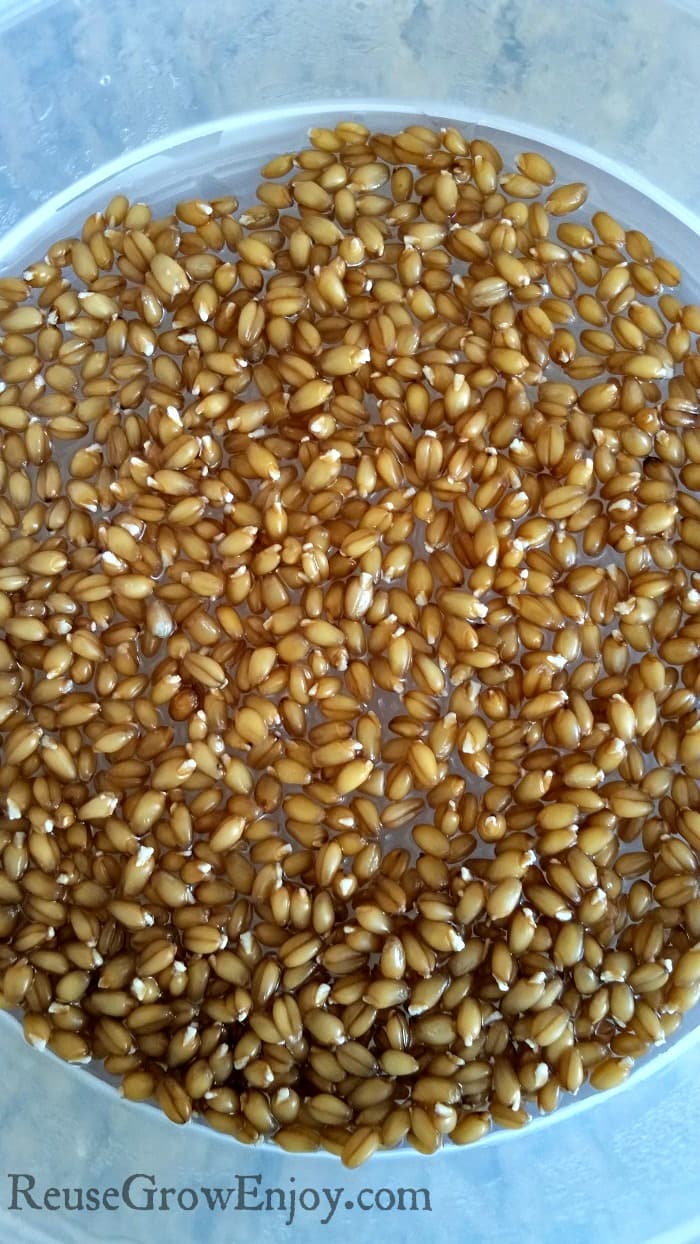
One Day After Soaking
How To Do Sprouting Indoors:
First off, if you are going to be sprouting for your chickens, be sure it is something safe for them to eat. You can do that by checking out my safe and unsafe things they can eat found here.
I myself normally sprout wheat seeds, alfalfa sprouts, black oil sunflower seeds (aka BOSS). Chickens have been really loving it too. You can mix it up and sprout some of one kind and then a few days later do another kind.
It is also very important to use a good quality seed. Try to stick to organic or non-GMO if you can. That way you and the chickens will get the best for the sprouts.
After you have figured out what you will be sprouting and have your seeds, you can get started.
The first thing you do is soak the seeds in water for six to eight hours of water. After they have soaked, you will then changed them over to a sprouting try. Or if you are using the jar method, you would then tip the jar over and allow to drain through the lid.

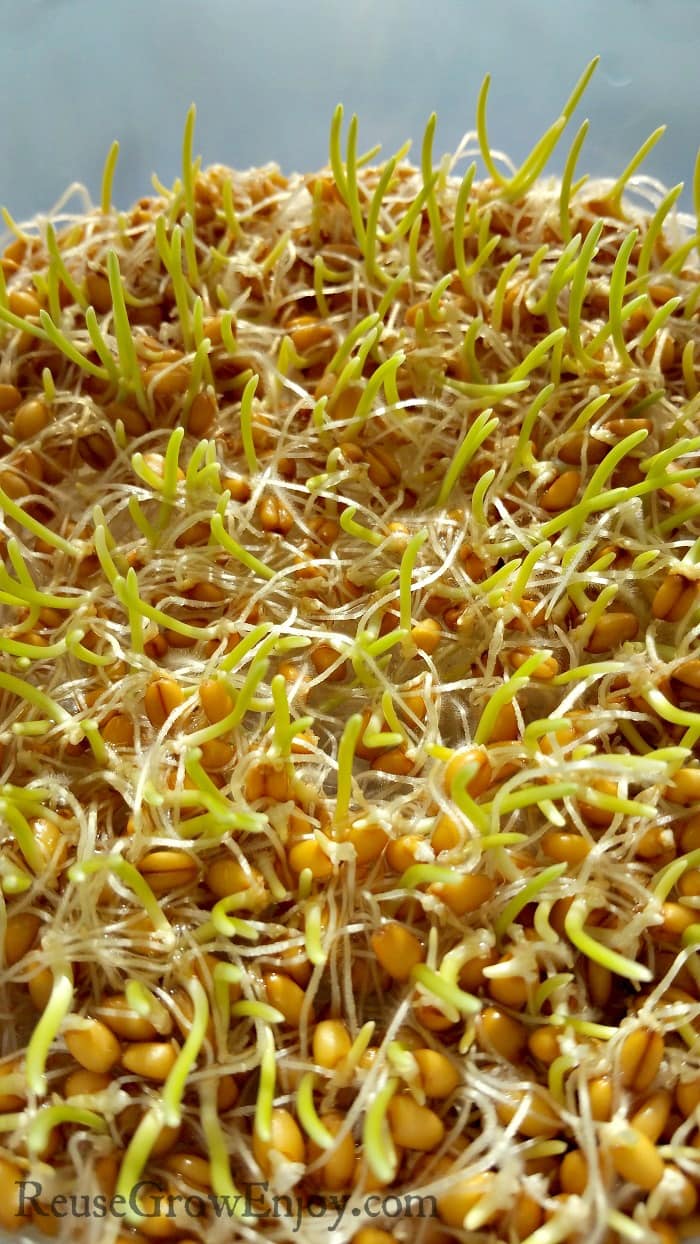
3 Days After Soaking
Then each day you want to run warm but not hot water over the seeds two times a day.
If they are in trays, the water will simply drain out the holes and into a collection tray that you keep under the trays.
If using the jar, pretty much the same. You add water to the jar and then tip it over to about a 90-degree angle. That way the water can slowly leak out the hole punched cap. You will want to also be sure to have a collection tray under it as well.
You will keep doing this until they are the length you want to use.
Extra Sprouting Tips:
Just a few extra tips to note. Sprouts do not need sunlight. You will keep them out of the sun because if you put in the sun, it will encourage bacteria to grow and we do not want that.
Also, you do not want to grow your sprouts much longer than 7 days max for the same reason. We want to have healthy nutrients from the sprouts and not bad bacteria. Growing past about 7 days, you can start to run into issues like mold and other things.
I soak seeds daily or at least every other day. That way I have a steady growing sprouting happening and not all just ready at the same time.
Depending on how many chickens you have, you only need to do a few teaspoons of seeds per day/tray. I do about 3 teaspoons a day. I have five chickens. That amount works pretty well for us.
You want this to be an extra bonus/treat and not to totally replace the main source of food as that still has a lot of vitamins and things they need to eat daily to be healthy.


Leave a Reply