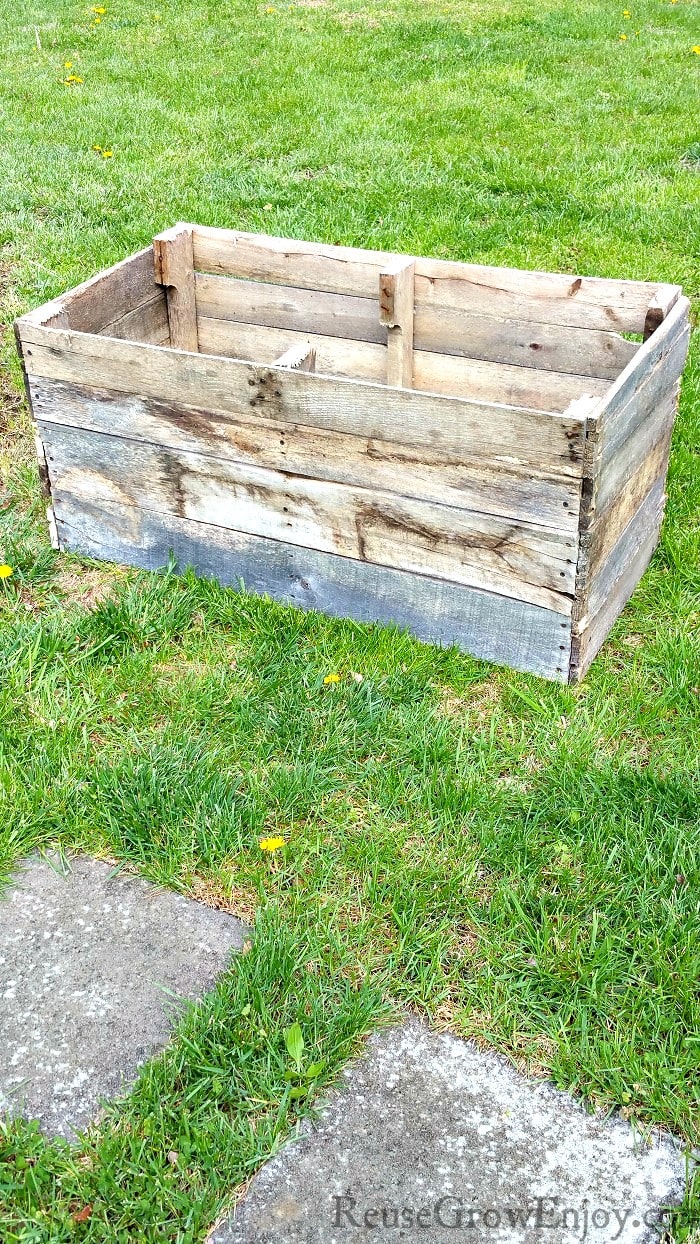
Wood Pallet DIY Raised Planter Box
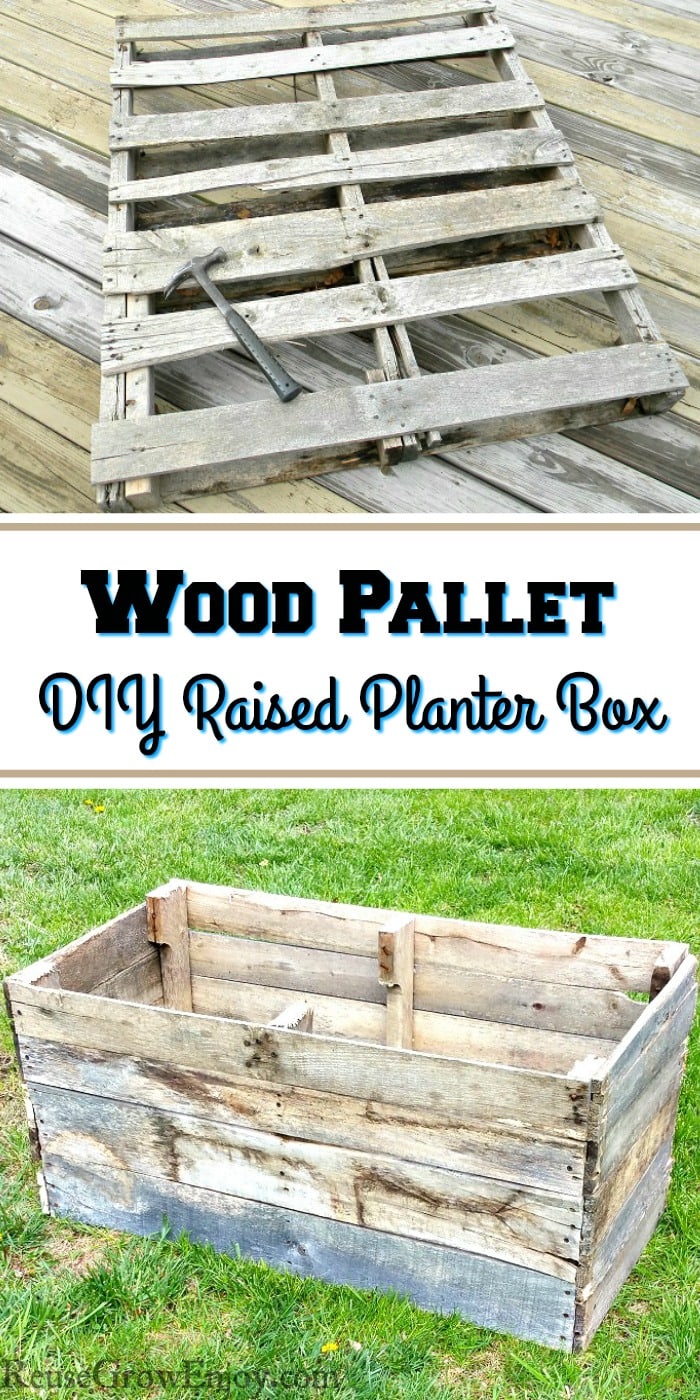
If you could use some extra gardening space and don’t have the money to spend on already made raised garden beds, I have just the project for you. I am going to show you step by step how to make this Wood Pallet DIY Raised Planter Box!
This wood pallet box requires a very little budget to make. You may even already have the supplies to do it. You can normally get pallets from farm and garden stores for free or if they do charge they are normally only a few bucks.
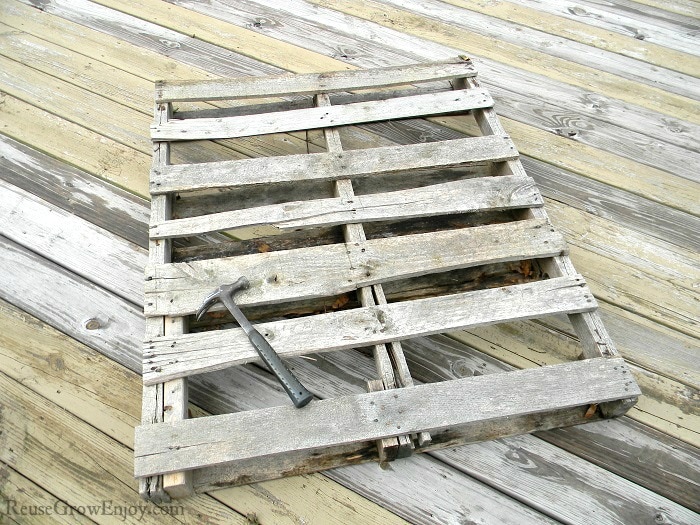
One thing to note when getting a wood pallet is the condition. You want to try and find one that has the least amount of splits in the boards (unlike mine in the picture that I had on hand that had been sitting for a few years) the more splits they have the harder they are to remove.
Another thing to look out for is the age. While the look of the gray boards it pretty, the more weathered like that they are the harder the boards are to remove. Remember even if you go with the newer board look, it will age over time to look like these.
Supplies Needed:
- Hammer
- 2-inch Coarse Thread Drywall Screws (not sure why they say drywall as they work so well in wood)
- 1 Wood Pallet
- Drill With Screw Bit
- Saw (skill, reciprocating, chainsaw any of these will work)
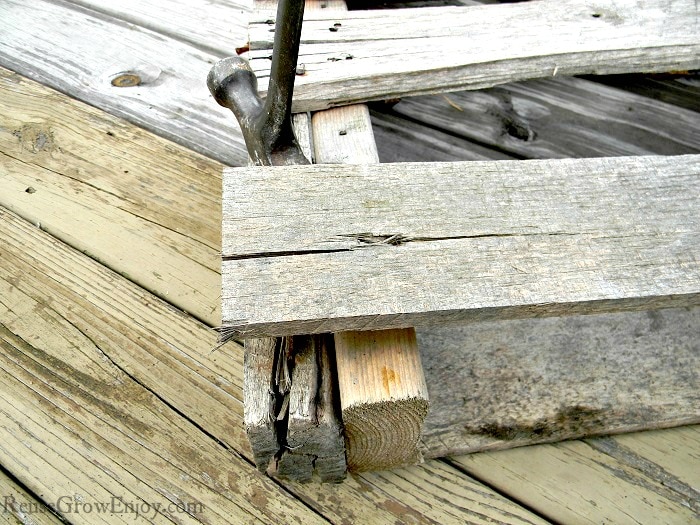
The first thing to making your planter box is to remove the boards from the pallet. I removed everything other than the very last board on one side. I figured that one was already where it needed to be so no need to waste time removing it.
Make sure when removing the boards they do not have any nails left in them. If you can not get all the nails out of the beam (the ones the outer boards are nailed to) boards just be sure to take the hammer and drive them all the way in or bend them over and flatten them out.
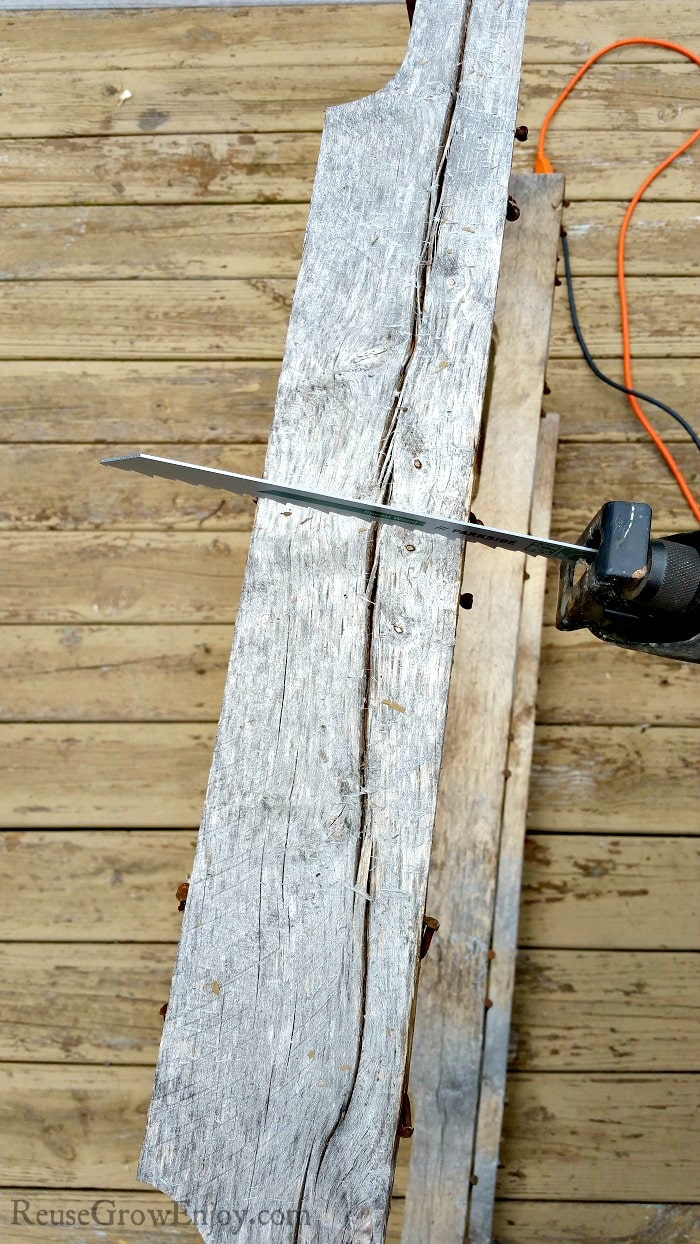
After you have your boards removed, it is time to do a little cutting. You need to cut those inner beam boards in half. Or you can measure them to the height that you want the box to be and cut them off there. Just be sure that you end up with 6 beam boards that are all the same height.
We started out with a reciprocating to cut these and it was working just was a little slower then I wanted. So we did end up using a chainsaw to cut and it was much faster.
I just cut mine in half and then cut off the unused area after I was done.
Putting It Back Together:
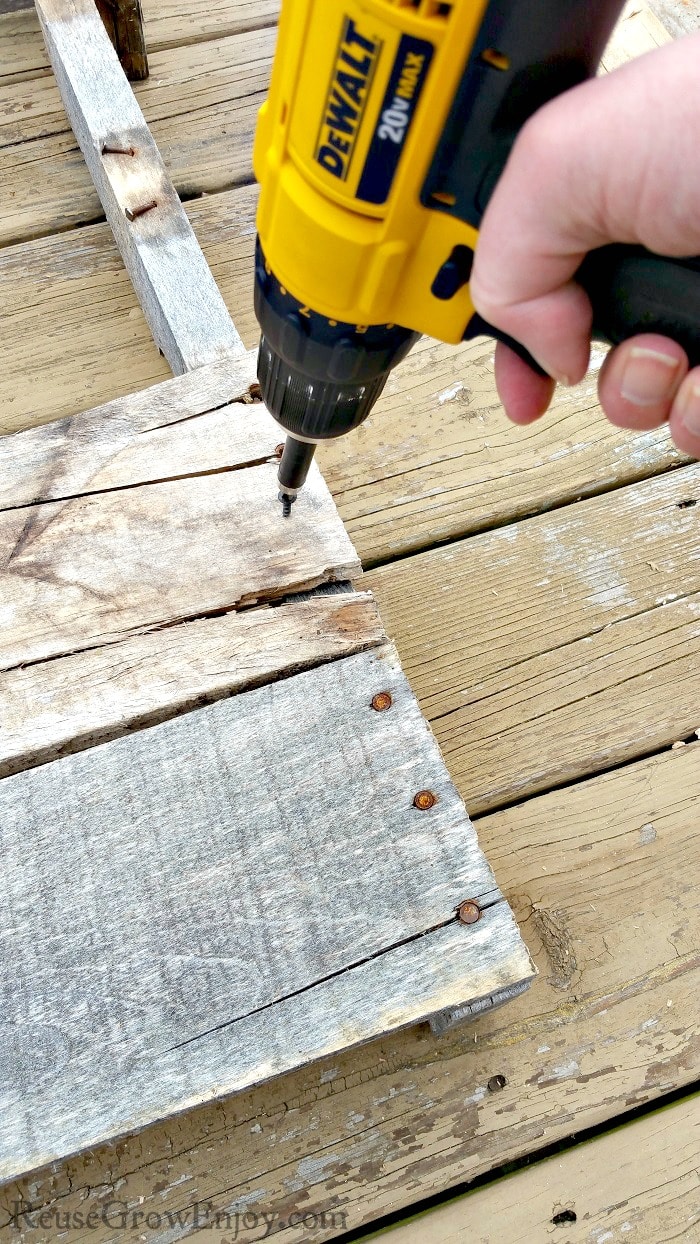
Now that you have your boards removed and the beams cut, it is time to start assembling your wood pallet planter box. Take the boards you removed and tightly screw them in place on the beam boards. You don’t want to leave gaps as it will allow the dirt to fall out.
Be sure you do this on each half of the beams you cut in half. You want to make sure you have enough boards to make it even all the way around. For me, it was 4-5 boards needed on each side. It depended on the width of the boards being used as some are wider than others.
After you have each of the sides screwed together, it is time to start working on the ends. For the ends, you need to cut the boards for those in half. My wood pallet boards are 40 inches (could vary from pallet to pallet) so my end boards needed to be cut to 20 inches each.
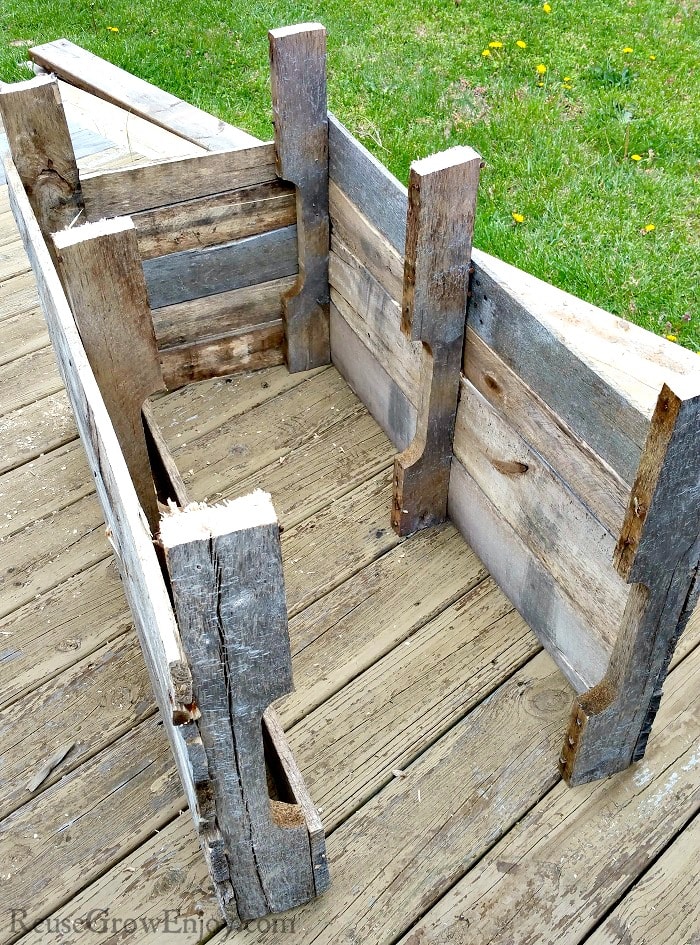
Then simply screw them on just like you did the others. Below is a picture of my box with 3 sides finished.
After you are done with all your boards screwed in place, you can either leave the longer beam boards as is (if you did not already cut to size) or you can do as I did and cut them off even.
That is it! You now have a cute new upcycled wood pallet planter box. Simply put it where you want it to be, fill it with dirt and plant away!
If you liked this DIY, here are a few others to check out.
- DIY Coasters – Cedar Coasters Made From Solid Cedar
- DIY Flower Pot Tower
- Pallet Upcycle – Pallet Coffee Mug Holder
- DIY Wine Cork Plant Markers
- Wood DIY Doormat
- DIY Wrench String Art
- Reused Wood Craft Card / Artwork Holder
- DIY Concrete Planters Using Recycled Carton


Leave a Reply