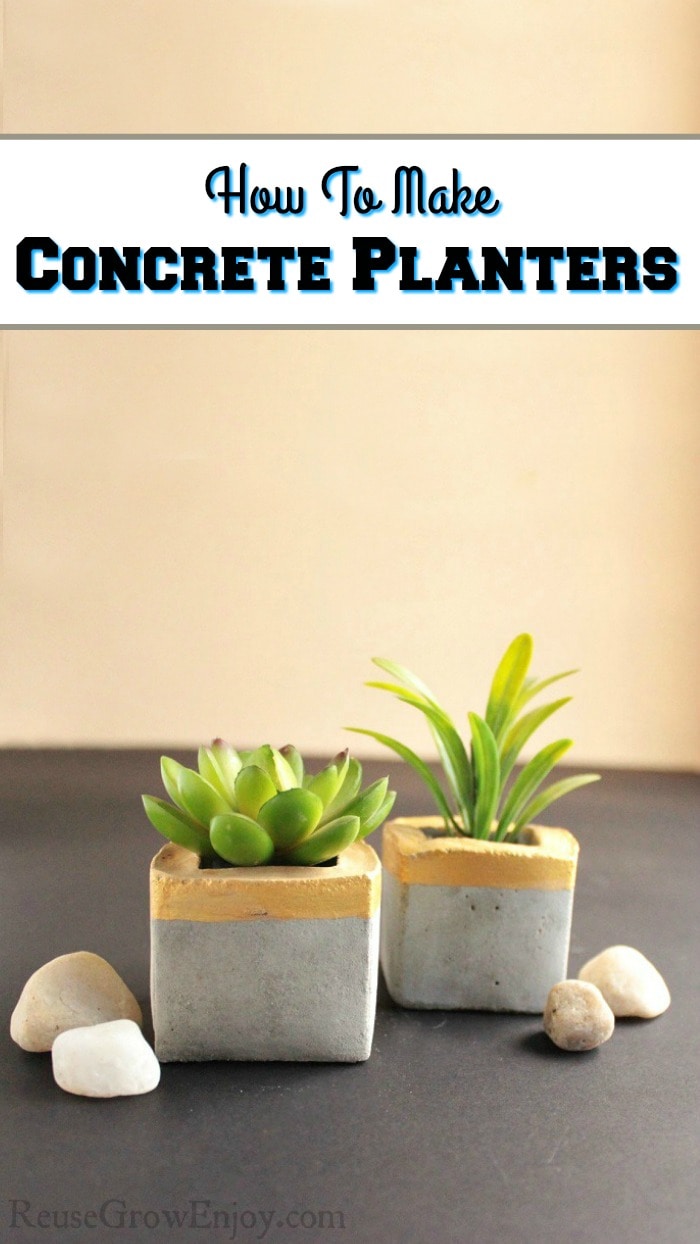
DIY Concrete Planters Using Recycled Carton
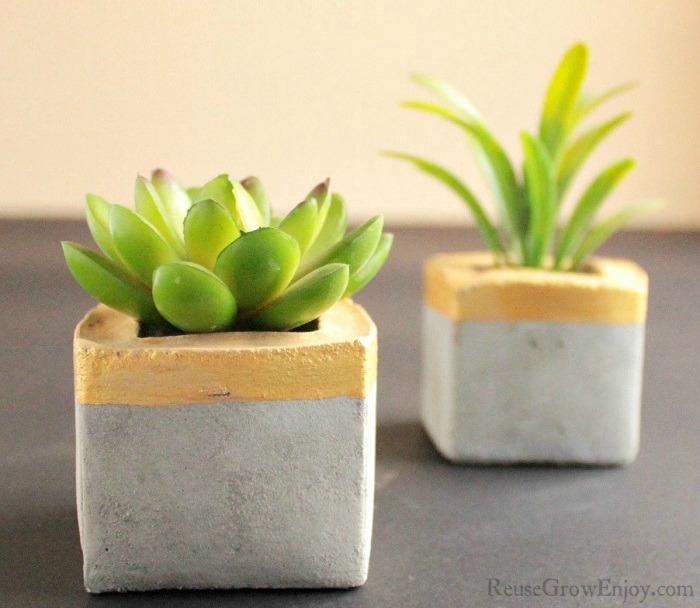
Could you use a few new little planters around the house? Maybe for some plants in the window? You can make DIY concrete planters pretty easy. Plus it is a great way to give cartons and other containers another use.
To make these you can pretty much use any type of carton or container. So take a look in the trash and recycle bin and see what you have two of that are slightly different in size. You do need one of them to be able to hold liquids without leaking. If using a carton, you can use some type on the outside to help seal it if you think it may leak a little.
Quick concrete can be bought at hardware stores for just a few bucks for a 10 lb bag. Depending on the size planters you are making, that size bag will make a bunch. That is unless you are making a big one for the deck or patio.
You will also note that the paint is optional. You can paint yours to dress it up and give a pop of color and style or if you like the more natural rustic look, you can leave it as is. That way it will turn out with that natural unfinished look.
So gather all the supplies needed to make these DIY concrete planters and we can get started.
Supplies Needed For Concrete Planters:
- A stick for mixing
- Scissors
- 2 Recycled Cartons or Containers (you need a primary and secondary carton)
- Plastic bucket or container to mix concrete
- Quick Concrete Without Rocks (amount needed depends on the size of cartons/containers you use)
- Tape (only needed if you think the container will leak)
- Water
- Paint and paint brush (optional)
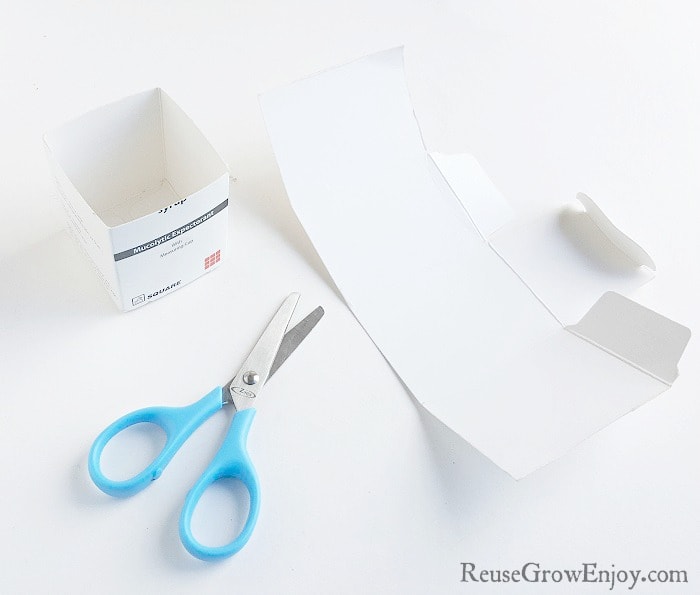
After you have selected the containers you will be using, cut the outer one to the height that you want the planter to be. Then cut off the extra part of the container. If working with plastic you can leave it without trimming so you do not crack it. It can be cracked away when done.
You need the second container to be slightly smaller but also taller than the first container. You need it so that when it is inside the other carton it has about a half inch gap all the way around.
If you are using a paper carton and think it may leak, cover the outside of the larger container with tape
Mixing The Concrete:
In plastic container or bucket (plastic milk jug with the top cut off works great) add the cement mix. The amount needed you will have to gauge by the size planter you are making.
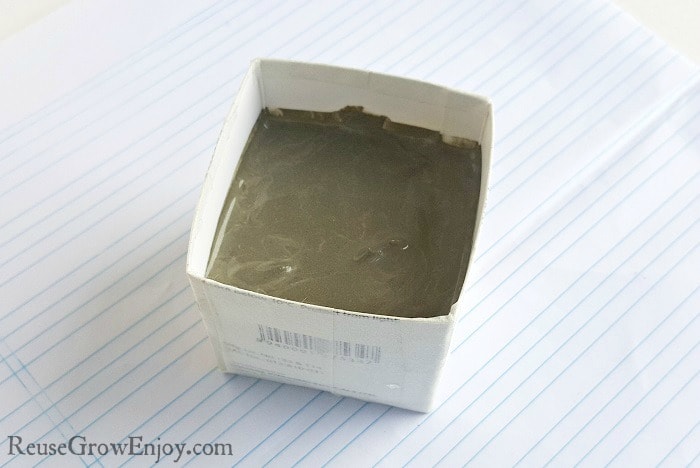
Slowly start to add water to the concrete. It should be around three part concrete to one part water or as much as a 50/50 mix but no more then that. But the water needs to be added slowly and mixed really well. You want to make sure you get all lumps out so that it is an even mixture. If not, it will not set right and the planter will not hold up. It should like a really thick milkshake.
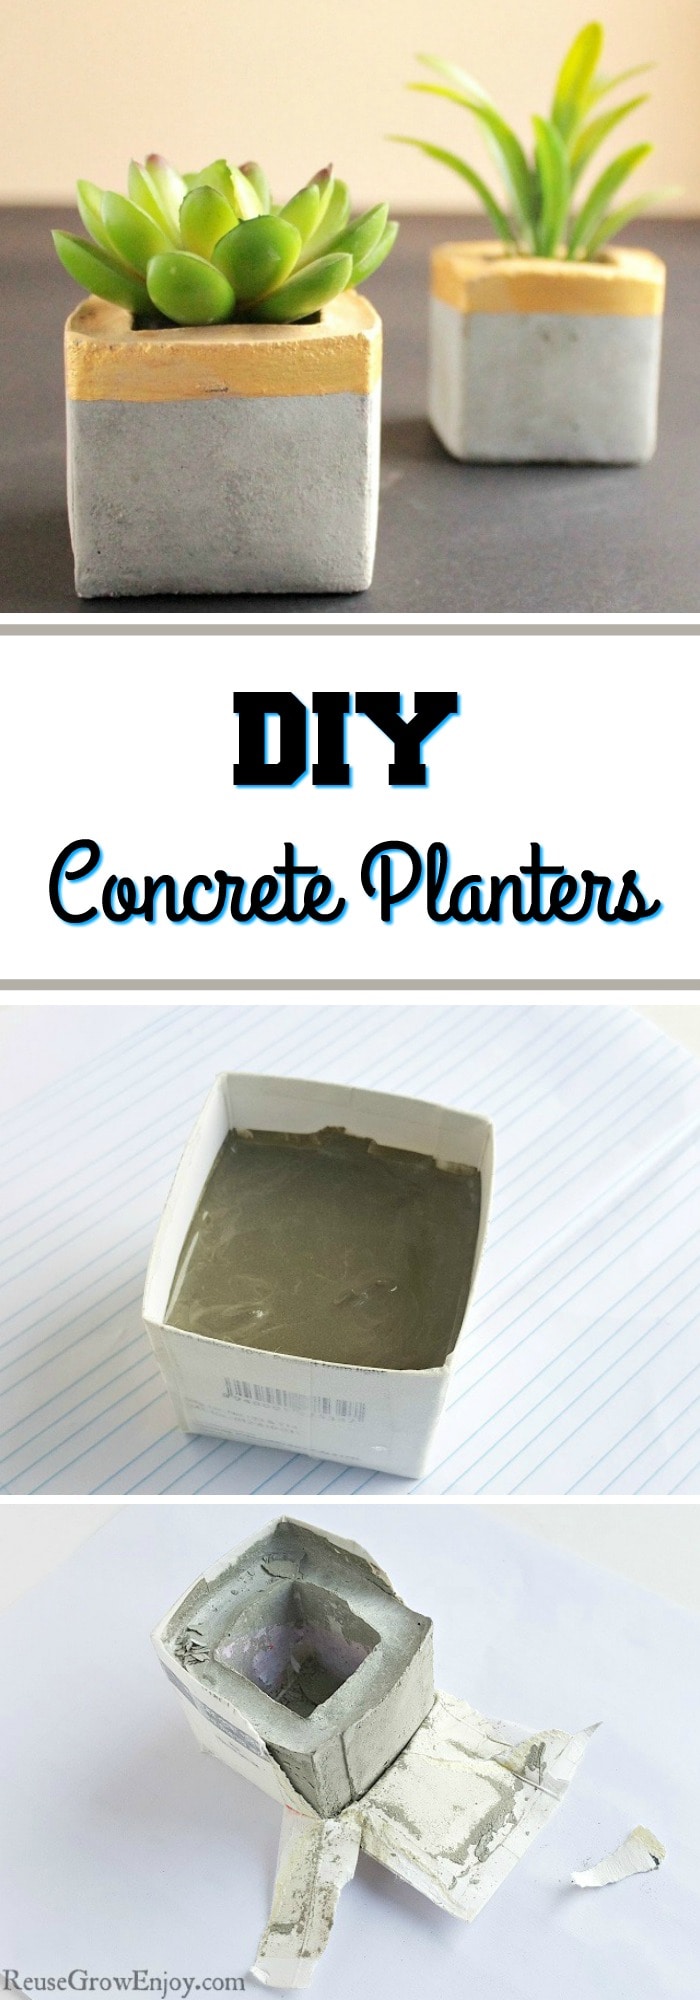
Now you want to pour that mix into your larger container. You only want to fill it about half way so you have room for the other carton. It is very important NOT TO fill the container to the top.
Next, push the other container into the middle of the filled one. Do not push it all the way to the bottom. Be sure to leave about a half inch space on the bottom so you have a concrete bottom.
Leave it to fully dry. It may look dry after 12 or so hours, but to be sure I would leave it a full 24 hours before removing the cartons.
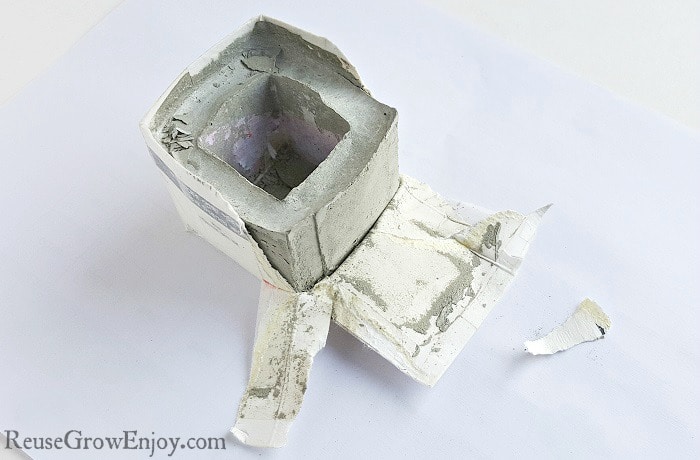
After it is dry you can carefully remove both cartons by twisting and tearing them away. If you want a super smooth finish, you can use some sandpaper on the concrete planter to smooth it but this is another step that is only optional.
Leave as is or paint it how you want. That is it! You now have a lovely new DIY concrete planter to display your plants.
If you liked this DIY, here are a few others to check out.
- DIY Wine Cork Plant Markers
- Easy Country Tin Can Planter
- Wood DIY Doormat
- DIY Bird Feeder
- DIY Teapot Birdhouse


Leave a Reply