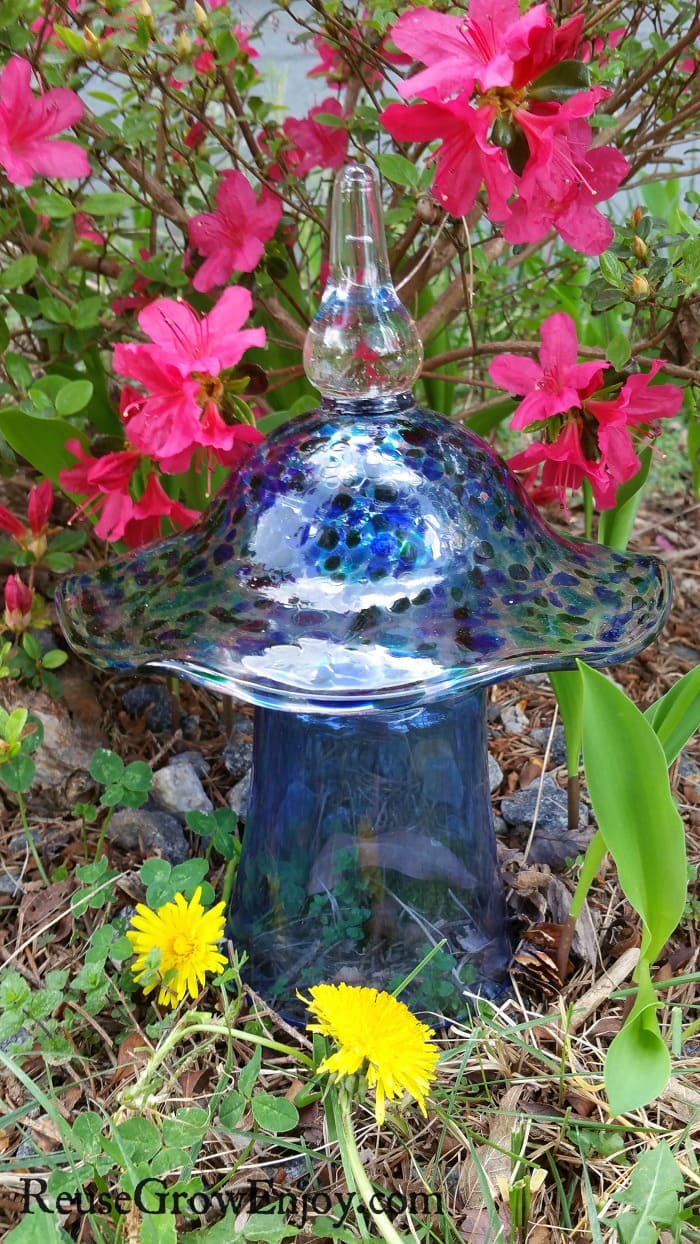
Garden Ornament – Upcycled Glass To Garden Mushroom
Do you ever think you want to add a garden ornament to your garden, lawn or flower beds? They can be crazy over priced! But you can still add those little touches without having to spend a lot of money. Shoot, you may already have some supplies on hand to make some yourself!
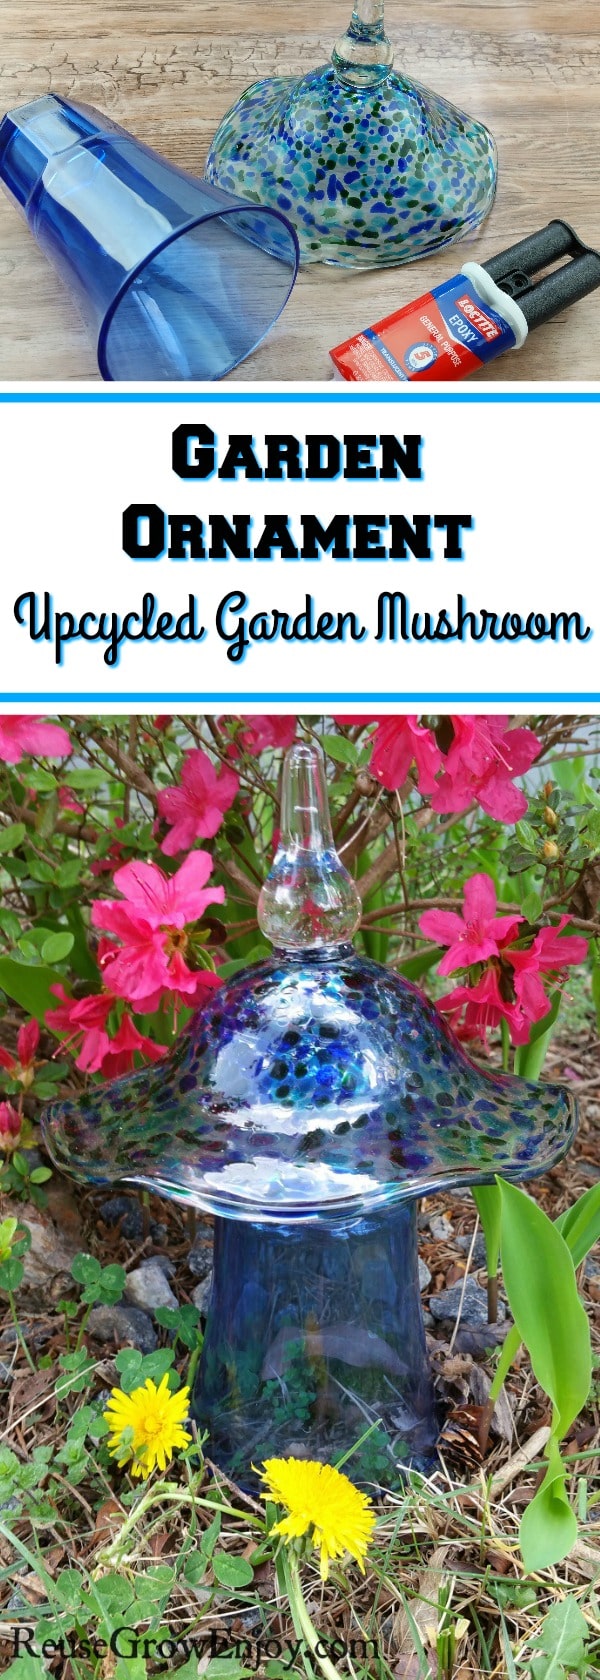
Any ideas what you can turn an old glass candy dish top and a glass into? It makes for a perfect upcycled garden ornament mushroom!
When working with things like glass, I do not recommend using things like hot glue to attach them. It only holds up for a short time and will end up coming apart as the surface is too slick to bond to. I like using things like epoxy to attach glass parts as it really makes them bond well and like one whole piece.
Below I will show you just how to make this pretty mushroom garden ornament. If you don’t have anything like this on hand, you can find pieces super cheap at thrift stores and GoodWill.
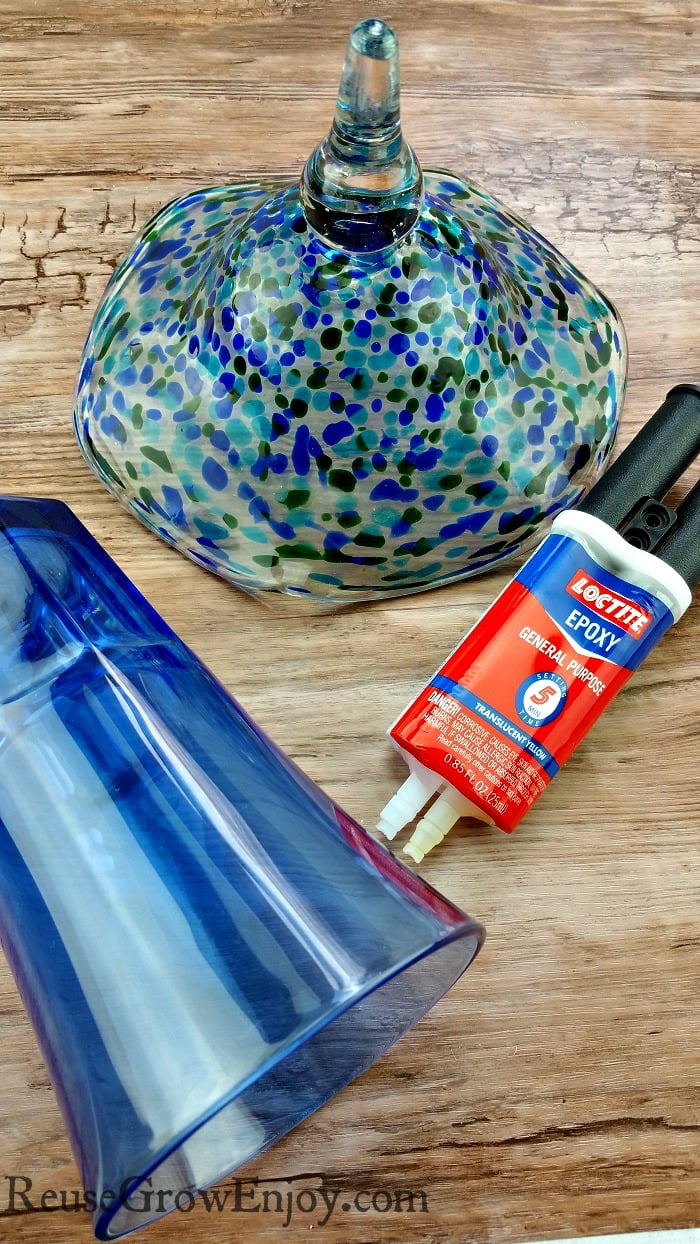
Mushroom Garden Ornament Supplies:
- Pretty Candy Dish Top
- Colorful Glass
- Epoxy (I used Loctite)
- Popsicle Stick (or something else to apply epoxy that can be tossed out)
- Paper Plate (or something else you can mix epoxy on that can be tossed out)
- Mug or heavy glass (for letting it sit in to dry)
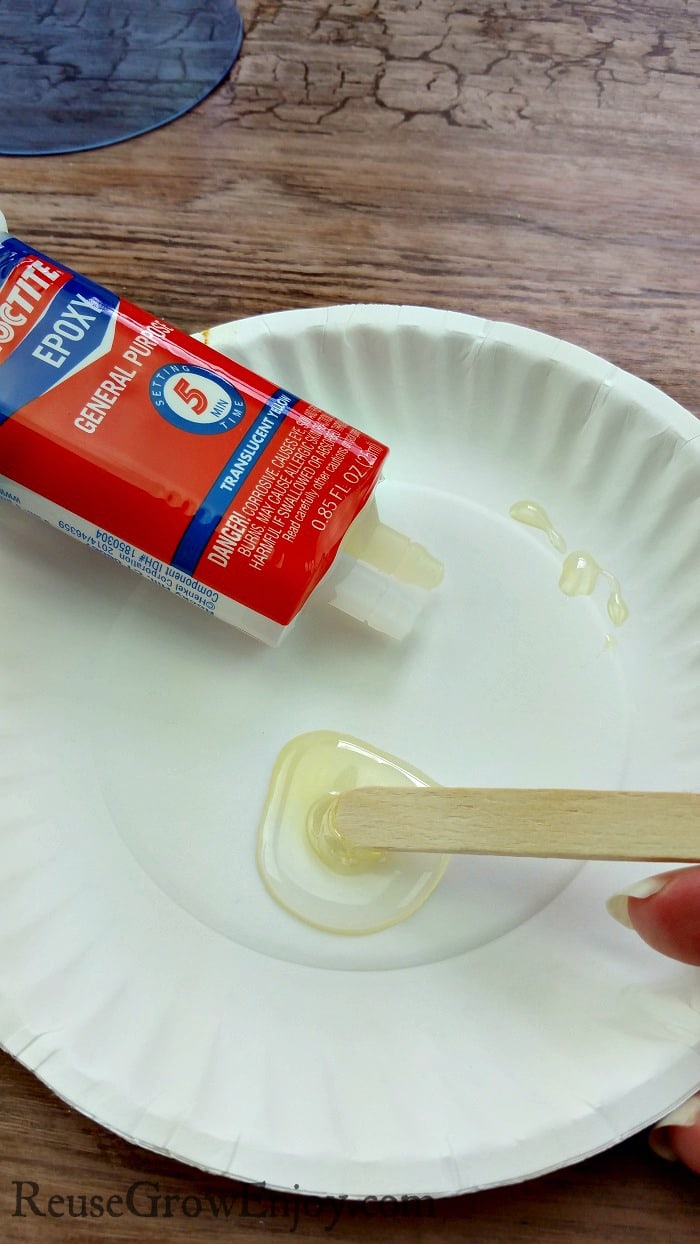
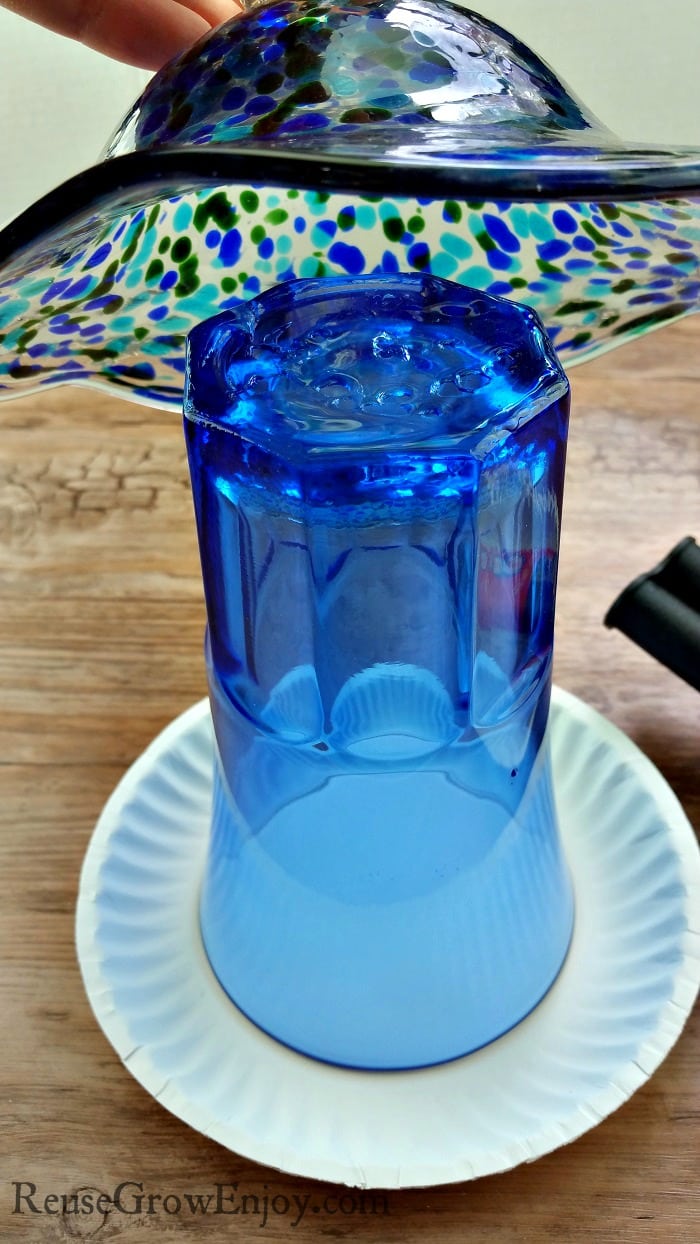
First, be sure you start with clean glass that is free from dirt and dust. Next mix your epoxy on a paper plate or something else that can be tossed in the trash when done. I used a popsicle stick to mix mine.
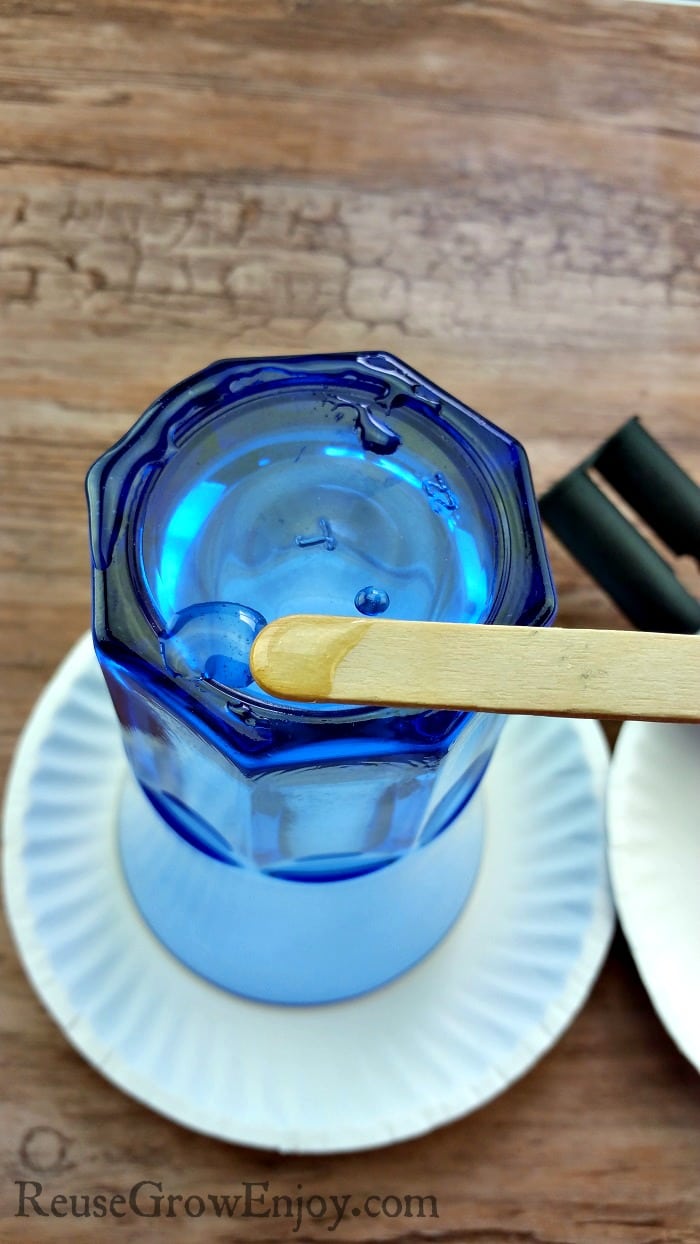
After you have it mixed well, use the same stick to apply it to the bottom of the glass. Be sure to apply a good amount.
Next, you want to put the dish top on top of the epoxy you put on the glass. Be sure to have it centered.
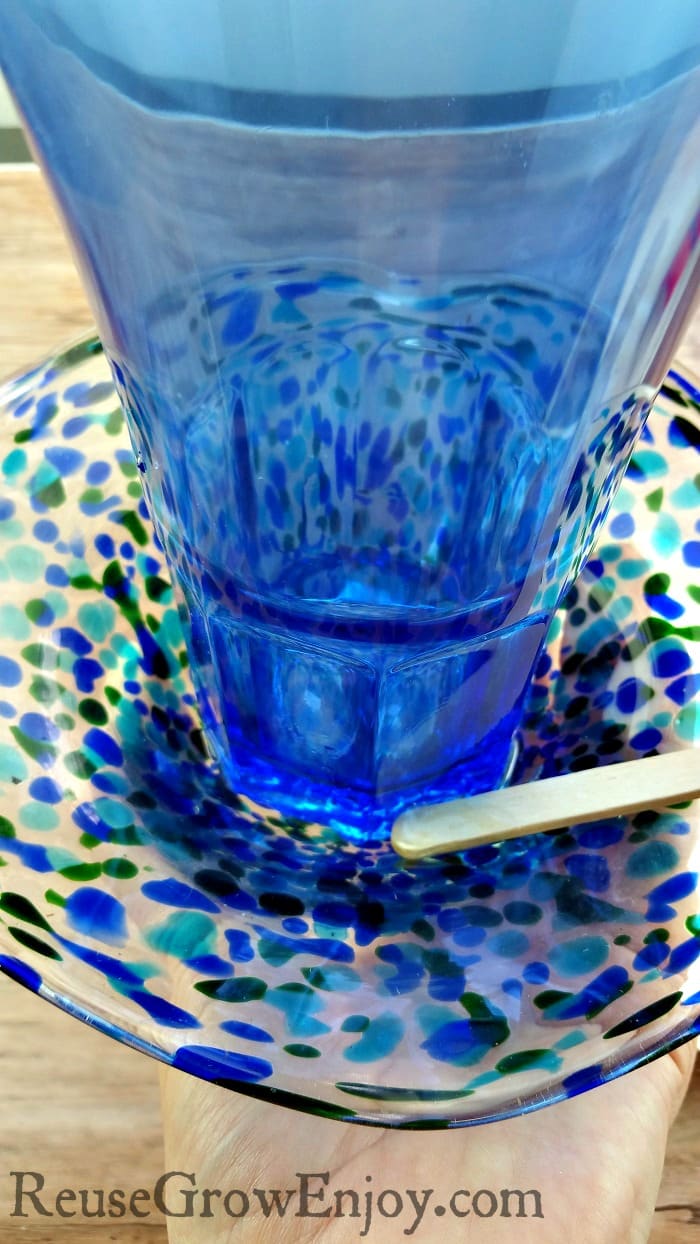
Now, carefully turn it over and hold with one hand. Get more epoxy on your stick and apply to the cracks around the glass and the top. You want to try and fill those cracks in as much as you can to be sure it bonds to each part.
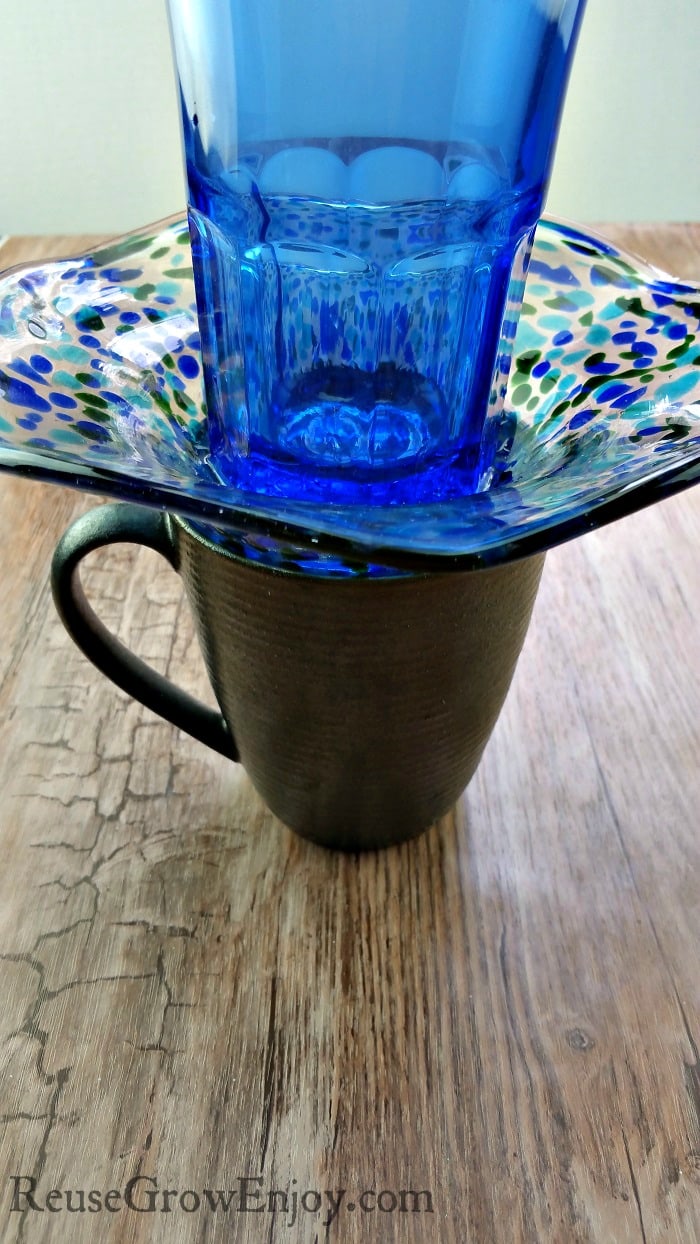
Now you need to allow it to set up and dry. It only takes about five minutes or so. I fond it best to place it upside down in a mug or glass as I did not want to hold it for five minutes. The reason I did not allow it to dry right side up is because that will allow the epoxy to slightly run down the glass, before it hardens and I wanted it to stay at the cracks.
After it is set, you can put your new garden ornament out in the yard, garden or flowerbed.
If you liked this upcycle project, here are a few others to check out.
- DIY Wine Cork Plant Markers
- DIY Upcycled Umbrella Flower Arrangement – With Video
- Teapot Birdhouse
- Pill Bottle Upcycled To Earbud Case
- DIY Fire Starter Made From Reused TP Tubes
- DIY Knife Holder Made From Upcycled Books


Elva R. says
Thank you so much for this DIY idea for a flower bed. I just love it and I plan to make one or two of them for next summer.Thank you for the clear instructions and for sharing with us.
Reuse Grow Enjoy says
You are so welcome! Happy you like it.
Sharon G. says
These ideas are brilliant! All but one, is different than others I’ve seen. They’re all very cute!